FINAL SLED ASSEMBLY PG. 2
LAST UPDATE 06.11.19
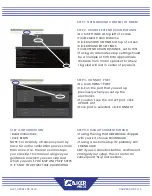
STEP 1 GENERATE G-CODE FOR SLED FILES
•
Download sledfiles.zip at
Github/MaslowCNC/Mechanics/SVG Files
•
Unzip folder, locate svg file for sled- New
Sled With Tool Paths.svg
• Open makercam.com in a browser window
•
Click FILE->OPEN SVG File, select sled file,
shapes should open up as shown on left
•
This file already has toolpaths set, so click
CAM->CALCULATE ALL
• Blue paths will appear, showing path of the
router, green arrows indicate cut direction
• Click CAM -> EXPORT GCODE
• Click SELECT ALL to select all of the paths
• Click EXPORT SELECTED TOOLPATHS
•
Save to your desktop as .nc file
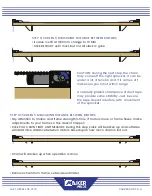
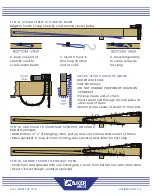
STEP 2 LOAD PLYWOOD ONTO MASLOW
• Hang sled on bolt in center of top beam
to keep it out of the way
• Load plywood onto frame
• Remove sled from bolt and gently bring
it to rest against plywood
• A full sheet of plywood is not necessary,
but may be easier to work with
• This is a SECOND piece of plywood, in
addition to the plywood used as backing
for your frame
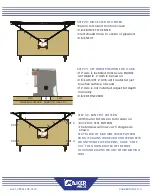
STEP 3 OPEN FILE IN GROUND CONTROL
• Click ACTIONS-> OPEN FILE
• If using scrap plywood it may be
necessary to reposition the design
• Move sled to desired position on
plywood using arrow keys in top right
corner of Ground Control
• Sled will be cut to the left and down
from beginning sled position
• When router is in desired position, click
DEFINE HOME


