FINAL SLED ASSEMBLY PG. 3
LAST UPDATE 06.11.19
MASLOW DEFAULT FRAME
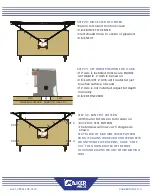
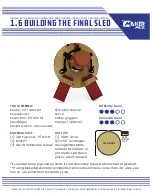
STEP 6 ATTACH FINAL SLED TO FRAME
•
Hang final sled on bolt in top beam
• Attach chains to sled, referencing
instructions in Temporary Sled section if
needed
• Remove sled from bolt and gently lay
against work surface
• You’re now ready to begin making amazing
projects!!
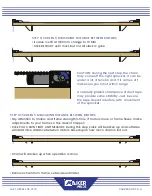
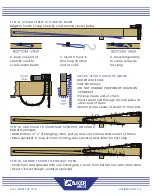
STEP 5 ASSEMBLE FINAL SLED
• Once pieces are cut, turn router off
• Hang temporary sled on bolt in top beam
• Remove chains from carriage mounts
• Remove sled from bolt, set on workbench
• Remove bolts holding bricks, router, and
ring kit to temporary sled
•
Transfer everything to final sled,
referencing instructions in Temporary Sled
section if needed
• Sled will slide across the work area more
smoothly with a rounded edge
• Use sandpaper to round the edge
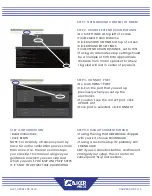
STEP 4 CUT THE SLED
• Turn router on
• In Ground Control, click green arrow button
• Router will move through pattern
• Do not leave Maslow unattended while
work is in progress
• If you need to leave for any reason, click
yellow pause button, turn router off
• If shapes appear off, click red stop button
and troubleshoot
• If you began the cut, then stopped
because it was off, when you start again
you can move your sled to a new area of
your plywood, then re-define HOME


