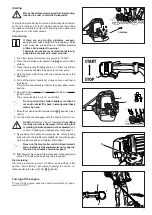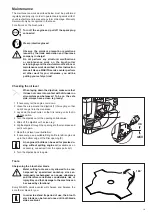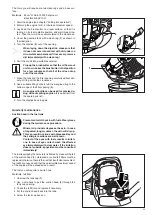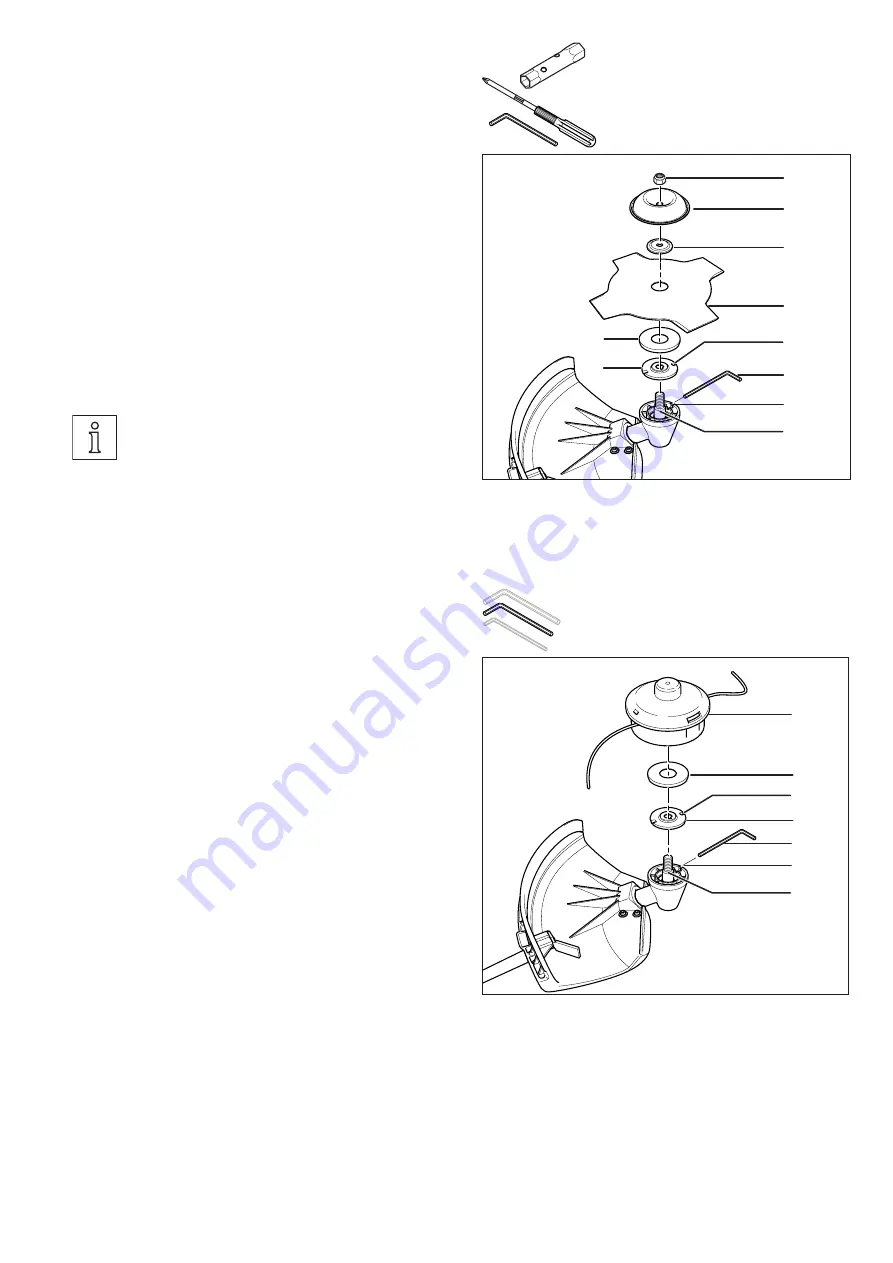
13
4-tooth star blade
To install the cutting tool, lay down the brushcutter so that it is
resting on its handle in stable position.
The tool you will require is the:
• Combination wrench plus screwdriver as a handle
• e.g. the medium-sized Allen key as an assembly pin
1 Place the mounting disk (
1
) on the gearbox shaft (
2
) so
that one lateral cut-out (
3
) lines up with the cut-out (
4
) in
the angular gearbox.
Place the winding safety device (
5
) on the angular gearbox
so that its lateral cut-out and the cut-out (
4
) in the angular
gearbox line up properly.
3 Insert the 4-tooth star blade (
6
), pressure disk (
7
) and
ground glider (
8
) after one another onto the gearbox shaft
as shown in the illustration.
4 Insert the assembly pin (
9
) through the mounting
disk into the cut-out of the angular gearbox.
The gearbox shaft is blocked.
5 Use the combination wrench (
10
) to tighten the nut firmly
(left-hand thread).
The fastening nut (
10
) is equipped with a plastic
locking device and must be replaced, for safety
reasons, with a new fastening nut immediately
in the case of noticeable easy movement, but
no later than after the tool has been changed 10
times (see extract from the spare parts list)!
6 Remove the assembly pin again and check the cutting tool
for free movement.
2-line trimmer head
To install the cutting tool, lay down the brushcutter so that it is
resting on its handle in stable position.
The tool you will require is ,e.g, the medium-sized Allen key as
an assembly pin.
1 Place the mounting disk (
1
) on the gearbox shaft (
2
) so
that the lateral drilled hole (
3
) lines up with the cut-out (
4
)
in the angular gearbox.
Place the winding safety device (
5
) on the angular gearbox
so that its lateral cut-out and the cut-out (
4
) in the angular
gearbox line up properly.
3 Insert the assembly pin through the mounting
disk into the cut-out of the angular gearbox.
The gearbox shaft is blocked.
4 Screw on the -line trimmer head (
6
) (left-hand thread) and
tighten firmly by hand.
5 Remove the assembly pin again and check the cutting tool
for free movement.
10
8
7
6
9
4
2
3
5
1
6
1
7
4
2
5
3


