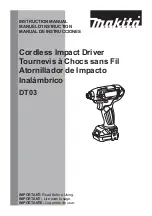
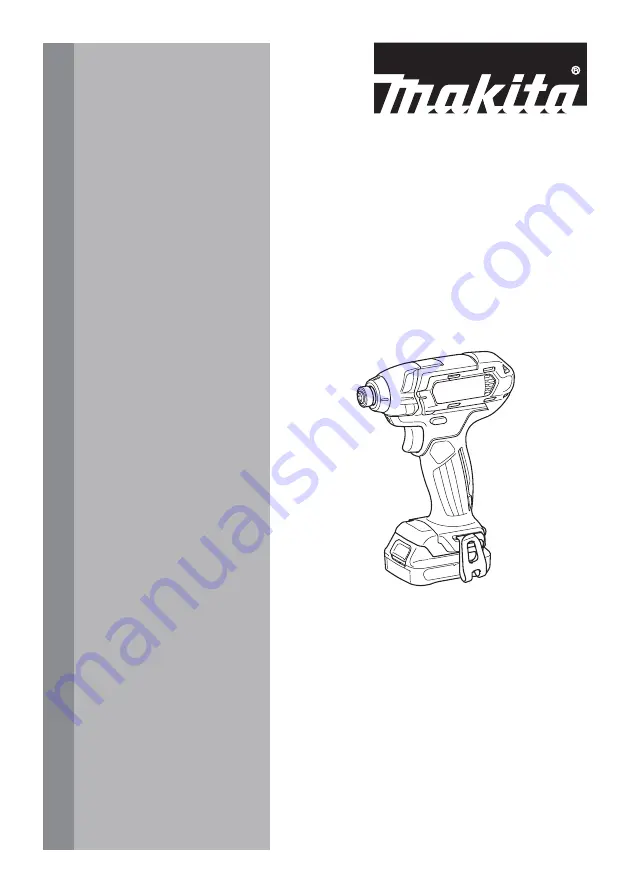
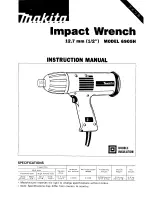
Makita CT232RX, Instruction Manual
The Makita CT232RX is a powerful cordless impact driver and drill set designed for professional and DIY use. Ensure efficient and safe operation with the comprehensive Instruction Manual included. Easily download the manual for free from our website, 88.208.23.73:8080, to get the most out of your Makita CT232RX experience.
Share
Download


Reviews:
No comments
Related manuals for CT232RX
93821
Brand: Harbor Freight Tools Pages: 10

6991D
Brand: Makita Pages: 5
BTW151
Brand: Makita Pages: 8
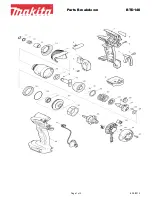
DTD170
Brand: Makita Pages: 19
DTD152
Brand: Makita Pages: 27
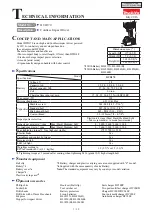
6905H
Brand: Makita Pages: 2
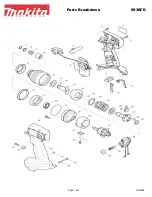
6936FD
Brand: Makita Pages: 2
BTL062
Brand: Makita Pages: 2
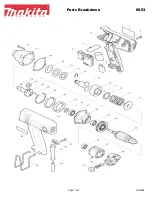
6953
Brand: Makita Pages: 2
BTD140
Brand: Makita Pages: 3
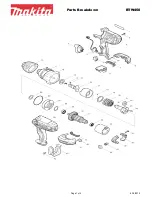
BTW450
Brand: Makita Pages: 2
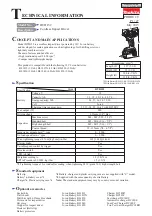
6905H
Brand: Makita Pages: 11
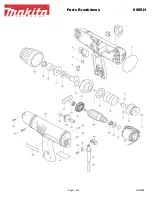
BTD123F
Brand: Makita Pages: 7
BTW253
Brand: Makita Pages: 2
6908D
Brand: Makita Pages: 4
6936FD
Brand: Makita Pages: 8
BTW070
Brand: Makita Pages: 6
TD090D
Brand: Makita Pages: 6


