


14 ENGLISH
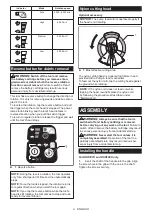
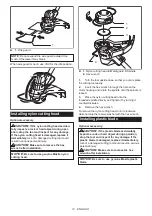
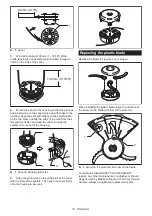
Hex wrench storage
CAUTION:
Be careful not to leave the hex
wrench inserted in the tool head.
It may cause
injury and/or damage to the tool.
When not in use, store the hex wrench as shown in the
figure to keep it from being lost.
1
►
1.
Hex wrench
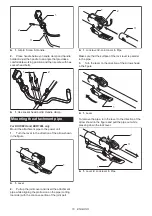
For DUR187L and DUR188L only
1
2
►
1.
Handle
2.
Hex wrench
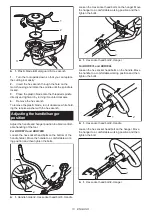
OPERATION
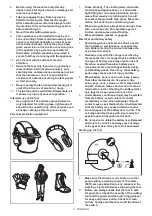
Correct handling of tool
WARNING:
Always position the tool on your
right-hand side.
Correct positioning of the tool allows
for maximum control and will reduce the risk of seri-
ous personal injury caused by kickback.
WARNING:
Be extremely careful to maintain
control of the tool at all times. Do not allow the tool
to be deflected toward you or anyone in the work
vicinity.
Failure to keep control of the tool could result
in serious injury to the bystander and the operator.
WARNING:
To avoid accident, leave more than 15m
(50 ft) distance between operators when two or more oper-
ators work in one area. Also, arrange a person to observe
the distance between operators. If someone or an animal
enter the working area, immediately stop the operation.
DUR187U and DUR188U
DUR187L and DUR188L
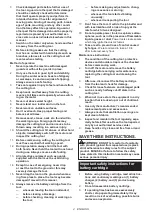
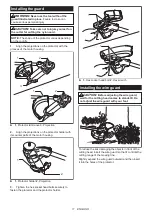
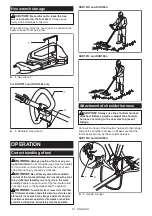
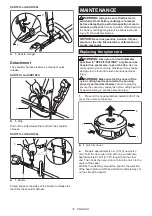
Attachment of shoulder harness
CAUTION:
Always use the shoulder harness
attached. Before operation, adjust the shoulder
harness according to the user size to prevent
fatigue.
Connect the hook of the shoulder harness to the hanger
and put the shoulder harness on. Make sure that the
tool is held securely by the shoulder harness.
DUR187U and DUR188U
1
2
►
1.
Hook
2.
Hanger
Summary of Contents for DUR187U
Page 18: ...18 ...
Page 19: ...19 ...
Page 20: ...Makita Corporation www makita com 885546C5 EN 20170206 ...


