background image

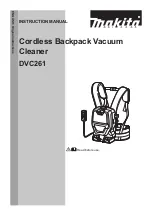
INSTRUCTION MANUAL

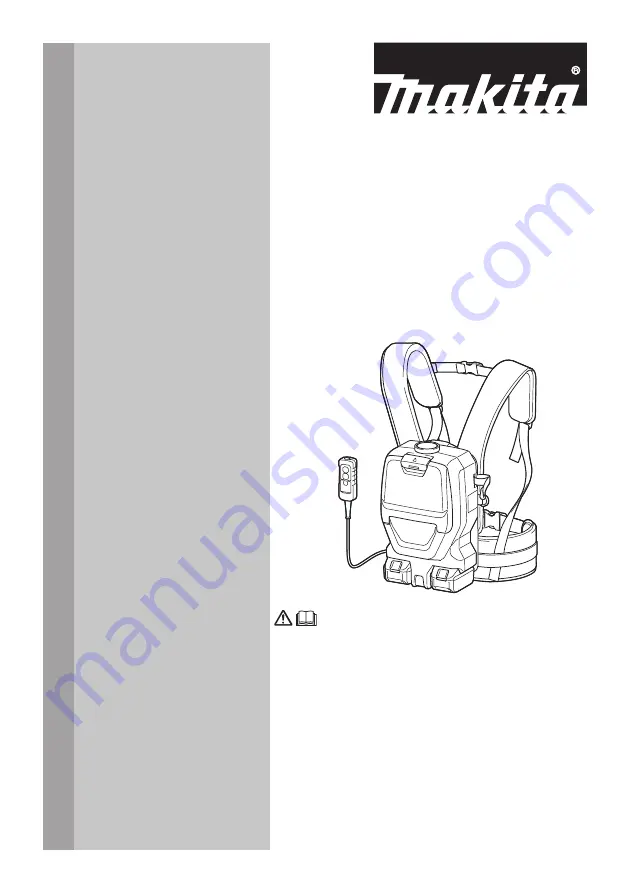
Cordless Backpack Vacuum 

Cleaner

DVC261

ENG

LISH: O

rig

in

al

 in

stru
cti

on

s


 Read before use.

Summary of Contents for DVC261Z

Page 1: ...INSTRUCTION MANUAL Cordless Backpack Vacuum Cleaner DVC261 ENGLISH Original instructions Read before use ...

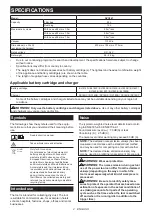
Page 2: ...quipment or battery pack together with household waste material In observance of the European Directives on Waste Electric and Electronic Equipment and Batteries and Accumulators and Waste Batteries and Accumulators and their implementation in accordance with national laws electric equipment and batteries and battery pack s that have reached the end of their life must be collected separately and r...

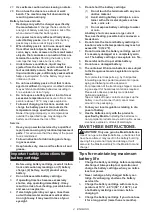
Page 3: ...ents These vents per mit cooling of the motor Blockage should be carefully avoided otherwise the motor will burn out from lack of ventilation 9 Keep proper footing and balance at all times 10 Do not fold tug or step on the hose 11 Stop the cleaner immediately if you notice poor performance or anything abnormal during operation 12 DISCONNECT THE BATTERIES When not in use before servicing and when c...

Page 4: ...rheating possible burns and even an explosion 4 If electrolyte gets into your eyes rinse them out with clear water and seek medical atten tion right away It may result in loss of your eyesight 5 Do not short the battery cartridge 1 Do not touch the terminals with any con ductive material 2 Avoid storing battery cartridge in a con tainer with other metal objects such as nails coins etc 3 Do not exp...

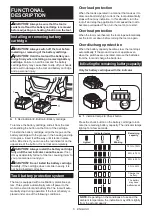
Page 5: ...ot being inserted correctly Tool battery protection system The tool is equipped with a tool battery protection sys tem This system automatically cuts off power to the motor to extend tool and battery life The tool will auto matically stop during operation if the tool or battery is placed under one of the following conditions Overload protection When the tool is operated in a manner that causes it ...

Page 6: ...sting belts The tightness of the shoulder belts upper and lower belts can be adjusted Put your arms through the shoul der belts first then fasten the lower and upper belts To tighten pull the end of the strap as illustrated To loosen pull up the end of the fastener Lower belt 1 2 1 Strap 2 Fastener Shoulder belts 2 1 1 Strap 2 Fastener Upper belt 1 2 1 Strap 2 Fastener Carrying hook Always grab th...

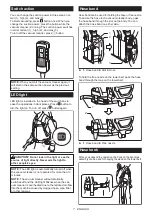
Page 7: ...ectly Never aim the light to other people s eyes NOTE The LED light is automatically turned off when the vacuum cleaner is not operated for more than 10 minutes NOTE The vacuum cleaner will automatically switches off and the LED light flashes when the vac uum cleaner is overheated due to the reduced air flow into the machine caused by clogged hose pipe filter or other reasons Hose band Hose band c...

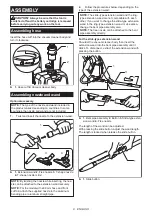
Page 8: ...hose and front cuff 38 attach the supplied nozzle to the aluminum bending pipe aluminum straight pipe 2 Follow the procedures below depending on the type of the extension wand NOTE The slide type extension wand and the ring type extension wand are not compatible with each other If you want to change the slide type extension wand to the ring type extension wand or vice versa change the bent pipe as...

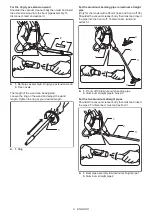
Page 9: ... at your desired length 1 1 Ring For the aluminum bending pipe aluminum straight pipe Only for the model with ø38 mm hose and front cuff 38 Shoulder the vacuum cleaner body then twist and insert the pipe into the front cuff To disconnect twist and extract it 1 2 3 4 4 1 Front cuff 38 2 Aluminum bending pipe 3 Aluminum straight pipe 4 Nozzle For the two aluminum straight pipes Shoulder the vacuum c...

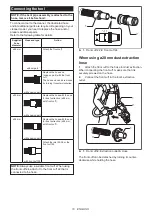
Page 10: ...part Replace the hose with the one for dust extraction ø28 mm with front cuff ø38 mm with snap on part Replace the hose with the one for dust extraction ø28 mm with front cuff with front cuff 38 Attach the joint 22 38 or the front cuff 24 NOTE Always use a suitable front cuff When using the front cuff 24 attach it to the front cuff 22 that is connected to the hose 1 2 1 Front cuff 22 2 Front cuff ...

Page 11: ...ting the extension wand or nozzle for vacuum cleaning to this product If you want to use this product as the vacuum cleaner attach the bent pipe assembly to the hose To attach unscrew the front cuff from the hose and fasten the sleeve of bent pipe assembly onto the hose To remove loosen the sleeve of bent pipe assembly from the hose 1 2 3 1 Hose 2 Bent pipe assembly 3 Sleeve Installing filter bag ...

Page 12: ...f the vacuum cleaner WARNING This vacuum cleaner is not suit able for picking up hazardous dust CAUTION This cleaner is for dry use only CAUTION This cleaner is for indoor use only CAUTION Always insert the battery cartridge all the way until it locks in place If you can see the red indicator on the upper side of the button it is not locked completely Insert it fully until the red indicator cannot...

Page 13: ...t use an used filter bag The filter bag is designed for single use Using filter bag repeat edly may cause clogging of the filter and results in damage to the cleaner If you want to use the bag repeatedly use a dust bag MAINTENANCE CAUTION Always be sure that the tool is switched off and the battery cartridge is removed before attempting to perform inspection or maintenance NOTICE Never use gasolin...

Page 14: ...eaning the dust bag Regularly clean the dust bag with soap and water Turn the dust bag inside out and remove the sticky dust Wash lightly by hand and rinse well with water Dry completely before installing to the vacuum cleaner NOTICE Wet dust bag lowers the vacuuming per formance as well as the life of the motor Clearing the clog When clearing the clog remove the hose or the exten sion wand or the...

Page 15: ... or attachments might present a risk of injury to persons Only use accessory or attachment for its stated purpose If you need any assistance for more details regard ing these accessories ask your local Makita Service Center Hose for vacuum cleaner type Hose for dust extraction type Extension wand Free nozzle T shape nozzle Seat nozzle Corner nozzle Shelf brush Round brush Bent pipe assembly Filter...

Page 16: ...www makita com Makita Europe N V Makita Corporation 3 11 8 Sumiyoshi cho Anjo Aichi 446 8502 Japan Jan Baptist Vinkstraat 2 3070 Kortenberg Belgium 885661B221 EN 20181112 ...

Reviews: