


16
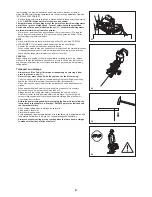
Operating
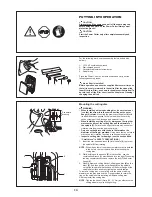
Starting
WARNING:
Do not start the engine in locations where refueling has
taken place. Move at least three meters away from the place
where the Power Cutter was fuelled.
Failure to do so may cause flames or fire.
•
CAUTION:
Before starting engine, be sure to check that the cutting
disc is not touching the ground or any other obstacle.
If the cutting disc is touching the ground or other obstacle, it
•
may cause an accident.
As soon as the engine starts, the cutting disc will rotate, so
be fully aware of nearby people and obstacles.
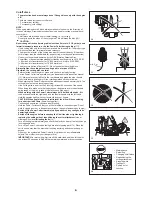
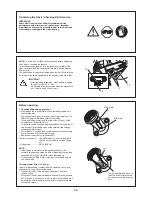
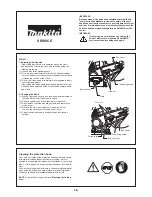
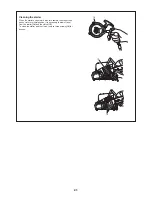
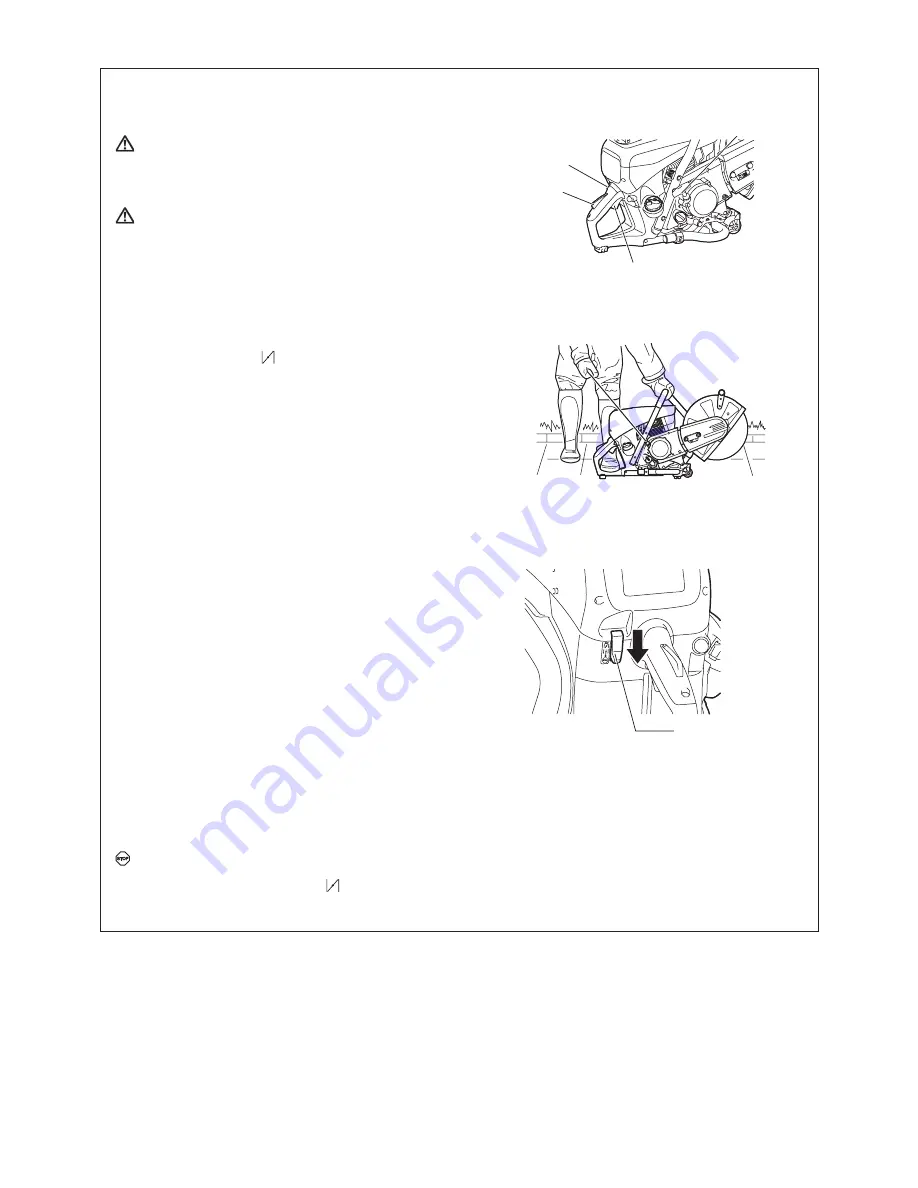
1. Cold-starting
(1) Repeatedly press primer pump until fuel enters it.
(2) Flip switch in direction of (choke).
(3) Hold down rear handle with a foot and firmly hold down
tubular handle with a hand.
(4) Vigorously pull the start handle repeatedly until the first firing
up sound is heard.
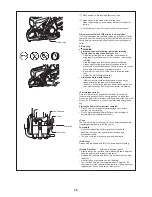
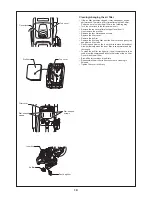
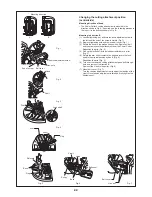
Warming up
Once engine starts, hold down safety lever, and squeeze and
•
release throttle repeatedly for one or two minutes to warm up
the engine.
Once engine speed stabilizes and it revs smoothly from low to
•
high speed, warming up is complete.
2. Starting up when engine is warm
Press the primer pump several times. From the outset, place the
switch in the [I] (operating) position, and start the engine using
task (3) of procedure 1 above.
NOTE:
Repeatedly pulling and releasing the starter grip with the
•
switch set to choke will flood the engine with fuel, making start
up difficult.
When the engine stops, never squeeze the throttle lever.
•
Unnecessarily squeezing the throttle lever with the engine
stopping will flood the engine with fuel, making start up
difficult.
If the engine does become flooded with fuel, remove the
•
spark plug, and slowly pull the starter handle several times to
remove the excess fuel. Also, dry the electrode section of the
spark plug.
Do not pull starter handle to the limit of the rope, as doing so
•
shortens the lifespan of the rope. Furthermore, gently return
the starter handle without suddenly letting go of it.
Avoid letting the Power Cutter run at maximum idling speed,
•
as doing so will shorten the lifespan of the engine.
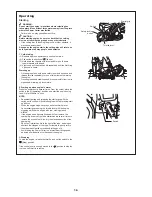
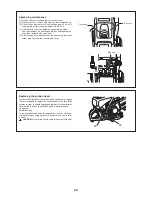
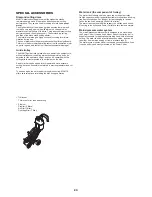
3. Stopping
To stop the engine, release the throttle, and set the switch to the
(Stop) position.
If the choke lever is wrongly moved to the position to stop the
tool, use half throttle to restart.
Throttle lever
Starter grip
Switch
Switch
Safety locking
button
Summary of Contents for EK7650H
Page 27: ...27...
Page 28: ...Makita Corporation 885023C7 www makita com ALA...


