

5
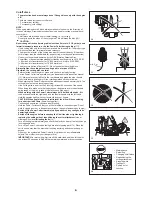
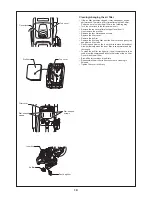
Always wear
-
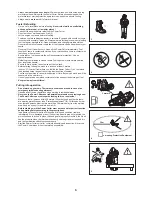
safety shoes or boots
(G) with steel toes, non-skid soles, and leg
protectors when working with the Power Cutter. Safety shoes equipped with a
protective layer provide protection against cuts and ensure a secure footing.
Always wear a
-
work suit
(H) of sturdy material.
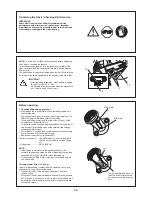
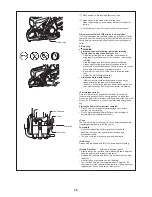
Fuels / Refuelling
Go to a safe, level place before refuelling.
-
Never refuel while on scaffolding,
on heaps of material, or in similar places!
Switch off the engine before refuelling the Power Cutter.
-
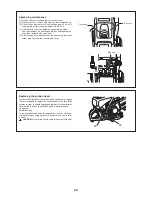
Do not smoke or work near open fires (6).
-
Let the engine cool down before refuelling.
-
Fuels can contain substances similar to solvents. Eyes and skin should not come
-
in contact with mineral oil products. Always wear protective gloves when refuelling
(not the regular work gloves!). Frequently clean and change protective clothes.
Do not breathe in fuel vapors. Inhalation of fuel vapours can be hazardous to your
health.
Do not spill fuel. If a spill occurs, clean off the Power Cutter immediately. Fuel
-
should not come in contact with clothes. If your clothes have come in contact with
fuel, change them at once.
Ensure that no fuel oozes into the soil (environmental protection). Use an
-
appropriate base.
Refuelling is not allowed in closed rooms. Fuel vapors will accumulate near the
-
floor (explosion hazard).
Ensure to firmly tighten the screw cap of the fuel tank.
-
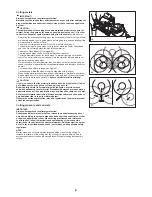
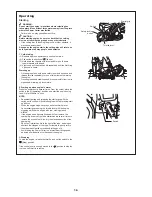
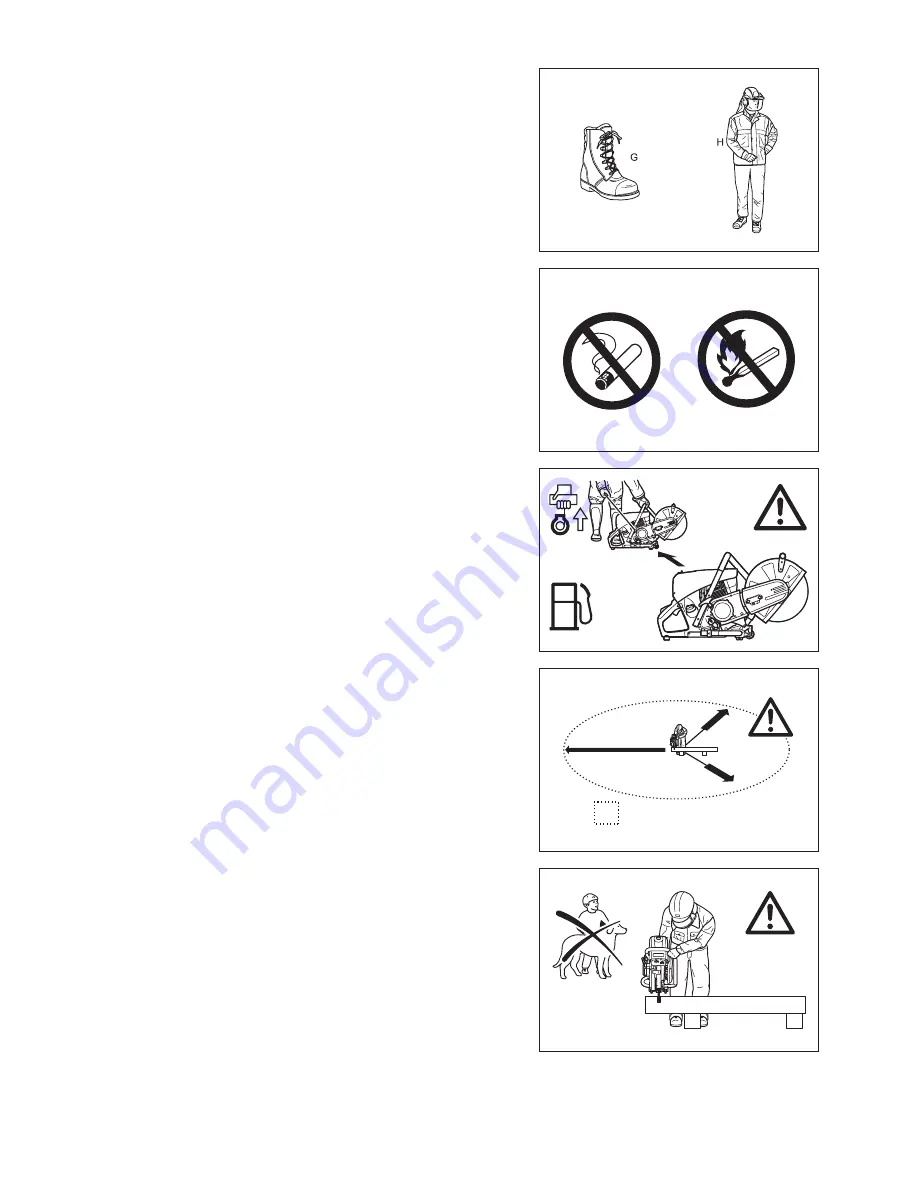
Before starting the engine, move to a location at least 3 meters
-
(approx. 3 1/4 yards) from where you fuelled the Power Cutter (7), but not within
the extended swing range of the cutting disc (direction of sparks).
Fuel cannot be stored for an unlimited period of time. Buy only as much as will be
-
consumed in the near future.
Use only approved and marked containers for the transport and storage of fuel.
-
Keep fuel away from children!
-
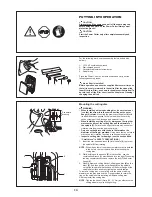
Putting into operation
Do not work on your own. There must be someone around in case of an
-
emergency (within shouting distance).
Observe all anti-noise regulations when working in residential areas.
-
Never use the Power Cutter near inflammable materials or explosive gases!
-
The Power Cutter can create sparks leading to fire or explosion!
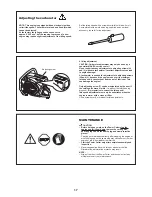
Make sure that all persons within 30 meters (33 yards), such as other workers,
-
are wearing protective gear (see “Protective equipment”) (8). Children and other
unauthorized persons must remain more than 30 meters away from the working
area. Keep an eye out for animals as well (9).
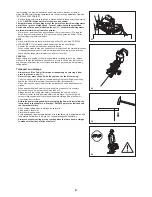
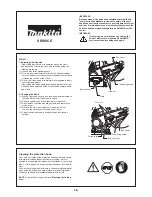
Before starting work the Power Cutter must be checked for perfect function
-
and operating safety according to the prescriptions.
In particular, make sure that the cutting wheel is in good condition (replace
immediately if torn, damaged or bent), the cutting wheel is properly mounted, the
protection hood is locked in place, the hand guard is properly mounted, the V-belt
has the proper tension, the throttle moves easily and the grips are clean and dry,
and the combination switch functions properly.
Start the Power Cutter only after complete assembly and inspection. Never use
-
the Power Cutter when it is not completely assembled.
5
6
7
8
9
3 meters
= wearing Protective Equipment
30 m
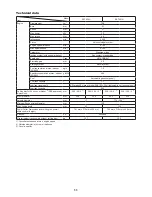
Summary of Contents for EK7650H
Page 27: ...27...
Page 28: ...Makita Corporation 885023C7 www makita com ALA...


