

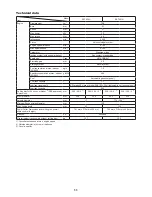
6
Cutoff discs
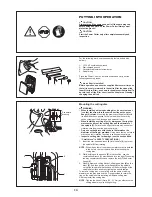
The protection hood must always be on! Change discs only with the engine
-
off!
There are two basic types of cutoff discs:
-
For metal (hot cutting)
-
For masonry (cold cutting)
-
NOTE:
When using diamond cutoff discs, always make sure to observe the “direction of
rotation” markings. Diamond discs should only be used for cutting masonry/brick/
concrete etc.
Cutoff discs are intended only for radial loading, i.e. for cutting.
-
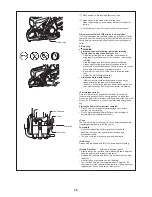
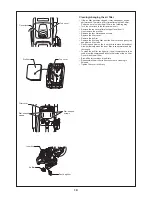
Do not grind with the sides of the cutting disc! This will break the disc (10)!
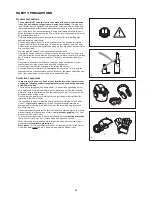
CAUTION:
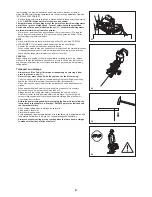
Never change direction (turning radius less than 5 meters / 5 1/2 yards), exert
lateral (sideways) pressure, or tip the Power Cutter during cutting
(11)
!
Use a cutting disc only for cutting the materials it is intended for. The proper type
-
of disc must be used, for either metals or masonry.
The arbour hole (bore) of the cutting disc must fit the shaft exactly. If the arbour
-
hole is larger than the shaft diameter, a spacer ring must be used (accessories).
Use only cutting wheels approved by the DSA (German Abrasive Disc
-
Committee) or equivalent organisation for freehand cutting at up to 4,370 RPM
(= 80 m/sec. at circumference) for 14”/355 mm discs, or up to 5,100 RPM
(= 80 m/sec. at circumference) for 12”/300 mm discs.
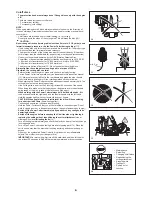
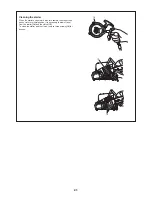
The disc must be free of defects (12). Do not use defective cutting discs.
-
Always tighten the cutting disc mounting bolt to a torque of 30 Nm.
Otherwise, the cutting disc can twist.
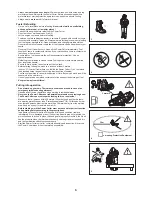
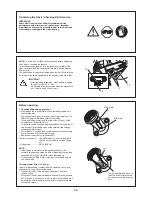
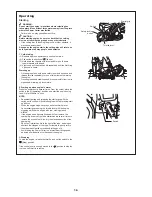
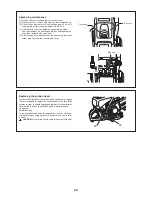
Before starting the cutting disc, make sure you have a steady footing.
-
Put the Power Cutter into operation only as described in this instruction manual
-
(13). Always place your left foot in the rear handle and grasp the other handle
firmly (with thumb and fingers). Other starting methods are not allowed.
When starting the Power Cutter it must be well supported and securely held. The
-
cutting disc must not be touching anything.
If the cutting disc is new, test it by running it at least 60 seconds at top speed.
-
When doing this, make sure that no persons or body parts are in the extended
swing range of the disc, in case it is defective and flies apart.
When working with the Power Cutter always hold it with both hands.
-
Take
the back handle with the right hand and the tubular handle with the left hand.
Hold the handles tightly with your thumbs facing your fingers.
CAUTION: When you release the throttle lever the disc will keep spinning
-
for a short period of time
(free-wheeling effect).
Continuously ensure that you have a safe footing.
-
Hold the Power Cutter such that you will not breathe in the exhaust gas. Do not
-
work in closed rooms or in deep holes or ditches (danger of poisoning by fumes).
Switch off the Power Cutter immediately if you observe any changes in its
-
operating behavior.
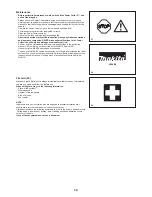
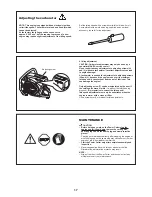
Switch off the engine before inspecting the V-belt tension or tightening it,
-
replacing the cutting wheel, repositioning the cutter attachment
(side or
middle position)
or eliminating faults
(14)
.
Turn off the engine immediately and check the disc if you hear or feel any change
-
in cutting behaviour.
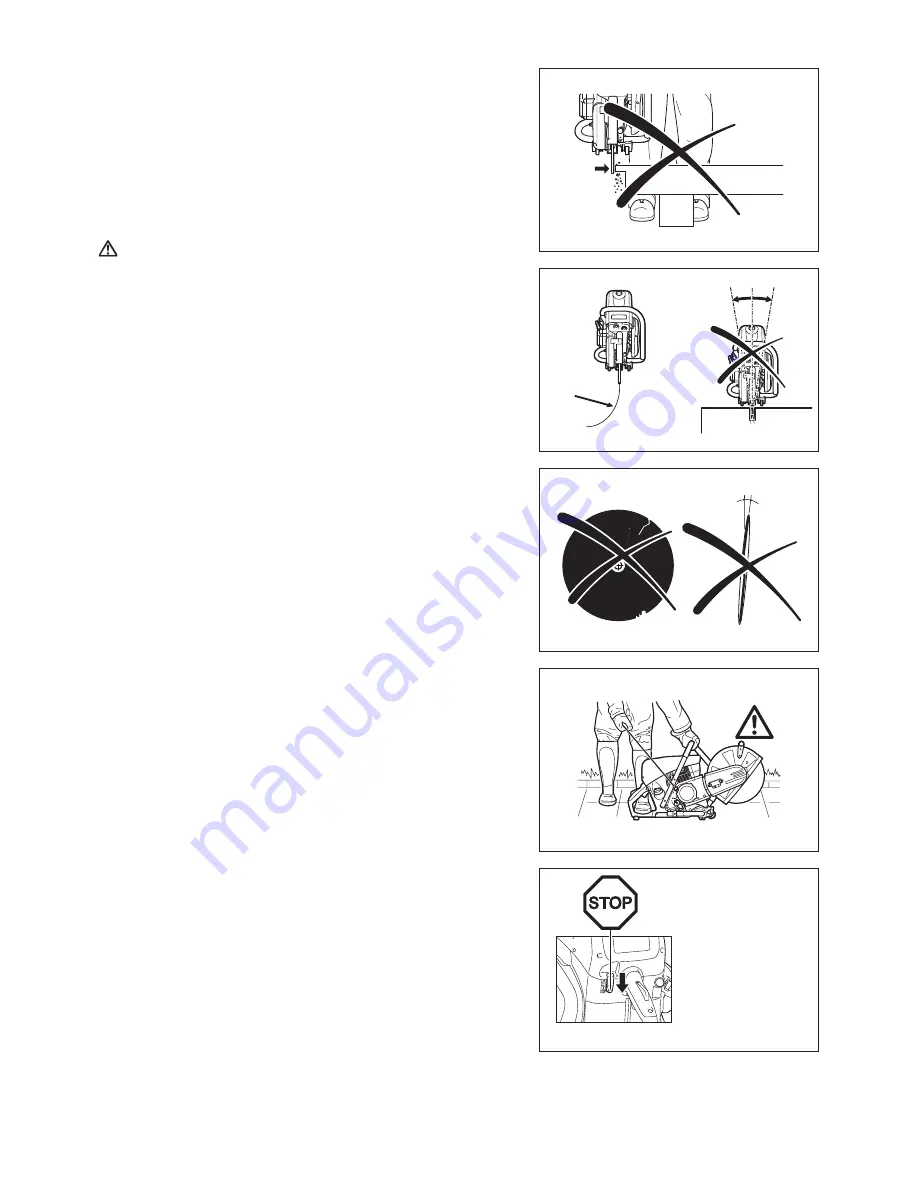
Turn off the Power Cutter when taking a break or stopping work (14). Place the
-
unit in such a way that the disc is not touching anything and cannot endanger
anyone.
Do not put the overheated Power Cutter in dry grass or on any inflammable
-
objects. The muffler is very hot (danger of fire).
IMPORTANT:
-
After wet cutting, first turn off the water feed and then let the disc
run at least 30 seconds, to fling off the remaining water and prevent corrosion.
10
11
12
13
14
min. 5 m
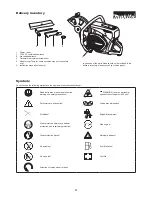
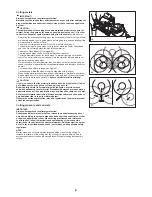
Maintenance
•
Refuelling
•
Changing cutoff discs
•
Repositioning the
•
cutting attachment
Stopping work
•
Transport
•
Putting out of
•
function
Summary of Contents for EK7650H
Page 27: ...27...
Page 28: ...Makita Corporation 885023C7 www makita com ALA...


