background image

17 

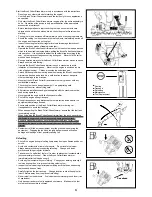
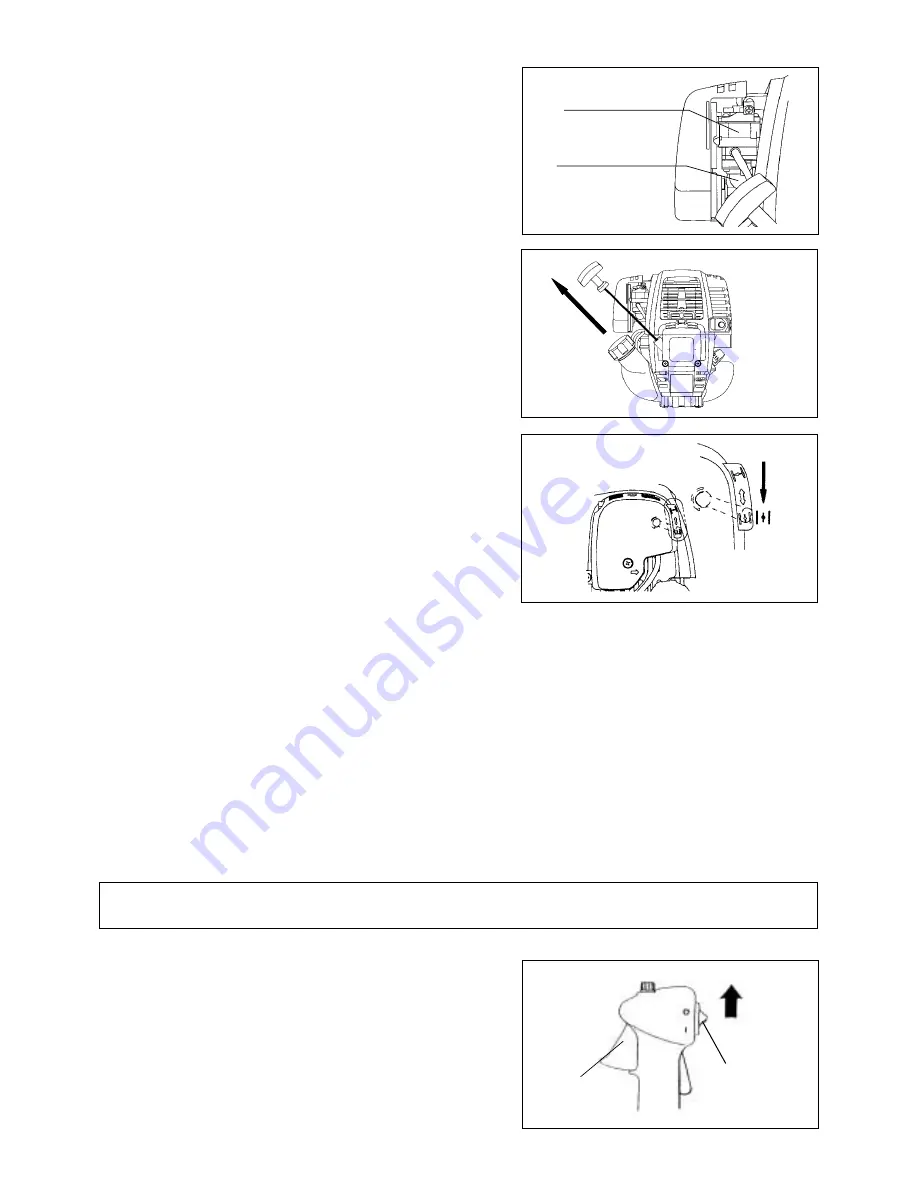
3) Primer pump 

Continue to push the primer pump until fuel enters into the primer pump. (In 
general, fuel enters into the primer pump by 7 to 10 pushes.) 
If the primer pump is pushed excessively, an excess of gasoline returns to 
the fuel tank. 


4) Recoil starter 

–  Pull the start knob gently until it is hard to pull (compression point). Then, 

return the start knob, and pull it strongly. 

–  Never pull the rope to the full. Once the start knob is pulled, never 

release your hand immediately. Hold the start knob until it returns to its 
original point. 


5) Choke lever 

When the engine starts, open the choke lever. 

–  Open the choke lever progressively while checking the engine operation. 

Be sure to open the choke lever to the full in the end. 

–  In cold or when the engine is cooled down, never open the choke lever 

suddenly. Otherwise, the engine may stop. 

 
6) Warm-up operation 

Continue warm-up operation for 2 to 3 minutes.   


Note: 

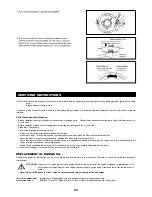
 If the starter handle is pulled repeatedly when the choke lever remains at “START” position, the engine will not start easily due to 

excessive fuel intake. 


 In case of excessive fuel intake, remove the spark plug and pull the starter handle slowly to remove excess fuel.    Also, dry the 

electrode section of the spark plug. 


Caution during operation: 

If the throttle lever is opened fully in a no-load operation, the engine rotation is increased to 10,000 min

-1

 or more.    Never operate the engine at 

a higher speed than required and at an approximate speed of 6,000 - 8,500 min

-1


B: Startup after warm-up operation 

1)  Push the primer pump repeatedly.   

2)  Keep the throttle lever at the idling position.   

3

 Pull the recoil starter strongly.   

4)  If it is difficult to start the engine, open the throttle by about 1/3. 

Pay attention to the cutter blade which may rotate. 


Attention in Operation 

When the engine is operated upside down, white smoke may come out from the muffler. 


STOPPING 

1)  Release the throttle lever (6) fully, and when the engine rpm has lowered, 

set the I-O switch to STOP the engine will now stop. 

2)  Be aware that the cutting head may not stop immediately and allow it to slow 

down fully. 


OPEN 

STOP


Throttle lever (6)

I-O switch

(1)


Carburettor

Primer Pump

Summary of Contents for EM4340

Page 1: ...ual carefully Importante Prima di mettere in funzione il decespugliatore tagliabordi leggere attentamente il presente manuale rispettare rigorosamente le norme di sicurezza Conservare il manuale delle istruzioni per l uso Importante Leer cuidadosamente este manual de instrucciones antes de poner en marcha la máquina y observar estrictamente las normas de seguridad Conservar este manual de instrucc...

Page 2: ...nting of protector 12 Mounting of cutter blade or nylon cutting head 13 Before start of operation 14 Correct handling of machine 16 Points in operation and how to stop 16 Resharpening the cutting tool 18 Servicing instructions 20 Storage 24 You will note the following symbol s when reading the instructions manual Wear eye and ear protection for Grass trimmer only Wear protective helmet eye and ear...

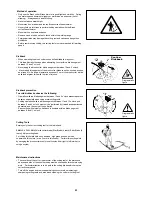
Page 3: ...hrubs In order to avoid either head eye hand or foot injuries as well as to protect your hearing the following protective equipment and protective clothing must be used during operation of the Brush Cutter Grass trimmer Always wear a helmet where there is a risk of falling objects The protective helmet 1 is to be checked at regular intervals for damage and is to be replaced at the latest after 5 y...

Page 4: ...guard All protective installations and guards supplied with the machine must be used during operation Never operate the engine with faulty exhaust muffler Shut off the engine during transport During transport over long distances the tool protection included with the equipment must always be used Ensure safe position of the Brush Cutter Grass trimmer during car transportation to avoid fuel leakage ...

Page 5: ...s 㩷 㩷 㩷 Kickback prevention To avoid kickbacks observe the following Operation within a blade segment between 12 and 2 o clock presents positive hazards especially when using metal cutting tools Cutting operations within a blade segment between 11 and 12 o clock and between 2 and 5 o clock must only be performed by trained and experienced operators and then only at their own risk Easy cutting with...

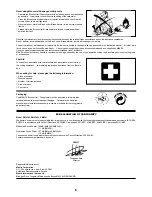
Page 6: ...g tools or accessories First Aid In case of accident make sure that a first aid box is available in the vicinity of the cutting operations Immediately replace any item taken from the first aid box When asking for help please give the following information Place of accident What happened Number of injured persons Kind of injuries Your name 㩷 Packaging The MAKITA Brush cutter Grass trimmer will be d...

Page 7: ...ngine performance g kwh 426 Engine speed at idling min 1 3000 Clutch engagement speed min 1 4100 Carburetor Diaphragm carburetor type WALBRO WYJ Ignition system type Solid state ignition Spark plug type NGK CMR6A Electrode gap mm 0 7 0 8 Idling m s2 2 79 2 67 3 29 Right handle Rear grip Racing or W O T m s2 2 27 6 70 14 70 Idling m s2 3 06 2 72 4 05 Vibration per ISO 79161 Left handle Front grip R...

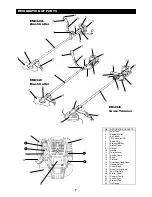
Page 8: ...Rewind Starter 3 Air Cleaner 4 I O Switch on off 5 Spark Plug 6 Exhaust Muffler 7 Clutch Case 9 Hanger 10 Handle 11 Throttle Lever 12 Control Cable 13 Shaft 14 Protector 15 Gear Case Head Case 16 Handle Holder 17 Cutter Blade 18 Nylon Cutting Head 19 Fuel Filler Cap 20 Starter Knob 21 Primmer Pump 22 Choke Lever 23 Exhaust Pipe 24 Oil Gauge DESIGNATION OF PARTS 㽴 㾅 㽳 㽲 㽷 㪉㪋 㪉㪊 㪉㪈㩷 㾄 㪉㪉㩷 ...

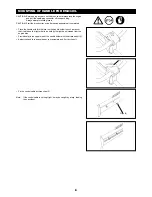
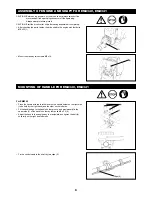
Page 9: ...ver on the handle holder in such a manner that it will be on the right side to be held by the right hand viewed from the engine side Provisionally fix the upper side of the handle holder with the attached bolt 1 Adjust the handle to an angle easy to manipulate and fix it by the bolt Fix the control cable by three clips 2 Note If the control cable is not kept tight it may be caught by a twig leadin...

Page 10: ...OF HANDLE For BH3600 For EM4340 Place the handle with the throttle lever on the handle holder on the right side to be held by the right hand and the other on the left side Fit the handle edge to the handle holder groove and provisionally fix the upper side 3 of the handl e holder by four bolts M5 x 25 4 Adjust the handle to an angle easy to manipulate and tighten the bolt 4 uniformly on the right ...

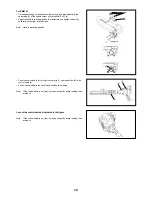
Page 11: ...left sides Note Handle mounting position Pass the control cable 6 through the rear grip 7 and insert tube 8 in the control cable 6 Fix the control cable to the handle and shaft by two clamps Note If the control cable is not tight it may be caught by a twig leading to an accident Lay out the control cable as indicated in the figure Note If the control cable is not tight it may be caught by a twig l...

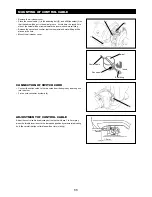
Page 12: ...ed in the hole Mount the air cleaner cover CONNECTION OF SWITCH CORD Connect the switch cords to the two cords from the engine by inserting one into the other Fix the cord connector by clamp 4 ADJUSTMENT OF CONTROL CABLE Adjust the control cable by adjusting bolt so that it will have 1 to 2 mm play when the throttle lever is set to the low speed position by carburetor adjusting bolt Be careful tha...

Page 13: ...ly with accident prevention regulations Operation of the equipment without the guard being in place is not permitted 㩷 For EM4340 EM4340L The outside diameter of the cutter blade must be 255mm 10 Never use any blades surpassing 255mm 10 in outside diameter 㩷 㩷 㩷 㩷 Fix the protector 1 to the clamp 3 with two bolts M6 x 30 2 NOTE Tighten the right and left bolts evenly so that the gap between the cl...

Page 14: ...ghtening torque 13 23 N m 㩷 NOTE Always wear gloves when handling the cutter blade NOTE The cutter blade fastening nut with coned disc spring is a consumable part If there appears any wear or deformation on the coned disc spring replace the nut Mounting of nylon cutting head The clamp washer 3 cup 2 and nut 1 are not necessary for mounting the nylon cutting head The nylon head should go on top of ...

Page 15: ... white 㩷 Point 1 in Replacement of Oil Oil Gauge Remove dust or dirt near the oil refill port and detach the oil gauge Keep the detached oil gauge free of sand or dust Otherwise any sand or dust adhering to the oil gauge may cause irregular oil circulation or wear on the engine parts which will result in troubles As an example to keep the oil gauge clean it is recommended to insert the oil gauge o...

Page 16: ...ep the fuel in the cabin or trunk 㩷 Fuel The engine is a four stroke engine Be sure to use an automobile gasoline regular gasoline or premium gasoline 㩷 Points for Fuel Never use a gasoline mixture which contains engine oil Otherwise it will cause excessive carbon accumulation or mechanical troubles Use of deteriorated oil will cause irregular startup 㩷 Refueling WARNING INFLAMMABLES STRICTLY PROH...

Page 17: ...he machine to be deflected toward you or anyone in the work vicinity WARNING Failure to maintain complete control of the machine at all could result in serious bodily injury or DEATH 㩷 Observe the applicable accident prevention regulations STARTING Move at least 3m away from the place of refuelling Place the brush cutter on a clean piece of ground taking care that the cutting tool does not come in...

Page 18: ...s at START position the engine will not start easily due to excessive fuel intake In case of excessive fuel intake remove the spark plug and pull the starter handle slowly to remove excess fuel Also dry the electrode section of the spark plug Caution during operation If the throttle lever is opened fully in a no load operation the engine rotation is increased to 10 000 min 1 or more Never operate ...

Page 19: ...cutting tool causing vibrations and damage to the equipment cutter blade star blade 4 teeth eddy blade 8 teeth An expert resharpening and balancing service is provided by Authorized Service Agents 㩷 NOTE To increase the service life of the cutter blade star blade eddy blade it may be turned over once until both cutting edges have become blunt 㩷 NYLON CUTTING HEAD The nylon cutting head is a dual s...

Page 20: ...19 ...

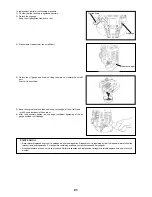
Page 21: ...here is sufficient difference between idling and engagement speed to ensure that the cutting tool is at a standstill while the engine is idling if necessary reduce idling speed If under idling conditions the tool should still continue to run consult your nearest Authorized Service Agent Check the functioning of the I O switch the lock off lever the throttle lever REPLACEMENT OF ENGINE OIL Deterior...

Page 22: ...efill use a lubricant refill container 6 After refill securely tighten the oil gauge Insufficient tightening of the oil gauge will lead to oil leakage POINTS ON OIL Never discard replaced engine oil in garbage earth or sewage ditch Disposal of oil is regulated by law In disposal always follow the relevant laws and regulations For any points remaining unknown contact Authorized Service Agent Oil wi...

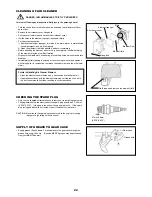
Page 23: ... bolts In remounting first place the upper claw and then the lower claw 㩷 Points in Handling Air Cleaner Element Clean the element several times a day if excessive dust adheres to it If operation continues with the element remaining not cleared of oil oil in the air cleaner may fall outside resulting in oil contamination CHECKING THE SPARK PLUG Only use the supplied universal wrench to remove or t...

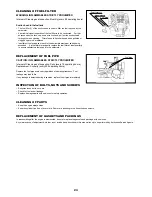
Page 24: ...FLAMMABLES STRICTLY PROHIBITED Interval of Cleaning and Inspection Daily every 10 operating hours Replacement Annually every 200 operating hours Replace the fuel pipe every year regardless of operating frequency Fuel leakage may lead to fire If any leakage is detected during inspection replace the oil pipe immediately INSPECTION OF BOLTS NUTS AND SCREWS Retighten loose bolts nuts etc Check for fue...

Page 25: ...e cutter blade edge oriented downward Lubricating oil may spill out Keep the drained fuel in a special container in a well ventilated shade 㩷 㩷 Attention after long time storage Before startup after long time shutdown be sure to replace oil refer to P 20 Oil will deteriorate while the machine is kept out of operation 㩷 Fault location Fault System Observation Cause Engine not starting or with diffi...

Page 26: ...just 䂾 18 Air cleaner Clean 䂾 22 Ignition plug Inspect 䂾 22 Cooling air duct Clean inspect 䂾 23 Inspect 䂾 23 Fuel pipe Replace 䃁 2 㵪 Gear case grease Refill 䂾 22 Fuel filter Clean replace 䂾 23 Clearance between air intake valve and air discharge valve Adjust 䃁 2 㵪 Oil tube Inspect㩷 䃁 2 㩷 Engine overhaul 䃁 2 㵪 Carburetor Drain fuel 䂾 3 24 1 Perform initial replacement after 20h operation 2 For the ...

Page 27: ...l drive system Make request for inspection and maintenance Insufficient warm up Perform warm up operation Choke lever is set to CLOSE although engine is warmed up Set to OPEN Clogged fuel filter Clean Contaminated or clogged air cleaner Clean Abnormal carburetor Make request for inspection and maintenance Engine stops soon Engine speed does not increase Abnormal drive system Make request for inspe...

Page 28: ...6349502003 07 11 Makita Corporation 3 11 8 Sumiyoshi cho Anjo Aichi 446 8502 Japan ...

Reviews: