


4
–
Before starting the power sprayer, always make sure that the machine is in
safe operational condition and check whether the throttle lever is functioning
properly.
–
Always check for and remove tools used during assembly of the machine.
Attached tools may be flung from the engine when it is started, causing
serious injury.
–
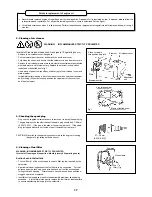
Make sure that the power sprayer is clean and dry and test the STOP switch
to ensure that it is functioning properly.
–
Stop the engine immediately if experiencing engine problems.
–
When operating the power sprayer, take extra care not to inhale exhaust
fumes.
–
Exhaust fumes are poisonous. Never operate the machine in an enclosed
room or an area with insufficient ventilation (risk of suffocation and gas
poisoning).
–
Do not operate the power sprayer continuously for longer than one hour, and
observe a rest time of at least 30 minutes between each working hour.
–
Stop the engine when resting or when the power sprayer is left unattended.
To protect other people and the power sprayer from damage, place the
machine in a safe location and make sure that no combustible material is
nearby. Never place a hot power sprayer onto dry grass or combustible
material. Placing the machine on dry grass or near combustible material is
extremely dangerous and may result in a fire.
–
Never operate the engine if the muffler is malfunctioning.
–
Always turn off the engine before moving the power sprayer to a new
location.
–
Wait until the engine has cooled down, empty the fuel tank, and securely
attach the power sprayer before transporting the machine in a vehicle.
–
Make sure that the fuel tank is completely empty and dry before shipping the
power sprayer.
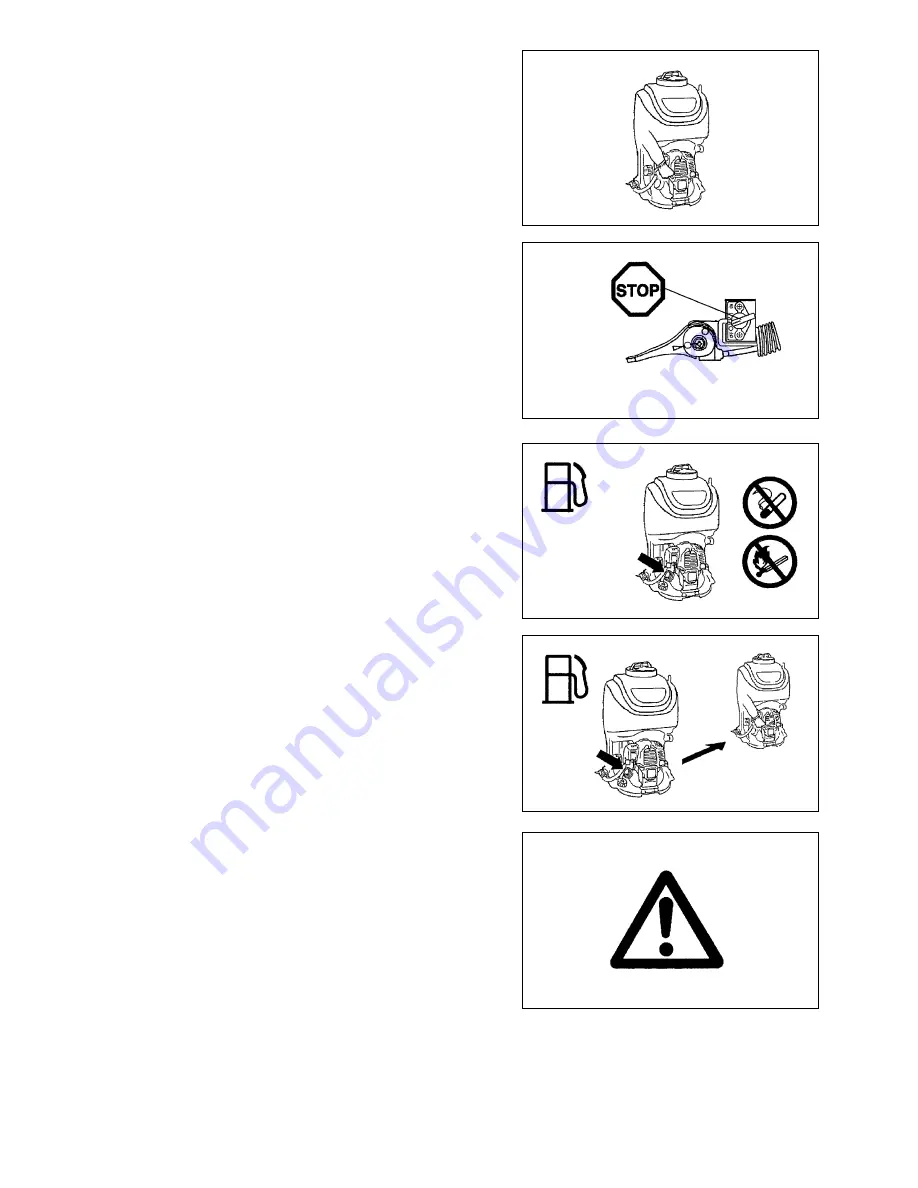
Refueling
–
Shut off the engine during refuelling, keep well away from open flame and do
not smoke.
–
Avoid skin contact with petroleum products. Do not inhale fuel vapor.
Always wear protective gloves during refuelling. Change and clean
protective clothing at regular intervals.
–
Take care not to spill either fuel or oil in order to prevent soil contamination
(environmental protection). Clean the power sprayer immediately after fuel
has been spilt. Allow wet cloths to dry before disposing in proper, covered
container to prevent spontaneous combustion.
–
Avoid any fuel contact with your clothing. Change your clothing immediately
if fuel has been spilled on it (danger hazard).
–
Inspect the fuel cap at regular intervals making sure that it stays securely
fastened.
–
Carefully tighten the locking screw of the fuel tank. Change locations to
start the engine (at least 3 meters away from the place of refuelling).
–
Never refuels in closed rooms. Fuel vapors accumulate at ground level (risk
of explosions).
–
Only transport and store fuel in approved containers. Make sure stored fuel
is not accessible to children.
–
Do not attempt to refuel a hot or a running engine.
Method of operation
–
Only use the power sprayer in good light and visibility conditions. Never use
the power sprayer at night. Do not use the power sprayer during rainfall or
immediately after rain (danger of injury through slipping and falling in wet
conditions).
–
Beware of slippery and wet areas (ice and snow) as there is a danger of
slipping, and always ensure secure footing.
–
Never use the power sprayer while standing on a ladder.
–
Never climb a tree to use the power sprayer from the tree.
–
Never use the power sprayer while standing on an unstable surface.
–
Do not point the nozzle of the power sprayer towards people or animals.
Flying debris may cause serious injury.
–
Do not touch the spark plug connector while the engine is running.
–
Do not touch moving parts of the power sprayer while the engine is running.
–
Do not touch the muffler or other engine parts during operation or for a period
after the engine has stopped. These engine parts are extremely hot and may
cause serious burns.
Resting
Transport
Refuelling
Maintenance
Tool replacement
3 meters


