


7
charging it.
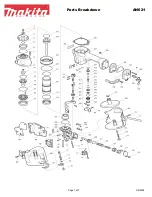
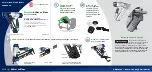
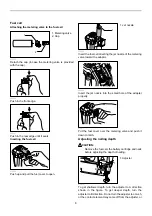
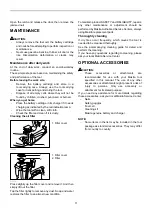
Overview of the nailer
1
2
3
4
5
6
7
8
9
10
012804
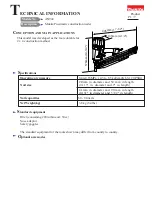
FUNCTIONAL DESCRIPTION
CAUTION:
•
Always be sure to remove the fuel cell, the battery
cartridge and nails before adjusting or checking
function on the tool.
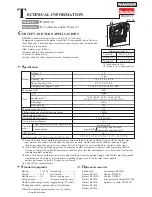
Installing or removing battery cartridge
CAUTION:
•
Always switch off the tool before installing or
removing of the battery cartridge.
•
Hold the tool and the battery cartridge firmly
when installing or removing battery cartridge.
Failure to hold the tool and the battery cartridge
firmly may cause them to slip off your hands and
result in damage to the tool and battery cartridge
and a personal injury.
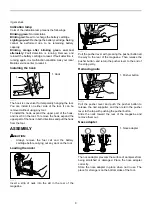
012805
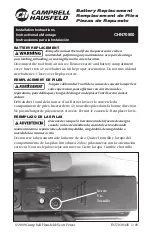
To install the battery cartridge, hold it so that the battery
cartridge front shape fits to that of the battery installment
opening and slip it into place. Insert it all the way until it
locks in place with a little click.
1
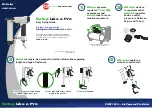
012806
To remove the battery cartridge, withdraw it from the tool
while pressing the buttons on the side of the cartridge as
shown in the figure.
CAUTION:
•
Always insert the battery cartridge all the way until it
locks in place. If not, it may accidentally fall out of
the tool, causing injury to you or someone around
you.
•
Do not install the battery cartridge forcibly. If the
cartridge does not slide in easily, it is not being
inserted correctly.
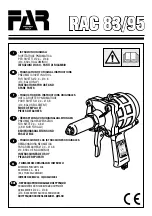
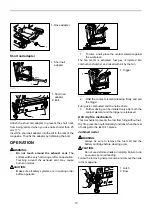
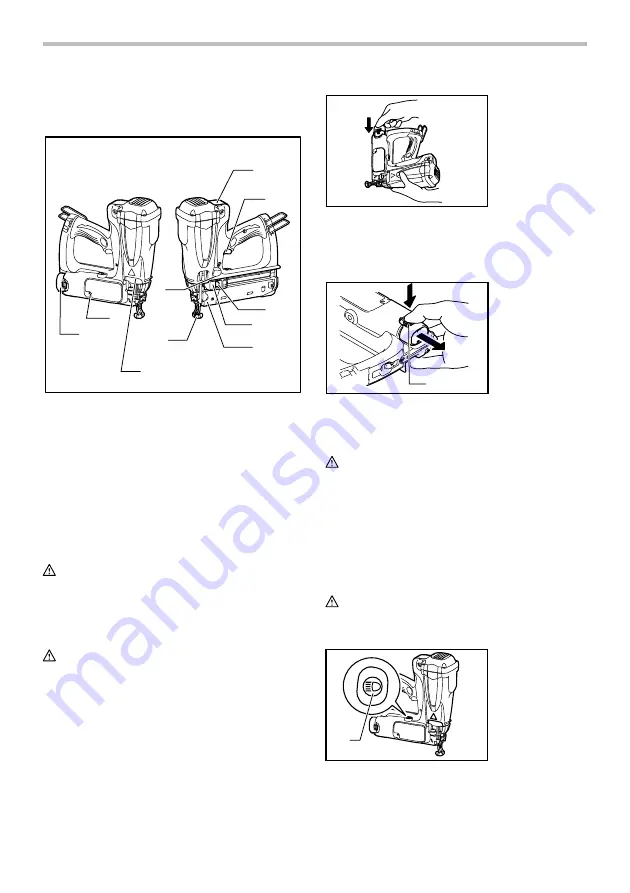
Lighting up the lamp
CAUTION:
•
Do not look in the light or see the source of light
directly.
1
012822
•
To switch on the Lamp, press the lamp button. To
switch off the lamp, press the lamp button again.
1. Lamp button
1. Button
1. Battery cartridge
2. Fuel cover
3. Trigger
4. Indication lamp
5. Pusher button
6. Pusher lever
7. Magazine
8. Contact element
9. Lamp
10. Exhaust vent