


Summary of Contents for LC06
Page 23: ...23 ...
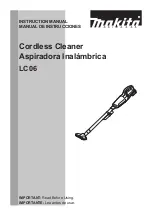
The Makita LC06 instruction manual is a valuable resource for users looking to operate their LC06 effectively. Download the comprehensive manual for free at 88.208.23.73:8080, and gain access to step-by-step instructions, safety guidelines, and troubleshooting tips to ensure optimal usage of this high-quality product.
Page 23: ...23 ...


