

Summary of Contents for XDT06
Page 31: ...31 ...
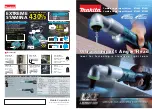
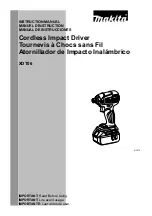
The Makita XDT06, a powerful cordless impact driver, delivers exceptional performance and precision in any project. To enhance your user experience, a comprehensive Instruction Manual is available for download absolutely free. Visit 88.208.23.73:8080 to access the manual and unleash the true potential of your Makita XDT06.
Page 31: ...31 ...