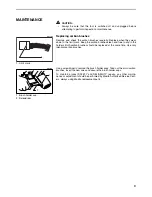
background image

7

For tool without lock button

To start the tool, simply pull the switch trigger. Release the switch trigger to

stop.

ASSEMBLY

CAUTION:

Always  be  sure  that  the  tool  is  switched  off  and  unplugged  before

carrying out any work on the tool.

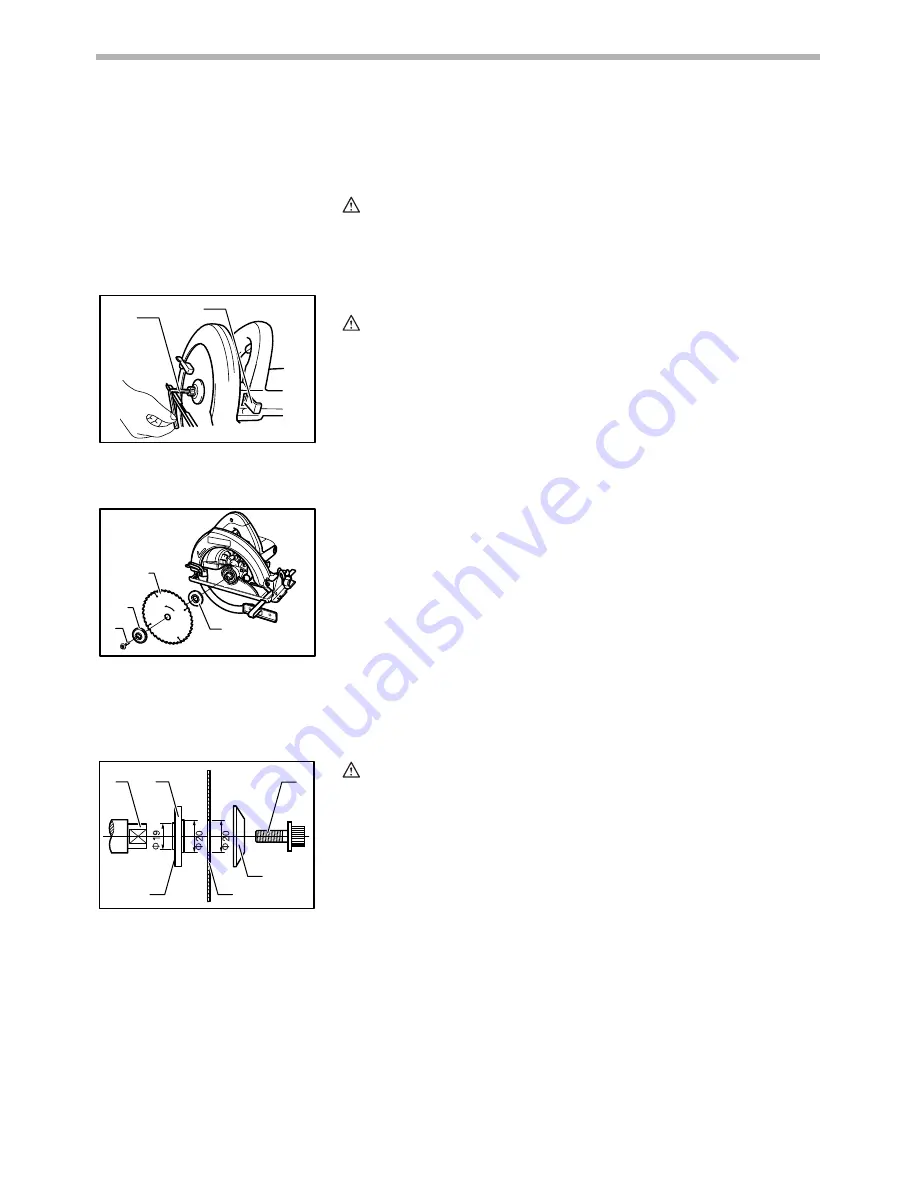
Removing or installing saw blade

CAUTION:

Be  sure  the  blade  is  installed  with  teeth  pointing  up  at  the  front  of  the

tool.

Use only the Makita wrench to install or remove the blade.

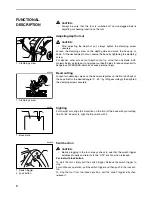
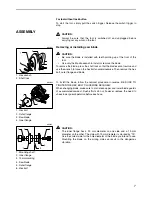
To remove the blade, press the shaft lock so that the blade cannot revolve and

use the wrench to loosen the hex bolt counterclockwise. Then remove the hex

bolt, outer flange and blade.

To  install  the  blade,  follow  the  removal  procedure  in  reverse.  BE  SURE  TO

TIGHTEN THE HEX BOLT CLOCKWISE SECURELY.
When changing blade, make sure to also clean upper and lower blade guards

of  accumulated  sawdust.  Such  efforts  do  not,  however,  replace  the  need  to

check lower guard operation before each use.

CAUTION:

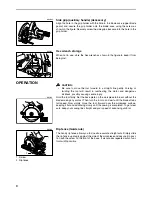
The  inner  flange  has  a  20  mm  diameter  on  one  side  and  a  19  mm

diameter on the other. The side with 19 mm diameter is marked by 

19

.

Use the correct side for the hole diameter of the blade you intend to use.

Mounting  the  blade  on  the  wrong  side  can  result  in  the  dangerous

vibration.

1. Hex wrench
2. Shaft lock

1

2

004031

1. Hex bolt
2. Outer flange
3. Saw blade
4. Inner flange

1

2

3

4

004032

1. Mounting shaft
2. Inner flange
3. 19mm marking
4. Saw blade
5. Outer flange
6. Hex bolt

1

2

3

4

5

6

004033

Summary of Contents for mt581

Page 1: ...N S T R U C T I O N M A N U A L WARNING For your personal safety READ and UNDERSTAND before using SAVE THESE INSTRUCTIONS FOR FUTURE REFERENCE ENGLISH Circular Saw MODEL MT581 005337 DOUBLE INSULATIO...

Page 2: ...nded for performing lengthways and crossways straight cuts and mitre cuts with angles in wood while in firm contact with the workpiece Power supply The tool should be connected only to a power supply...

Page 3: ...rotec tion Safety equipment such as dust mask non skid safety shoes hard hat or hearing protection used for appropriate conditions will reduce personal inju ries 11 Avoid accidental starting Ensure th...

Page 4: ...back 7 DANGER Keep Hands Away From Cutting Area Keep hands away from blades Don t reach underneath work while blade is rotating Don t attempt to remove cut material when blade is moving CAUTION Blades...

Page 5: ...t of the saw 16 Place the wider portion of the saw base on that part of the workpiece which is solidly sup ported not on the section that will fall off when the cut is made As example Fig 5 illustrate...

Page 6: ...bevel scale plates on the front and back of the base Set for the desired angle 0 45 by tilting accordingly then tighten the clamping screws securely Sighting For straight cuts align the A position on...

Page 7: ...install the blade follow the removal procedure in reverse BE SURE TO TIGHTEN THE HEX BOLT CLOCKWISE SECURELY When changing blade make sure to also clean upper and lower blade guards of accumulated sa...

Page 8: ...ack possibly causing severe injury Hold the tool firmly Set the base plate on the workpiece to be cut without the blade making any contact Then turn the tool on and wait until the blade attains full s...

Page 9: ...slip in the holders Both carbon brushes should be replaced at the same time Use only identical carbon brushes Use a screwdriver to remove the brush holder caps Take out the worn carbon brushes insert...

Page 10: ...Memo 10...

Page 11: ...Memo 11...

Page 12: ...Makita Corporation 884537A3...

Reviews: