17.A
13-05-03
Step 25
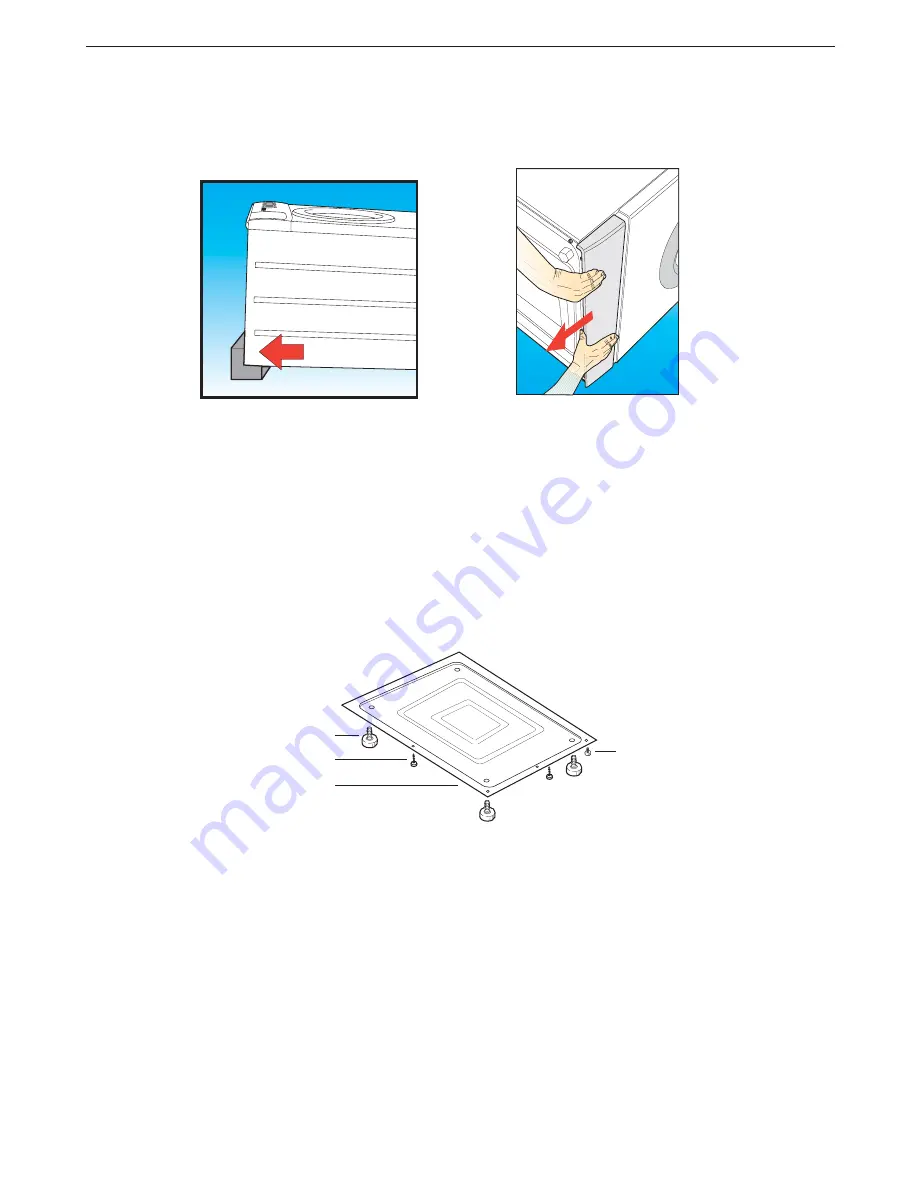
Removing and/or replacing the plastic plinth (B007) from the front panel (B070):
(a)
To carry out this operation, lean the drier backwards to gain access to the three plinth fixing screws.
Remove these screws using a cross-head screwdriver.
(b)
Remove the plinth (
B007
) manually by sliding it downwards.
(c)
To re-assemble, follow the same procedure in reverse order, making sure that the plinth lugs
enter the holes in the front panel.
MAINTENANCE PROCEDURES
Step 26
Replacing the bottom panel (A260):
(a)
Remove the top cover (
B360
) as described in
Step 1
.
(b)
Remove the rear panel (
B580
) following
Step 16
, dismantling only those parts necessary.
(c)
Manually remove the belt (
A290
) from the drum and motor following
Step 18
.
(d)
Remove the drum assembly (
A300
) following
Step 19.
(e)
Remove the five fixing screws (
A480
) from the front panel, then remove the screws securing
the bottom panel (
A260
).
(f)
Remove the motor (
A120
) following
Step 22
.
Remove the bottom panel (
A260
) fixing screws
and recover the four adjustable feet (
A250
).
(g)
To re-assemble, follow the same procedure in reverse order, following
Step 19
to re-assemble
the drum and then
Step 18
to refit the belt.
A250
A260
A370
A480


