Alarms
Touch
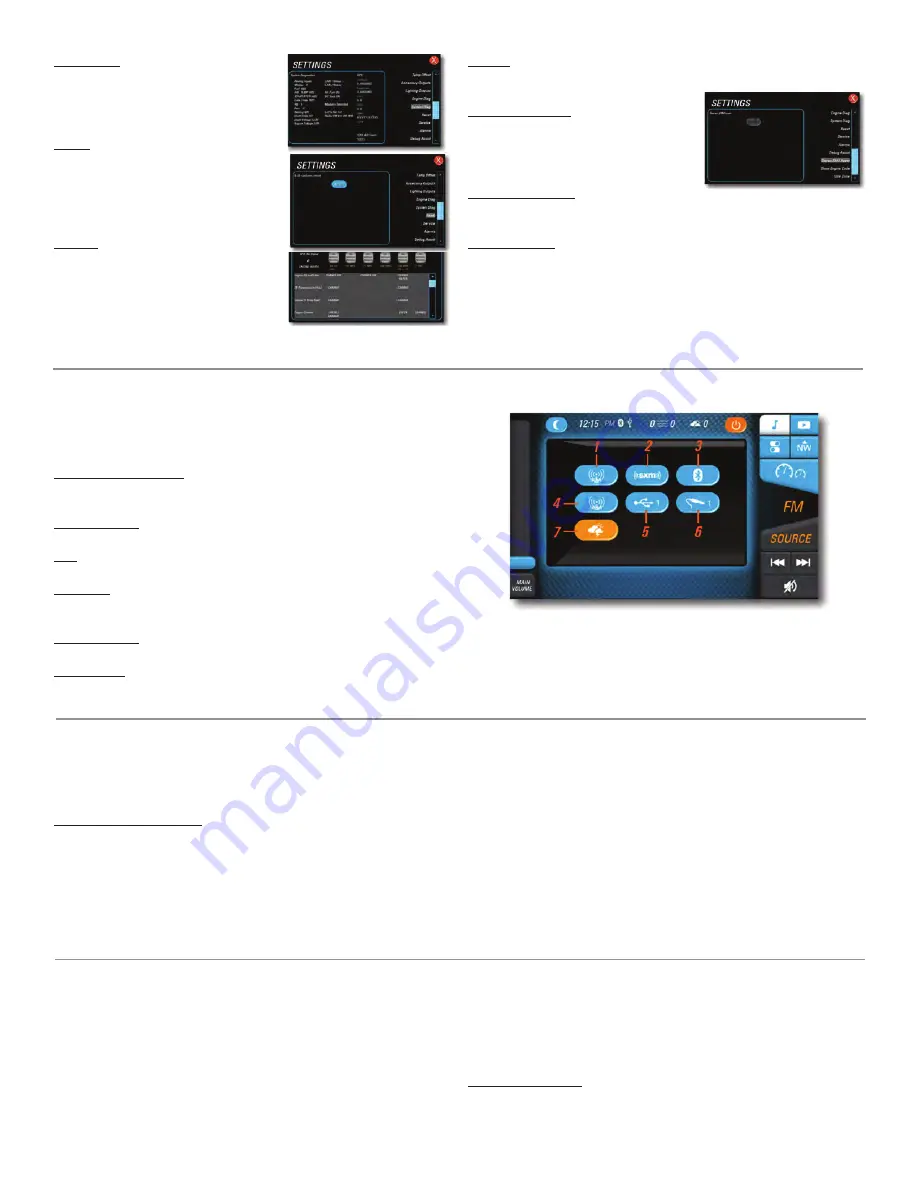
Alarms to view all active and inactive engine alarms.
Stereo SXM Reset
Touch
Stereo SXM Reset to restore
stereo factory default settings. Set the
mode to SXM before proceeding.
Show Engine Code
Touch
Show Engine Code to modify the Engine Start/Stop Code.
3-Event Cruise
Touch
3 Event Cruise to enable/disable the Cruise Control option.
Dashes and Video Sreens—67
Engine ECU
View information about the sensors
on the vessel, CAN devices, and the
GPS information.
Reset
Touch Reset to restore the system fac-
tory default settings. All previous cali-
bration and settings will be lost.
Service
Touch
Service to view maintenance
schedules recommended by the engine
manufacturer. Service notices will ap-
pear at each key cycle when the ser-
vice hour interval has been reached,
and it must be cleared by the user.
Stereo Screen
Touch the
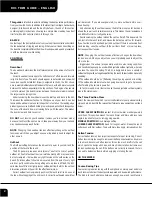
Stereo button for direct access to certain audio controls
including AM/FM stereo channels, Satellite, USB, Bluetooth wireless,
auxiliary, and SD car inputs ports.
AM/FM Radio/Weather
Touch
AM Radio or FM Radio or Weather for AM/FM stereo chan-
nels/weather bands.
Satellite Radio
Touch SXM for satellite radio stations.
USB
Press the
USB icon to access USB input ports.
Bluetooth
Touch
Bluetooth to play songs on your phone or mobile device
with Bluetooth technology.
Auxiliary Input
Touch
Auxiliary to access the auxiliary input port.
Equalization
Touch
EQ to adjust the loudness, bass, treble, fade, balance,
sub, iVol, and USA or European tuning.
Media Screen
View a PDF document or video from an SD card. This feature func-
tions only when the engine is OFF.
PDF Viewer/Video Player
The
PDF and Video button will allow the user to view PDFs and
play videos that have been stored on the SD card in the Malibu fold-
er. The following controls can be found on the PDF and Video pages.
• Exit
• Play All
• Play/Pause
• Repeat
• Play Next
• Play Last
• Stop
• Volume Up
• Volume Down
• Dash Camera
If a camera is plugged into the Video RCA Input found in the
glovebox, the driver can select
Dash Camera to see a live video feed.
• Rear Camera
With the backup camera (where equipped) turned ON in the
Settings menu, the rear camera option will be selectable.
Maps Screen
The Navionics Navigation System uses Global Positioning Sys-
tem (GPS) satellites, and a map database to calculate and display
route directions. SD Card with Map data is required. The Map button
shows actual current bearing from the GPS. “…” is displayed if the
data is not available.
When a Navionics SD card is loaded into the Viper II SD slot, map
data for the region will appear as purple boxes on the map. If the
purple boxes do not appear on the map, the card is missing, not in-
stalled correctly, or possibly defective.
Navigation Controls
Touch anywhere on the map to activate the pop-up controls. Touch
the eight directional arrows buttons in the bottom right corner of


