SkyRaider DS10CTEC User Manual
March 17, 2019
SkyRaider DS10CTEC User Manual
Page 191
NSN
will remember what camera you chose from the last visit. So usually you only must go
through this process whenever you want to change what camera device you would like the
NSN
flash driver
to use.
Choose your Camera Settings
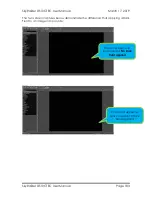
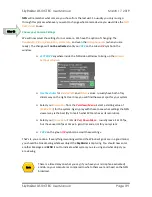
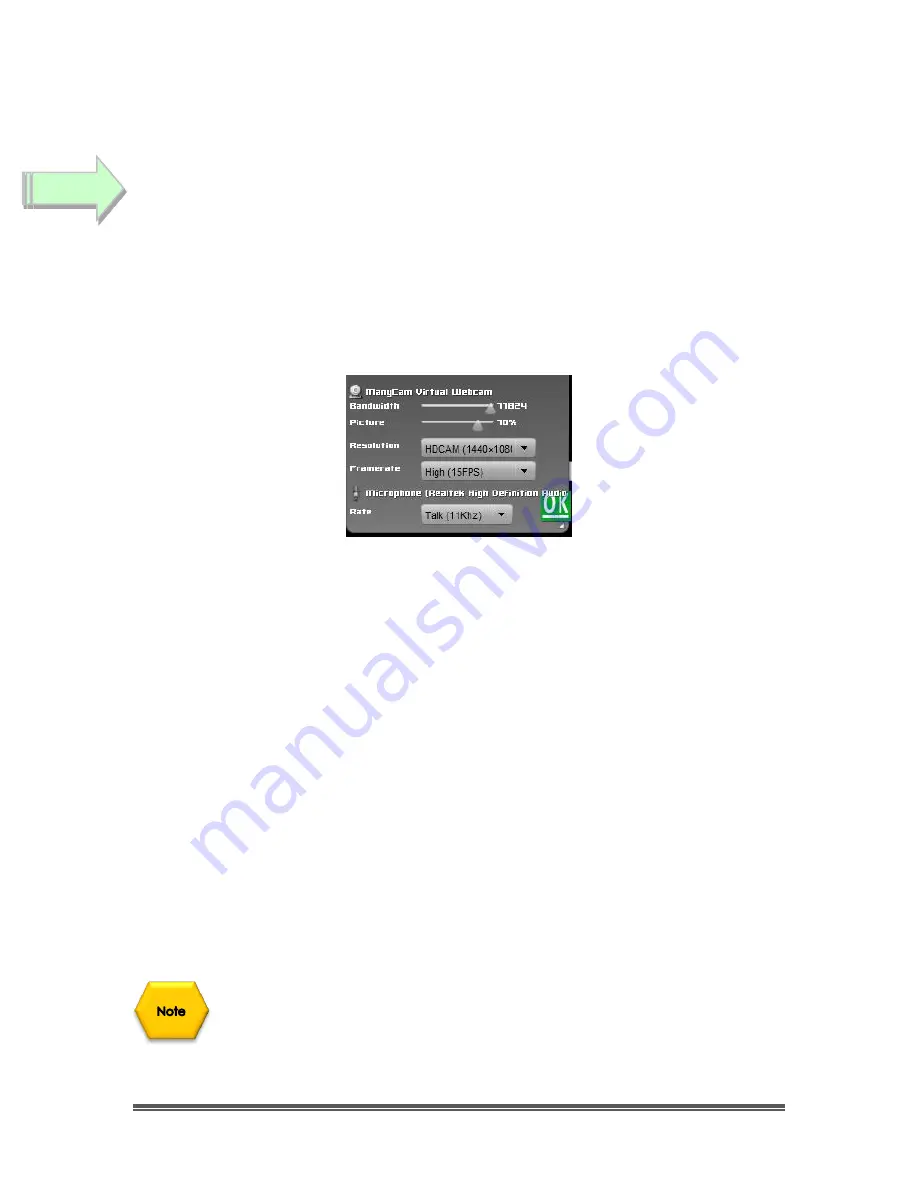
We will now select the settings for our camera. We have the option of changing: The
Bandwidth
,
Picture
,
Resolution
,
Framerate
, and even the
microphone rate
(when you are
ready). The changes will
not be activated
until you
CLICK
on the Green
OK
symbol in the
window.
➢
LEFT CLICK
anywhere inside the NSN video Window to bring up the
Camera
Settings Window
.
➢
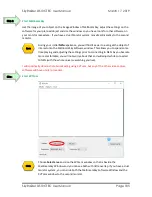
Use the sliders
for
Band Width
and
Picture
values. I usually have both of my
sliders way on the right. Over time you will find the sweet spot for your system.
➢
Select your
Resolution
from the
Pull-Down Menu
. Select a starting value of
(1280 x 720
) for the system. Again, play with these to see what settings the NSN
viewers say is the best (try to match what KVYcam has as its resolution).
➢
Select your
Frame Rate
. From its
Pull, Down Menu
. I usually leave it at 15 fps,
but I have used 30 fps at times. A gain, trial and error for your system.
➢
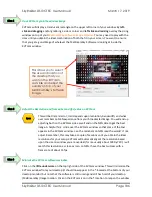
CLICK
on the green
OK
symbol to accept these settings.
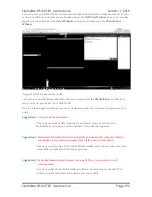
That’s it, you are done. If everything is working well and the Window’s gods are in a good mood,
you should be broadcasting whatever object the
SkyRaider
is capturing. You should now enter
another Message and
SEND
it out to indicate what system you are using and what object you
are viewing.
There is a time delay on what you say (if you have your microphone activated)
and do on your computer as compared to what others see (and hear) on the NSN
broadcast.
Step 13

