SkyRaider DS10CTEC User Manual
March 17, 2019
SkyRaider DS10CTEC User Manual
Page 44
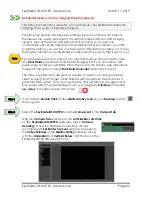
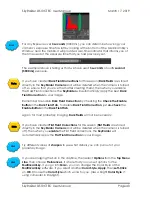
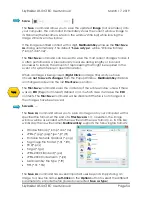
Select an Exposure Time for Dark Field Correction
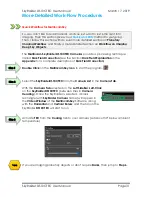
With the
Camera Tab
selected on the
Left SideBar
,
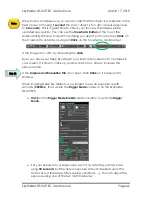
Left-Click
on the
Capture & Resolution
(if you are in
Video Mode
, a
Green Rectangle
with the word
Exposure
will appear in your
Video Window
)
.
You must determine what you believe will be the maximum
exposure for this session. As, you will create Dark Field’s with
this time (or close to it). In this example, we will choose
30
seconds
.
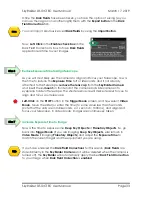
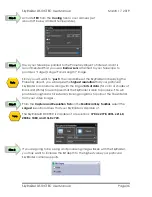
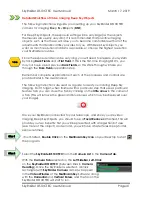
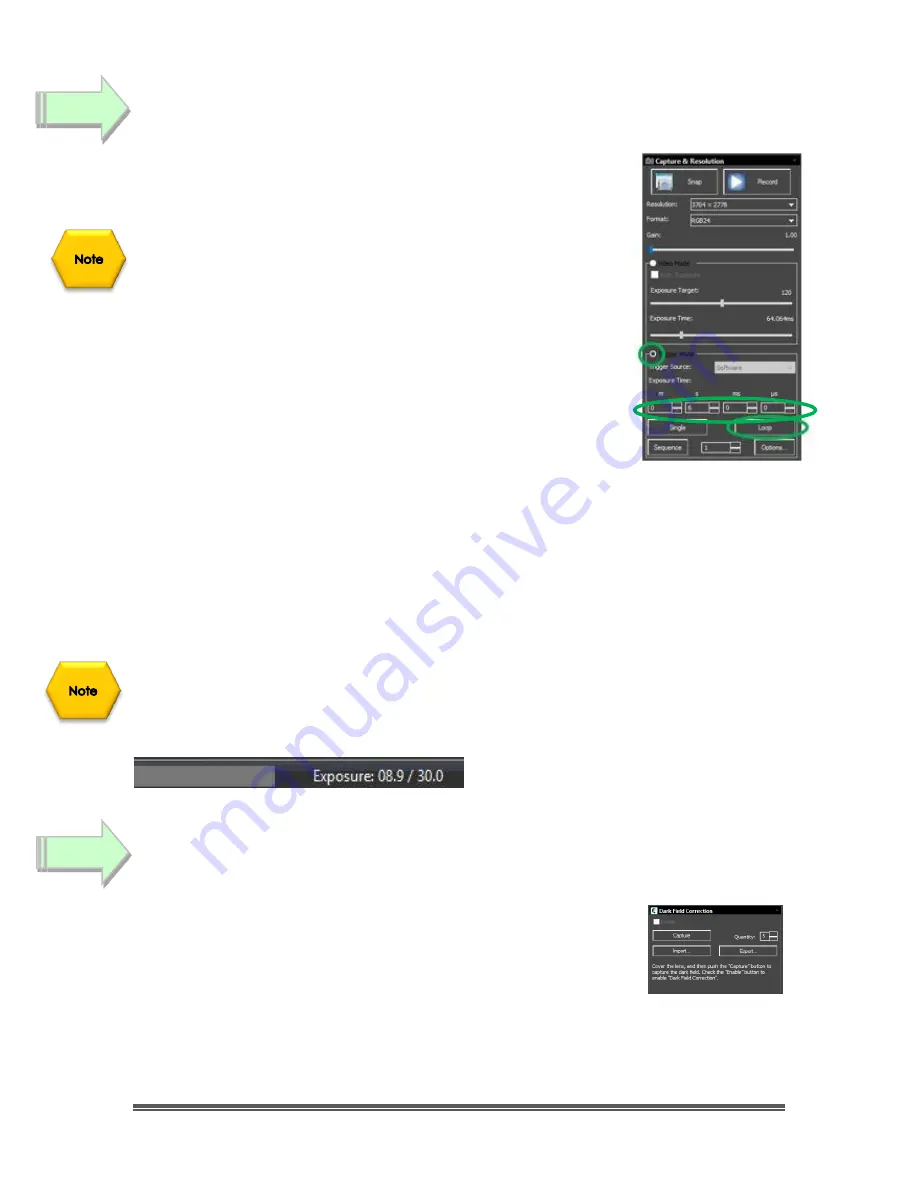
In the
Capture & Resolution
Tab;
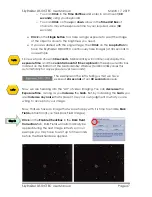
Click
on the
Trigger Mode
Radial Button
(Trigger Mode is used to select any exposure
time over 5 seconds).
Move the
Gain Slider
to about
5.0
.
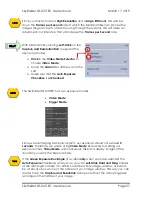
Either enter the time into the appropriate exposure
time unit boxes
or use the
up
and
down
arrows beside the chosen Exposure time unit to set your maximum
time. For us, set the seconds (
s
) time unit to
30
for 30 seconds.
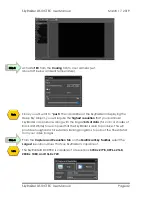
To start the SkyRaider DS10CTEC taking continuous exposures,
Left-Click
on the
Loop
button.
Since we have chosen
30 seconds
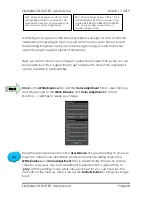
, you will notice, on the bottom of the Main
Window of MallincamSky, the
Exposure indicator
. This shows you the current set
exposure time used in the exposure.
The example on the left is telling us
that we have used
8.9 seconds
of our
30 second
exposure.
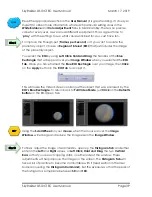
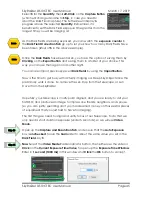
Take Dark Field Correction
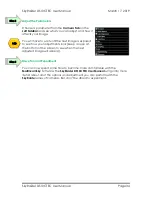
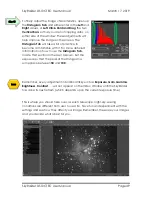
Ensure that the cover is either on the
SkyRaider Camera
or the
Telescope itself is covered, then
Left-Click
on the
Dark Field
Correction
Line
.
The
Dark Field Correction Line
will open up allowing you to
select the
Quantity
of
Dark Fields
and the option to start the
Dark Field Capture
process.
Step 8
Step 9

