background image

Summary of Contents for C33 Professional

Page 1: ...MAMIYA C33 I Professional OWNER S MANUAL ...

Page 2: ...r 80n1m lens 4 Frame Viewfinder Mask Studs right and left 5 Frame Viewfinder Flap 6 Focusing Knobs right and left 7 Shutter Release Button 8 Cable Release Socket 9 Filmwind Crank 10 Multiple Exposure FHm stop Selector 11 Exposure Counter 12 Lens Shutter Assembly Catch 13 Lens Shutter Assembly Change Knob ...

Page 3: ... M X Selector lens shutter assembly 20 Distance Scale right 21 Distance Scale left 22 Distance Scale left 23 Strap Eyelets right and left 24 Accessory CHp 25 Focusing Hood Lock Screw 26 Backlid Catch Button 27 Red Window Cover 31 Takc Up Spool Catch Stud 28 Film Chamber 32 Start Marks right and left 29 Filrn Spool Catch Stud 33 Backlid Hinge Release 30 Take Up Spool Chan1ber 34 Tripod Socket e 9 ...

Page 4: ... viewing and focusing screen Fig 2 3 When the frame viewfinder flap is pushed down fuUy it will catch and remain over the ground glass This permits eye level viewfinding for the 80 mm lens When frame view finder is pushed down until it catches the direct view covers the area of the 65 mm lens Fig 3 4 To release the frame viewfinder and flap for returning to original position first push in the left...

Page 5: ...e of your subject centered on the ground glass screen 2 When using the frame viewfinder with 105 nun 135 mm or 180 n1n1 lenses n1ounted on the camera be sure to attach proper auxilia ry mask to the rnask studs LENS CHANGING 1 Before removing or fitting a lens shutter assembly turn focusing knob to make certain that the lens n1ount is fuHy retracted into the camera body 2 Turn the fHmwind crank cou...

Page 6: ...e fiJmwind crank is returned to its original position Mount and secure the lens when these two levers are properly meshed Fig 8 6 A red warning signal visible under the ground glass screen indicates that the lens shutter assembly change knob is at UNLOCK position shutter becomes inoperative and fihn is automaticaUy protected from light 7 After lens changing is con1pleted adjust the parallax correc...

Page 7: ...he same way as with other twin lens reflex cameras However before loading always make certain that the multiple exposure filmstop selector is turned to ROLLFILM In this position you are assured that the shutter button cannot be operated for release of shutter unless the film has been wound and advanced one frame Fig 11 3 After the film has been positioned over the film gate and the end has been se...

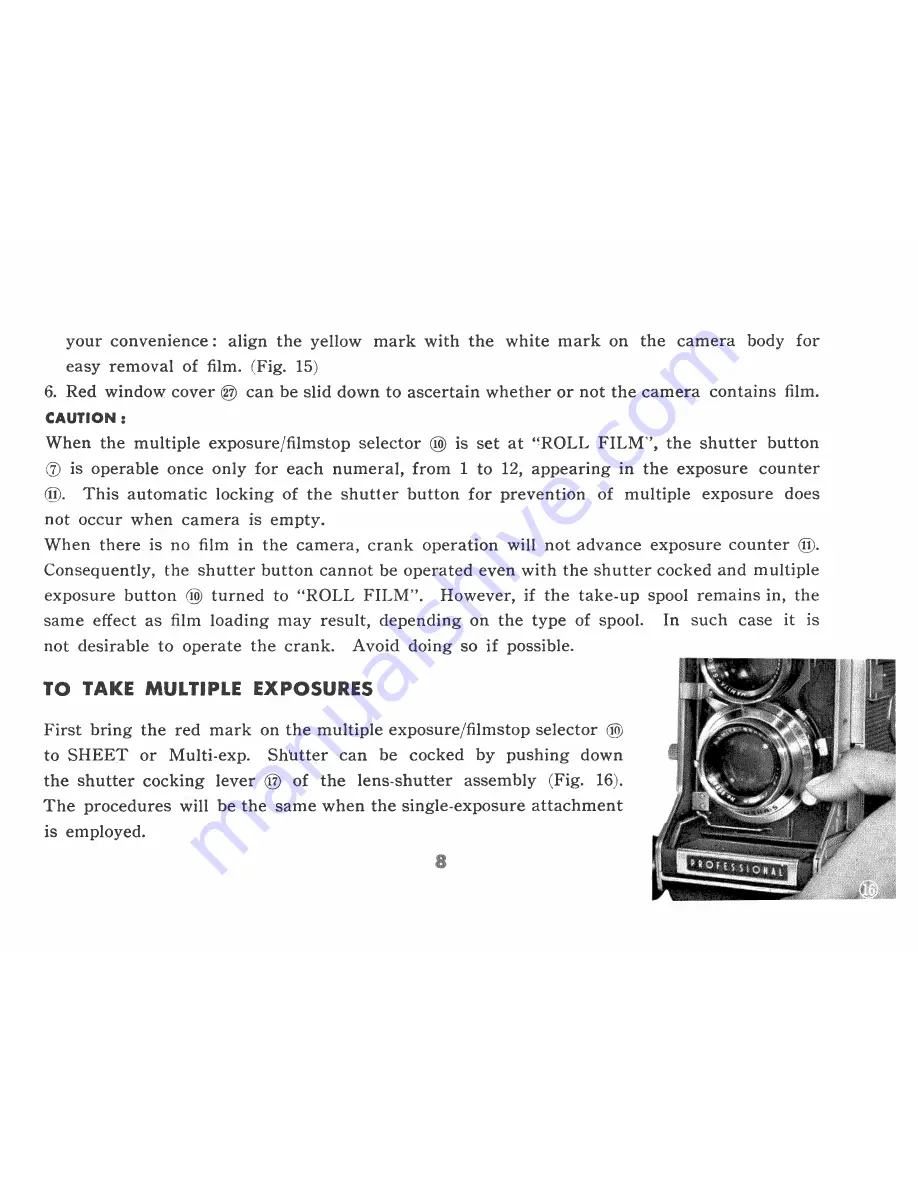
Page 8: ...orrect position for exposure while the exposure counter l will indicate nu1neral 1 Shutter will be cocked by one stroke of the filmwind crank After advancing the film the filmwind crank n1ust be turned in counterclockwise direction until it stops Shutter wiH not operate unless the crank is returned to its original position never force the shutter release Fig 14 5 Repeat the above step after each o...

Page 9: ...there is no film in the carnera crank operation wiH not advance exposure counter Q V Consequently the shutter button cannot be operated even with the shutter cocked and multi1ple exposure button turned to ROLL FILM However if the take up spool ren1ains in the same effect as fihn loading rnay result depending on the type spool In such case it is not desirable to operate the cranJ c Avoid doing so i...

Page 10: ...indicator needle starts to appear in the upper part of the ground glass while the focusing knob is being operated Position of this indicator needle shows the exposure index and parallax In this instance the parallax correction lever must be set at the index shown on the lens being used EXPOSURE INDEX SCALE As the distance between the lens and film becomes greater the light value will be lower prov...

Page 11: ...djust the ca1nera so that the subject will co1ne under the needle When a tripod or stand is used the interpositioning of the PARA M ENDER parallax con1 pensation rnount will permit you to sight and focus without any parallax whatsoever ll RECAIUlEONS Vhen the 65 mn1 lens is to be used 1nount the accessory parallax correction plate on the hood Remove the hood and place it with the front side to the...

Page 12: ...k at the distance scale Hold the camera in shooting position the scale on the right side is for 80 mm and 65 mm lenses and the distance is shown on the scale by the indicator needle On the scale on the left side the value is read in the intersecting points of curves representing the interchangeable lenses and the scale figures on the side of the body However the reading for 135 min lens is sepa ra...

Page 13: ...ly Fig 20 Remove the spool from inside the camera then attach the special single exposure back reversing the rernoval procedure Slide plate or cut film holder loaded into the grooves of the single exposure back Fig 21 and secure by means of the catch Fig 22 You are now ready for single picture photography SYNCHROIFlASH PIHO JOGRAP IY L By attaching a flashgun or electronic flash unit to the access...

Page 14: ... second 4 Position X gives no time lag and is used in conjunction with electronic flash xenon strobo for all shutterspeeds or with ordinary flashbulbs at shutterspeeds not exceeding 1 30 second 5 When not using synchroflash keep selector at position X Contact d M M class Electronic Flash x F class M class TABLE OF FLASH SYNCHRONIZATION B 1 1 2 1 4 0 0 0 0 0 0 0 0 0 0 0 0 0 0 0 0 O will synchronize...

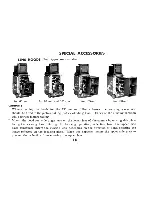
Page 15: ...to en1ploy a viewfinder auxiliary mask with concave lens SHORT FOCAL LENGTH F 2 8 f 80 mm 50 40 picture angle general purpose anastigmat of 5 elements in 3 groups this lens pern1its close range photo graphy down to approximately 7 inches between lens and subject It is therefore convenient for document copying and high magnification work LONG FOCAL LENGTH F 3 5 f 105 mm 41 degree picture angle All ...

Page 16: ... does not differ much in physical length from the 135 millimeter assembly and is particularly suitable for stage action photography portraiture and candid shots in situations where the subject cannot be easily approached The conventional 180 nlm lens for the Model C cannot be mounted on this camera use the 180 mm lens for Model C 33 CLOSE RANGE PHOTOGRAPHY TABLE Type of Lens Minimum Distance from ...

Page 17: ...herwise the dividing partition wiU obstruct picture taking 2 Mount the hood for wide angle lens on the lower lens of the camera by moving side plate facing the viewing lens During the focusing operation reflection from the upper side plate sometimes enters the viewing lens depending on the direction of light affecting the image reflected on the focusing glass When this happens incline the upper si...

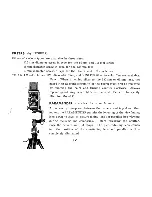
Page 18: ...remity of the barrel must first be removed by applying the palm and turning counter clockwise Always replace guard ring when filter is removed Be sure to specify filter for Model C PARAMENDER Parallax Correction Mount l Ii An accessory interposed between the camera and tripod or other mount the PARAMENDER permits the lowering of the viewfinding lens down to level of picture taking lens for paralla...

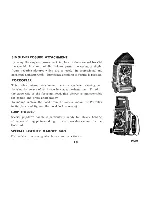
Page 19: ... pennits eye level v1ew1ng and focusing by means of an image in correct orientation Fitted in the same way as the focusing hood this viewer is indispensable for candid and press photography To mount remove the hood from the camera mount the Porroftex in its place and tighten the hood lock screw GRIP HOLDER Special grip form handle is particularly handy for steady holding of camera durin picture ta...

Reviews: