Ref.: WB-VL-65 DSP LX Premium - OM Ver.1.6 (B2927)
24
Rim distance measurement
(Applicable only for Dynamic balancing)
After mounting wheel with appropriate accessories as explained in Chapter
7.3, enter Rim distance, by following any one of the methods given below:
Move the Distance measuring rod outwards till it
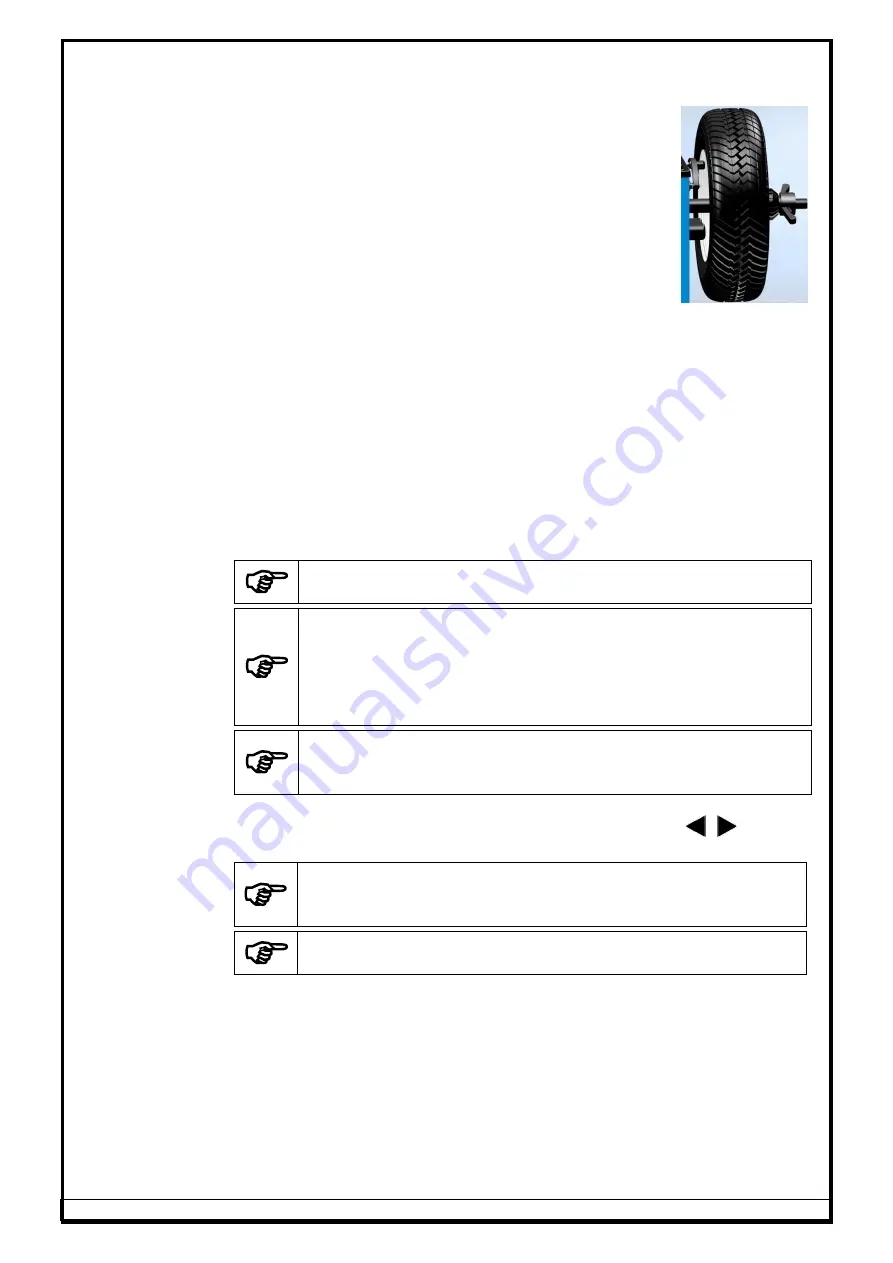
touches the Inner rim (Refer Fig.21). Keep the
Distance measuring rod in the same position for
atleast 3 seconds. The Rim distance will be updated
on the window followed by an Audio indication.
Use the Navigation keys to set the Rim distance
value manually.
Rotate the wheel to set the Rim distance value
manually and hold the wheel when the desired
distance value is displayed.
Fig. 21
if
Auto Dia
measurement is enabled, both the Distance & Diameter windows
will be highlighted. Now move Distance/Dia measuring rod outwards till it
touches the Inner rim & keep it in the same position for alteast 3 seconds.
Rim Distance & Diameter will be updated on the window followed by an Audio
indication. Then move Distance measuring rod to its Home position.
If
Auto Dia / Auto Width
measurement is enabled, the system will detect the
Rim type automatically. After the Inner distance measurement, if the Distance
rod is further moved to measure the Inner most distance, then the Rim type
(either ALU2 or ALU3) will be detected based on the location of measurement.
If the Distance rod is moved back to Home position and then Width rod moved
to measure the Rim Width, then the Rim type (ALU4, ALU-5 & Steel) will be
detected automatically depending on location of measurement.
Automatic Rim type detection is applicable only in Dynamic mode
The Distance / Dia measuring rod and the Width rod to be touched at
the approximate middle area for the Sticker weight adding location
during measurement. Whereas, it has to be touched at curved edge of
rim for the Clip on weight adding locations. If the location is wrongly
measured, it will lead to wrong selection of Rim type by the Automatic
system
For Steel & ALU1 type, the Rim type will be indicated as “STEEL” only
as the condition is same. If the User wants to change the Rim type to
ALU1, it can be changed manually using the Navigation keys
Once a Rim parameter is acquired, the system will go to next parameter
window automatically after few seconds. User can also press
/
key to
go to previous / next window respectively.
Ensure the Distance/Dia measuring rod contact pin touches the Inner
rim profile at the exact place where the weight to be added to acquire
the correct Rim distance & Diameter and also the correct Rim type
If the parameter is acquired, the value will be indicated in YELLOW
color and background will be highlighted
Rim diameter measurement
Diameter window will be highlighted. Then enter the Rim dia by following any
one of the methods given below:
Measure the Diameter of the Rim and set the value using Navigation
keys.
Rotate the wheel to set the Rim dia value manually and hold the wheel
when the desired distance value is displayed
if
Auto Dia
measurement is enabled, the Rim diameter will be updated
automatically during Rim distance measuring itself


