Thank you for purchasing the MANHATTAN
®
Widescreen HD Web Cam 760 WX, Model 460545. This guide presents
the basic steps to set up and operate this device. For specifications and detailed instructions, refer to the user
manual at www.manhattan-products.com.
Installation
1. Connect the camera to your computer’s USB port.
2. The system will recognize the camera and display a Welcome to the
Found New Hardware Wizard screen. Click “Next.”
3. When the Complete screen displays, click “Finish.”
4. Close any open applications, then load the included CD. After a few
moments, the Auto Run menu displays.
5. Click “Next” or “Continue Anyway” until the software installation is complete.
6. From the desktop, go to Control Panel, then click on Sounds and Audio Devices.
7. On the Audio tab, select “USB Camera” from the Default Device drop-down menu
to activate the built-in microphone.
Installation Verification
1. From the desktop, go to My Computer, then Properties.
2. On the Hardware tab, click “Device Manager” to display your application folders.
3. Confirm the webcam icon appears in the Imaging Devices folder — without an exclamation point (!) next to
it (which indicates an improper installation).
2
ENGLISH / DEUTSCH
Widescreen HD Web Cam 760 WX • Quick Install Guide
English
Widescreen HD Web Cam 760 WX • Kurzanleitung
Deutsch
Vielen Dank für den Kauf der MANHATTAN
®
Widescreen HD Web Cam 760 WX, Modell 460545. Diese Kurzanleitung
zeigt die grundlegenden Schritte zur Einrichtung und Inbetriebnahme dieses Geräts. Für genauere Anweisungen
nutzen Sie bitte das Handbuch auf www.manhattan-products.com.
Installation
1. Schließen Sie die Kamera an den USB-Port Ihres Computers an.
2. Ihr Betriebssystem erkennt die Kamera und startet einen
Hardware-Installationsassisten. Klicken Sie auf “Weiter”.
3. Nach erfolgreicher Installation, klicken Sie auf “Beenden”.
4. Schließen Sie alle offenen Anwendungen, dann legen Sie die beiliegende
CD ein. Das Autostart-Menü öffnet sich.
5. Klicken Sie auf “Weiter” oder “Trotzdem fortsetzen” bis die
Softwareinstallation abgeschlossen ist.
6. Öffnen Sie die Systemsteuerung, dann klicken Sie auf Sounds und
Audiogeräte.
7. In der Registerkarte “Audio”, wählen Sie “USB-Kamera” aus dem
Drop-Down-Menü “Standardgeräte” aus, um das integrierte Mikrofon der Kamera zu aktivieren.
Überprüfung der Installation
1. Rechtsklicken Sie auf Ihrem Desktop auf Arbeitsplatz, dann auf Verwalten.
2. Klicken Sie im Unterverzeichnis “System” auf “Geräte-Manager”, um Ihre Anwendungsordner zu zeigen.
3. Prüfen Sie, ob das Webcamsymbol bei den Imaging Devices erscheint — ohne Ausrufezeichen neben dem
Eintrag, denn dieses weist auf eine inkorrekte Installation hin.
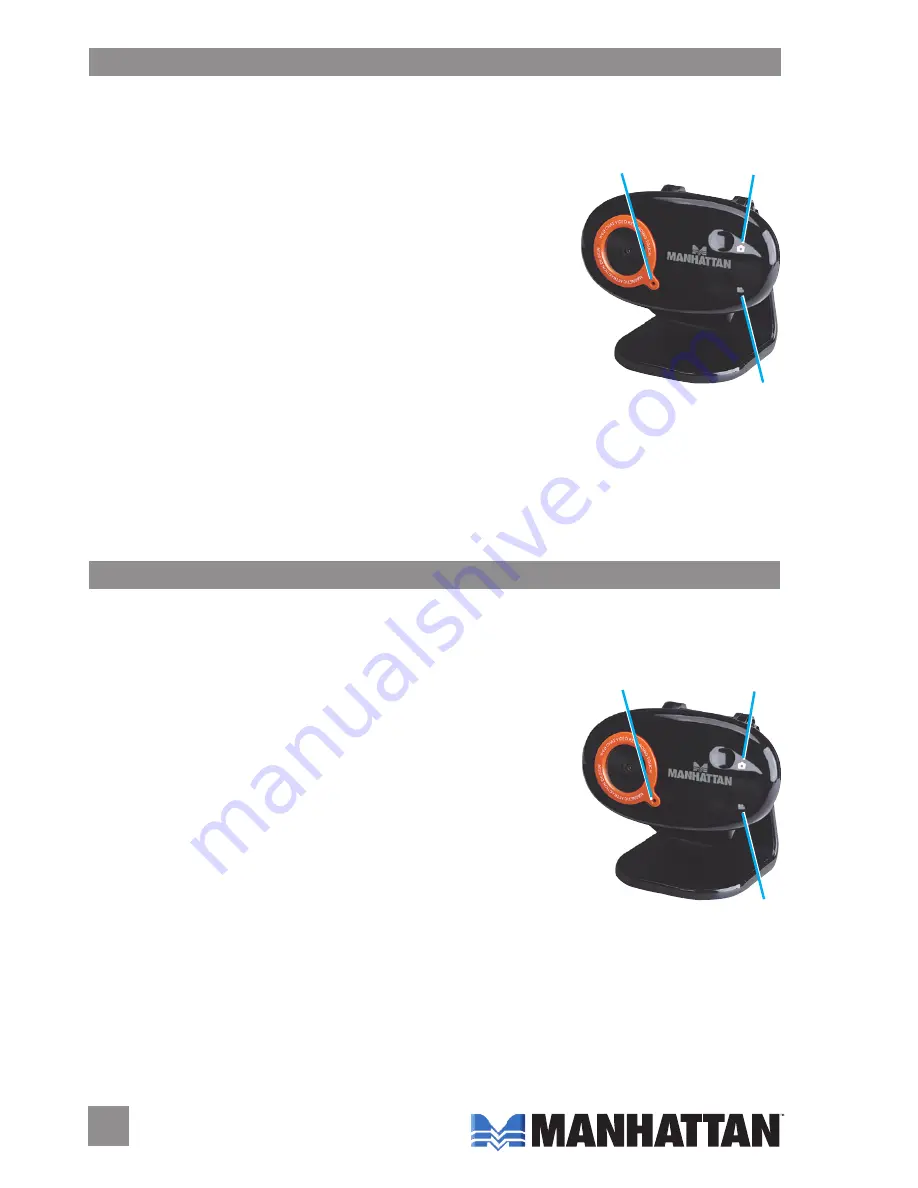
Built-in microphone
Video record
Snapshot
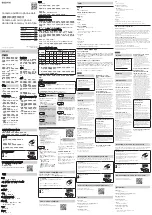
Mikrofon
Videoaufnahme
Schnappschuss


