20
Part Number 020002365 08/25/2015
Installation
Section 2
Refrigeration Unit Installation
UNPACKING AND INSPECTING
Carefully inspect the refrigeration unit immediately upon
unpacking. Verify the equipment and parts received against
the Bill of Lading. Locate all items according to packing
list and inspect for possible damage caused by shipping.
Notify the appropriate carrier if necessary and contact MBE
immediately for replacement of parts if discrepancies exist.
1. The Refrigeration Unit is pre-assembled in the factory
and requires a minimum installation. Locate the
following parts supplied with the unit.
2. Kit assembly includes:
ū Tab clamps for conduit, syrup and circulating and
carbonated water coils
ū
Bracket for drain hose and screws for mounting
ū
Four 6” legs
ū
6 ft (183 cm) drain hose
3. Locate any of the optional Kit Assembly for mounting
to match the type of mounting required. Install the kit
as noted in the instructions supplied.
4. Record the Model Number, Serial Number and date of
installation for future reference, or to be used when
ordering parts.
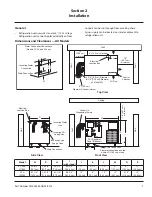
UNIT INSTALLATION OVERVIEW
1. Set unit in place.
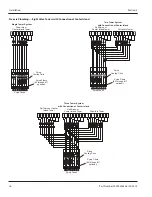
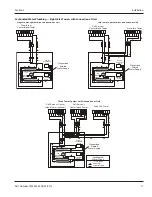
2. Connect the circuit electrically. Refer to chart.
3. Connect water supply.
4. Connect the product lines from the Bag-In-Box or tank.
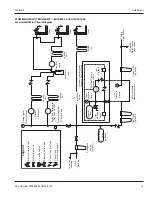
See the plumbing diagrams for the tower setup that
pertains to your installation.
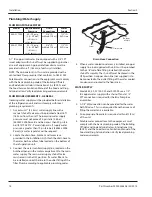
5. Connect the drain. Locate the drain hose, bracket, and
the two screws provided in the installation kit. Attach
the drain hose to the water bath overflow tube located
on the bottom of the refrigeration unit. Route drain
hose to a floor drain.
Drain Hose
Bottom
of Unit
Bracket
Screw
6. Connect the conduit lines. Two carbonated water lines
and two product output lines.
Graided CO
2
Gas Line
Color Coded
Syrup Lines
Black Water
Supply Line

