background image

Safety Notices 

When using or servicing a Q Model Dispenser, be 
sure to pay close attention to the safety notices in this 
manual. Disregarding the notices may lead to serious 
injury and/or damage to the dispenser. 

Throughout this manual, you will see the following 
types of safety notices: 


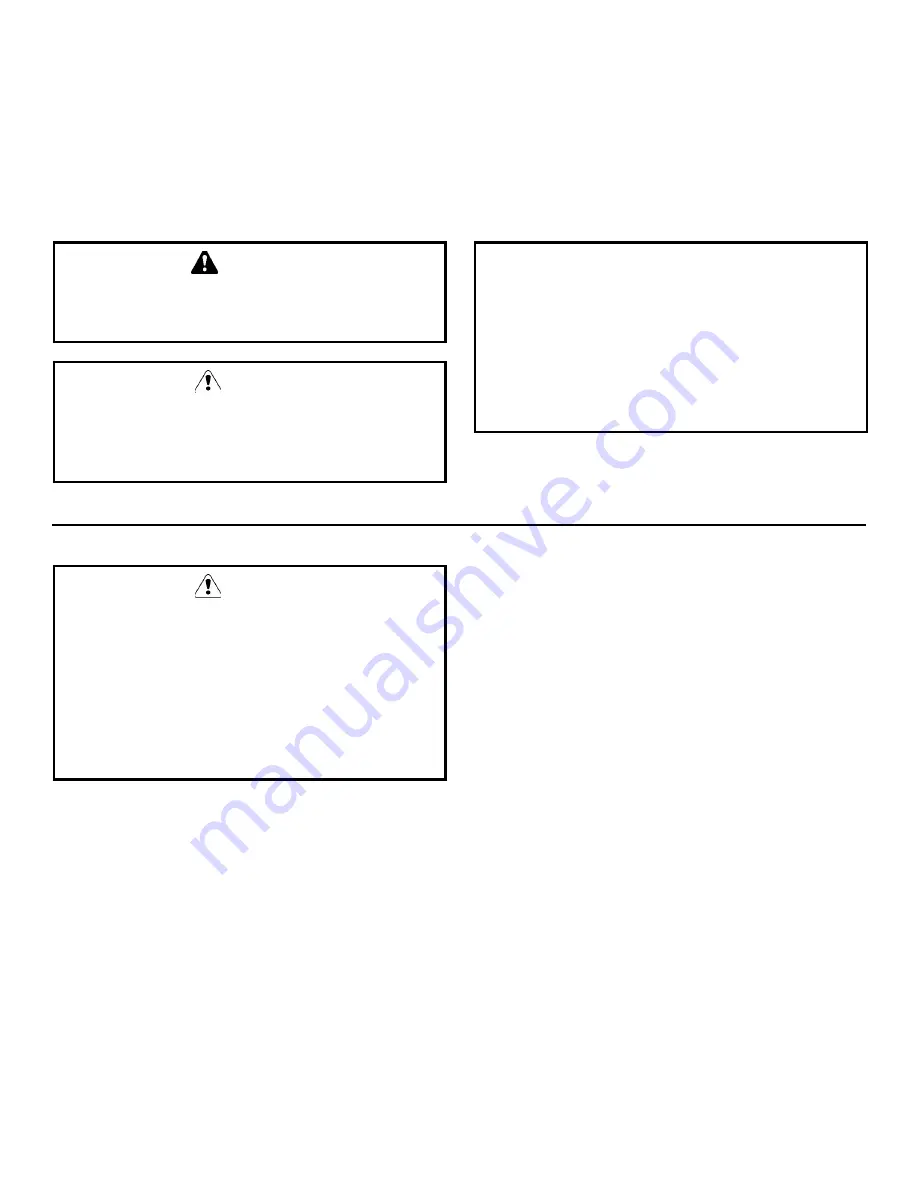
WARNING


Text in a Warning box alerts you to a potential 
personal injury situation. Be sure to read the 
Warning statement, and then proceed carefully. 


CAUTION


Text in a Caution box alerts you to a situation in 
which you could damage the dispenser. Be sure to 
read the Caution statement, and then proceed 
carefully. 

Procedural Notices 

When using or servicing a Q Model Dispenser, be 
sure to read the procedural notices in this manual. 
These notices supply helpful and important 
information. 

Throughout this manual, you will see the following 
types of procedural notices: 

Important


Important boxes serve two functions. 

They call the operator’s attention to important 
information. 

They also provide the service technician with 
information that may help in performing a 
procedure more efficiently. Disregarding this 
information may slow down the work. 


NOTE: Text set off as a Note provides you with 
simple, but useful, extra information.


CAUTION


Proper care and maintenance are essential for 
trouble-free operation of your Manitowoc 
Dispenser. 

Read and understand this manual. It contains 
valuable care and maintenance information. If you 
encounter problems not covered by this manual, 
feel free to contact Manitowoc Ice, Inc. We will be 
happy to provide assistance. 


Dispensers Covered In This Manual 

FLOOR-STANDING MODELS 

QFA–291 

Glass Fill Dispensers 


HOTEL/MOTEL DISPENSERS 

QPA–310 

Push Button Operated 

QRA–340 Card 

Operated 

QCA-330 Coin 

Operated 

NOTE: These dispensers are designed to dispense 
both dice and half dice ice. 

NOTE: These dispensers may be used in conjunction 
with a Manitowoc ice machine for automatic fill of 
dispenser. 

NOTE: These dispensers are capable of storing 180 
lbs (82 kgs) of ice. 

Summary of Contents for Q Series

Page 1: ...or selecting a Manitowoc Dispenser the dependability leader in ice making equipment and related products With proper care and maintenance your new Manitowoc Dispenser will provide you with many years of reliable and economical performance Part Number 80 1084 3 Rev B 8 98 ...

Page 2: ...o functions They call the operator s attention to important information They also provide the service technician with information that may help in performing a procedure more efficiently Disregarding this information may slow down the work NOTE Text set off as a Note provides you with simple but useful extra information CAUTION Proper care and maintenance are essential for trouble free operation o...

Page 3: ...on 3 Dispenser Operation Method of Operation All Models 3 1 Rate of Delivery 3 1 Sequence of Operation 3 2 Section 4 Maintenance General 4 1 Dispenser Inspection 4 1 Exterior Cleaning 4 1 Cleaning and Sanitizing 4 1 Removal of Parts 4 3 Removal from Service Winterization 4 4 Section 5 Before Calling for Service Checklist 5 1 Section 6 Service Door Removal 6 1 Delivery Auger and Agitator Auger Remo...

Page 4: ...Table of Contents ii THIS PAGE INTENTIONALLY LEFT BLANK ...

Page 5: ...ion from your Manitowoc distributor service representative or the factory The model and serial number are listed on the OWNER WARRANTY REGISTRATION CARD They are also listed on the MODEL SERIAL NUMBER DECAL affixed to the rear of the dispenser and also located inside the front door Model Serial Number Location MODEL NUMBER ________________________ SERIAL NUMBER _________________________ SV1657G MO...

Page 6: ...n this manual 2 Repairs due to unauthorized modifications to the dispenser or the use of non standard parts without prior written approval from Manitowoc Ice Inc 3 Damage caused by improper installation of the dispenser electrical supply water supply or drainage or damage caused by floods storms or other acts of God 4 Premium labor rates due to holidays overtime etc travel time flat rate service c...

Page 7: ... 2 Installation Instructions Dimensions SV1658G 28 50 72 4 cm 54 50 138 4 cm 3 50 8 9 cm 28 00 71 1 cm WATER INLET 3 8 0 95 CM FPT QFA 291 ONLY ELECTRICAL 6 1 8M CORD SUPPLIED 30 25 76 8 cm 32 00 81 3 cm DRAIN 1 2 1 27 CM FPT ADD 6 15 2 CM FOR LEGS ...

Page 8: ...at plate 2 Remove the back panel lower mounting screw from the ice machine Insert the screw through the bottom hole on the clip and reinstall the screw 3 Remove the screw from the shipping envelope Insert it through the top hole on the clip and into the pre drilled 5 32 hole on the dispenser back NOTE The ice machine s ice bridge thickness must be set for easy dispensing Set the ice bridge as dire...

Page 9: ...ine Dispenser combination follow the air clearance requirements for the Ice Machine being installed CAUTION The dispenser must be protected if it will be subjected to temperatures below 32 F 0 C Failure caused by exposure to freezing temperatures is not covered by the warranty See Removal from Service Winterization on page 4 4 Leveling the Dispenser After moving the dispenser into the installation...

Page 10: ...ectrical cord strain relief device has been installed on the rear panel of the dispenser VOLTAGE The maximum allowable voltage variation is 10 of the rated voltage at dispenser start up when the electrical load is highest WARNING The dispenser must be grounded in accordance with national and local electrical codes FUSE CIRCUIT BREAKER A separate fuse circuit breaker must be provided for each dispe...

Page 11: ...ter pressure regulator from your Manitowoc distributor Install a water shut off valve at the dispenser Insulate water lines to prevent condensation DRAIN CONNECTIONS Follow these guidelines when installing drain lines to prevent drain water from backing up into the dispenser CAUTION Plumbing must conform to state and local codes The dispenser is equipped with a 1 2 F P T female pipe thread fitting...

Page 12: ...BING 1 2 MINIMUM INSIDE DIAMETER ICE MAKING WATER DRAIN FITTING 1 2 FEMALE PIPE THREAD WATER INLET TUBING 3 8 MINIMUM INSIDE DIAMETER QFA 2291 ONLY WATER INLET FITTING 3 8 FEMALE PIPE THREAD DISPENSER WATER DRAIN TUBING 1 2 MINIMUM INSIDE DIAMETER DISPENSER WATER DRAIN FITTING 1 2 FEMALE PIPE THREAD 6 1 8 M POWER CORD OPEN TRAPPED OR VENTED DRAIN MOUNTING CLIP WATER SHUTOFF VALVES CONDENSER WATER ...

Page 13: ...ed to a right angle gearbox This gearbox drives a toothed positive displacement belt the dispensing auger and the agitating auger Auger Revolutions per Minute Dispensing Auger 35 Agitator Auger 17 Rate of Delivery Model Rate of Delivery Q290 0 50 1 3 oz sec 15 38 g sec Q310 Q330 Q340 0 85 3 7 oz sec 24 105 g sec Depending on cube size and quantity of ice in bin Warning PERSONAL INJURY POTENTIAL Do...

Page 14: ...de to the top of the dispensing auger where it will open a door and drop through the ice chute into the glass held beneath the outlet When sufficient ice has been dispensed the push button is released and delivery stops WATER DELIVERY Depressing the water delivery push button allows power to flow through the switch to the coil located on the water valve The magnetic action of the solenoid coil lif...

Page 15: ...box which in turn drives a pulley A toothed positive displacement v belt is attached to the drive pulley a spring loaded tension pulley and the agitator and dispenser pulleys The turning of the augers causes the ice to ride to the top of the dispensing auger where it will open a door and drop through the ice chute into the bucket placed beneath the outlet When sufficient ice has been dispensed the...

Page 16: ...icient ice has been dispensed the push button is released and delivery stops The dispenser will not dispense ice until another coin is inserted Time Delay Relay The time delay relay can be adjusted from 1 second to 100 seconds It ships from the factory set to 40 seconds This setting covers the majority of applications Settings of less than 40 seconds can lead to insufficient quantities of ice bein...

Page 17: ...ngs of the dispenser motor This motor drives a gearbox which in turn drives a pulley A toothed positive displacement v belt is attached to the drive pulley a spring loaded tension pulley and the agitator and dispenser pulleys The turning of the augers causes the ice to ride to the top of the dispensing auger where it will open a door and drop through the ice chute into the bucket placed beneath th...

Page 18: ...Dispenser Operation Section 3 3 6 THIS PAGE INTENTIONALLY LEFT BLANK ...

Page 19: ...ap and water Wipe dry with a clean soft cloth Cleaning and Sanitizing When cleaning or sanitizing the dispenser pay close attention to the safety information below WARNING Before removing any parts unplug or disconnect the electric power to the dispenser at the electric service switch box WARNING Do not mix Ice Machine Cleaner and Sanitizer solutions together It is a violation of Federal law to us...

Page 20: ...gitator auger bearing Remove the agitator auger by lifting up 6 Remove the false bottom by lifting the left or right side and tipping it up on edge 7 Clean the inside of the bin augers false bottom and inside of the front door with a solution of 3 oz 100 ml Manitowoc cleaner per 1 gallon 4 liters of water 8 Rinse all parts thoroughly with clean water 9 To sanitize the dispenser refer to Sanitizing...

Page 21: ... Overview of Parts Removal SV1664G UPPER AGITATOR AUGER BEARING SV1666G ICE DEFLECTOR LOWER AGITATOR AUGER BEARING LOWER DELIVERY AUGER BEARING DELIVERY AUGER AGITATOR AUGER UPPER DOOR SUPPORT LOWER DOOR SUPPORT FALSE BOTTOM UPPER DOOR RETAINER ...

Page 22: ...mage to some components could result Damage of this nature is not covered by the warranty PROCEDURE 1 Disconnect the electric power at the circuit breaker or the electric service switch 2 Turn off the water supply 3 Disconnect and drain the incoming water line at the rear of the dispenser 4 Blow compressed air in both the incoming water and the drain openings in the bottom of the dispenser until n...

Page 23: ...cord Bin empty Allow ice machine time to replenish ice Ice jammed in ice chute opening Clear ice chute opening Drive motor operates but auger doesn t turn Drive belt broken or loose A loose belt causes a ratcheting noise Tighten tensioner or replace belt Auger not properly seated on lower bearing Remove ice from dispenser and correctly reposition shaft Water on floor Drain obstructed Clear drain D...

Page 24: ...Before Calling for Service Section 5 5 2 THIS PAGE INTENTIONALLY LEFT BLANK ...

Page 25: ...nt panel above the catch basin 3 Lift up and pull forward on the top of the door until the upper door retainers disengage 4 Pivot the door 90 This should provide adequate access If complete door removal is desired perform steps 5 8 5 Disconnect the water supply line at the water delivery spout quick disconnect if applicable 6 Disconnect the push button switch wiring by removing the female push on ...

Page 26: ...e front of the bin liner Remove the bin liner 7 Remove the ice deflector and upper bearing supports for the delivery auger and agitator auger by removing the thumbscrews which fasten the supports to the dispenser 8 Lift the two augers vertically off the drive shafts and out of the dispenser 9 Remove the false bottom 10 If lower bearing removal is desired see Lower Bearing Assembly on page 6 4 Auge...

Page 27: ...moving the rear panel or from the front by opening the front door For increased access remove the electrical control box fasteners and move the box aside To adjust or replace the belt 1 Cut the plastic wire tie and loosen the bolt securing the spring tension bracket Pivot the bracket toward the front of the dispenser to release the spring tension 2 If replacing remove the old belt Install new belt...

Page 28: ...bin to remove the upper bearing assembly 8 Remove the lower bearing housing assembly from the gear motor compartment side INSTALLATION 1 Coat the sealing face of the upper bearing housing with silicone sealant to ensure a watertight seal between the housing and the bin liner 2 Position the bearing assembly in the bin bottom NOTE Seal under the bolt heads with silicone sealant to ensure a watertigh...

Page 29: ...the auger assembly Refer to page 6 2 3 Remove three thumbscrews from the agitator auger bearing to remove the bearing 4 Remove three thumbscrews from the delivery auger bearing to remove the bearing Upper Bearing Assembly SV1663G UPPER DELIVERY AUGER BEARING DELIVERY AUGER BEARING BRACKET UPPER AGITATOR AUGER BEARING AGITATOR AUGER BEARING BRACKET DELIVERY AUGER BEARING THUMBSCREWS AGITATOR AUGER ...

Page 30: ... L2 L1 WHITE BLACK GROUND T3 BLACK AUGER MOTOR WHITE RUN CAPACITOR T2 WHITE T1 RED BLACK C VEND SWITCH NO NO C WHITE RELAY 2 1 3 4 KEY CARD SWITCH SV1675G SEE SERIAL PLATE FOR VOLTAGE POWER SUPPLY CORD BLACK WHITE L1 L2 BLACK T3 BLACK T1 RED T2 WHITE WHITE WHITE GROUND RUN CAPACITOR AUGER MOTOR VEND SWITCH C NO 1 RELAY 4 2 3 26 25 28 27 BLACK WHITE ...

Page 31: ...TAGE POWER SUPPLY CORD 22 WATER VEND SWITCH C NO NO T2 WHITE WHITE ICE VEND SWITCH 21 24 20 4 23 22 20 21 WATER VALVE 3 2 C 1 SV1676G BLACK SEE SERIAL PLATE FOR VOLTAGE POWER SUPPLY CORD SV1727A 22 COIN VEND SWITCH RELAY TIMER RED BLACK 21 22 NO C ICE VEND SWITCH NO C RUN CAPACITOR WHITE AUGER MOTOR T2 WHITE T1 RED T3 BLACK WHITE 1 23 24 RED BLACK L1 L2 N 4 3 2 6 3 1 2 28 27 25 26 GROUND ...

Page 32: ...ime Specifications and design are subject to change without notice MANITOWOC ICE INC 2110 South 26th Street P O Box 1720 Manitowoc WI 54221 1720 Phone 920 682 0161 Service Fax 920 683 7585 Web Site http www manitowocice com 1998 Manitowoc Ice Inc Litho in USA ...

Reviews: