I/O Expansion Module Overview
7
HMC3000 Series I/O Module Guide
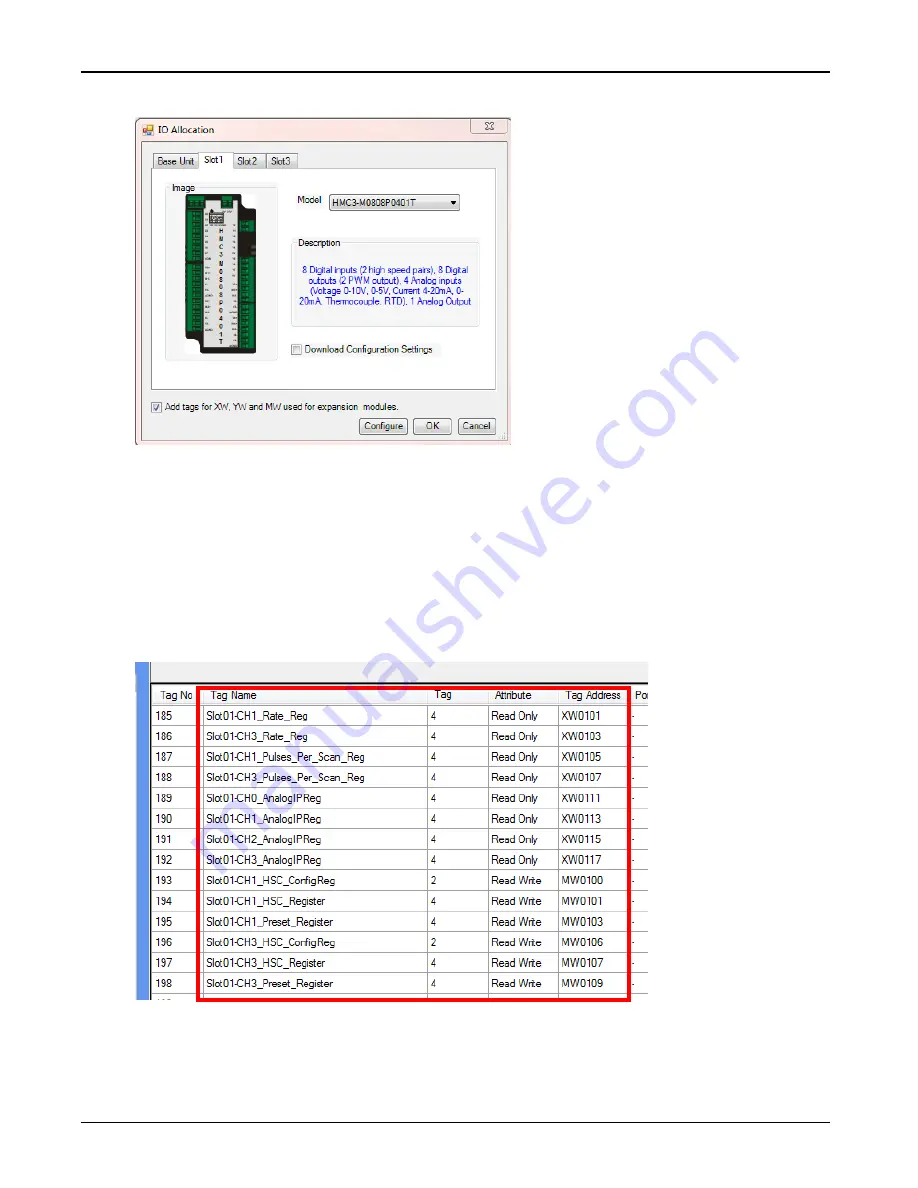
7
3.
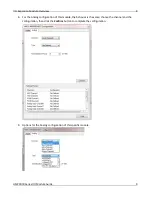
Double-click
Slot 1
to display the
IO Allocation
dialog:
4.
Select the particular I/O expansion module installed in Slot 1 of the HMC3000 from the drop-down
Model
selection menu
. When the checkbox to ‘
Add tags for XW, YW, and MW’
option is checked,
MAPware-7000 automatically assigns tags to the Tag Database for the I/O module. The tags configured
are based upon the module and the slot location. Click
OK
to close the
IO Allocation
window, or click the
Configure
button to pre-configure the module
’
s input and output channels.
5.
In this example, Slot 1 is identified with an I/O module, along with a description and memory address
allocation. The tags are available in the
Tag Database
as seen below. These tags can be used in the
project to address the I/O, or they can be preconfigured.
6.
If pre-configuring the I/O modules, simply choose the appropriate
Digital
or
Analog
tab and set the
respective parameters of each input/output channel to your desired specifications. This will allow
configuration of the I/O module automatically, without the need to configure the module elsewhere in
Summary of Contents for HMC3-M0808P0401T
Page 26: ...HMC3 M0808P0401T 26 HMC3000 Series I O Module Guide 26...
Page 34: ...HMC3 M0808Y0401T 34 HMC3000 Series I O Module Guide 34...
Page 41: ...HMC3 M1212P0200 41 HMC3000 Series I O Module Guide 41 HSC Quadrature...
Page 48: ...HMC3 M1212Y0200 48 HMC3000 Series I O Module Guide 48 HSC Quadrature...
Page 56: ...HMC3 M1210P0201 56 HMC3000 Series I O Module Guide 56...
Page 67: ...HMC3 M1614Y 67 HMC3000 Series I O Module Guide 67 HSC Single Phase Down Counter HSC Quadrature...
Page 71: ...HMC3 M1616P 71 HMC3000 Series I O Module Guide 71 HSC Single Phase Down Counter HSC Quadrature...
Page 72: ...HMC3 M1616P 72 HMC3000 Series I O Module Guide 72...


