18
OIT3185A/4185A
1010-0104, REV 03
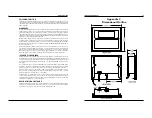
“T
ick”
m
arks
indicate
sw
itch
centerlines
Check
Dimension
4.00”
[101.6
mm]
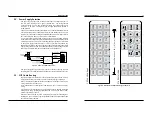
Figure 9 Photocopy Legend Master
2. Control Panel Design Guidelines
The following guidelines are intended to illustrate proper installation of the OIT to
help minimize electrical noise, which may hamper normal operation.
It is the
responsibility of the customer to ensure that all wiring and other components
used in the control system meet Class I, Division 2 requirements. This
installation manual is intended only as a general guide to be used in conjunction
with the appropriate Class I, Division 2 installation and wiring requirements.
The customer is ultimately responsible for proper installation.
Pay careful attention to the placement of system components and associated cable
routing. These items can significantly enhance the performance and integrity of
your control application.
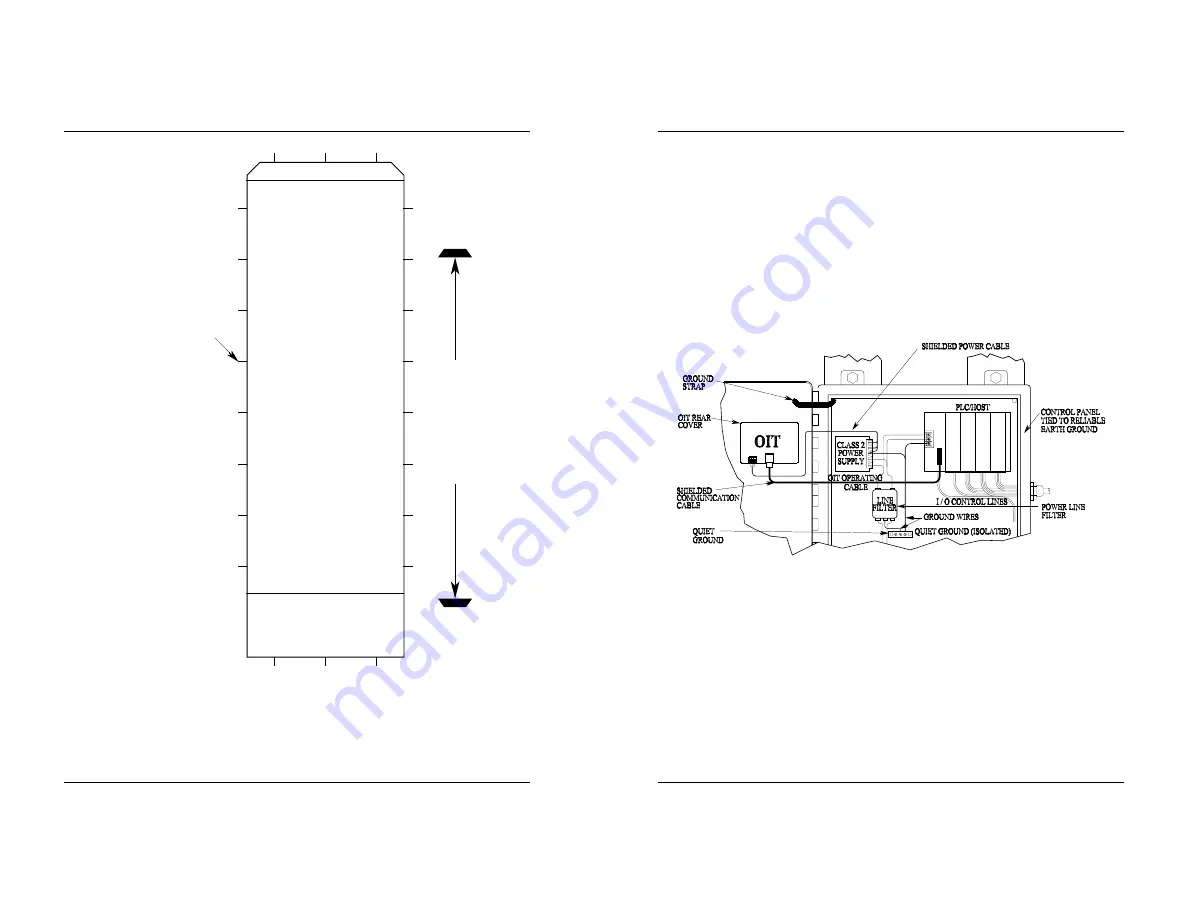
2.1. Control Panel Grounding
• The control panel should be connected to a good, high-integrity earth ground
both for safety considerations and shielding purposes. This must be a reliable
earth ground with a low-resistance path. The ideal earth ground would be a
copper grounding rod located close to the OIT and the control panel.
• Hinged doors on control panels do not provide a long term electrical connection
to the rest of the enclosure. Corrosion develops over time and prevents good
electrical contact. For this reason, a separate wire braid should be installed from
the hinged control panel to the rest of the enclosure.
1010-0104, REV 03
INSTALLATION MANUAL
7
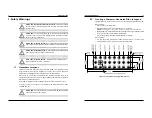
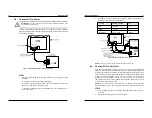
Figure 1 Control Panel Example


