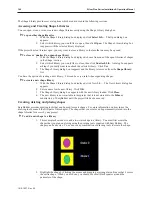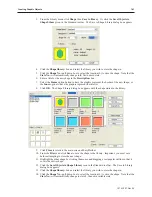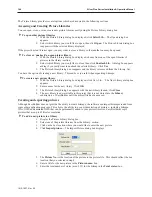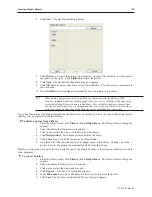
7.
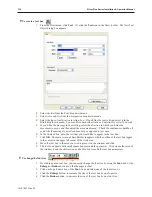
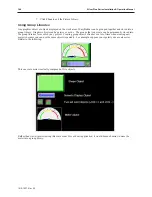
Move the picture to the location desired and click. The picture appears with small square
boxes around the perimeter of the bitmap.
8.
The bitmap can be resized or you can edit the bitmap’s parameters by double-clicking to enter
the
Bitmap Object’s Properties
dialog box.
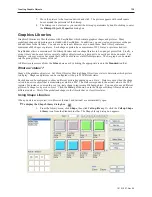
Graph ics Li braries
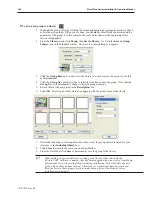
Graphics Libraries are files that come with EasyBuilder which contain graphics shapes and pictures. Many
predefined shapes and pictures are included with EasyBuilder. In addition, you can create new pictures or shapes
and add them to the libraries. You can even create new libraries as you need them. Each library contains a
maximum of 48 shapes or pictures. Each shape or picture has a maximum of 255 ‘states’ or pictures tied to it.
EasyBuilder allows a maximum of ten bitmap libraries and ten shape libraries to be open per project file. Finally, a
group library can be used to store several graphics objects (such as a keypad) to be easily used when needed. For
example, you may create a bar graph that could be used in several different projects. The bar graph can be stored
into the group library for easy retrieval.
All libraries are accessed from the
Library
menu or by clicking the appropriate icon in the
Standard
toolbar.
What are ‘states’?
Many of the graphics objects (ex. Set Word Object or Moving Shape Object) use states to determine which picture
to display. Shapes and pictures can be configured with up to 255 different states.
Each shape can be configured to show a different picture depending upon a ‘state’. States are used when the shape
is tied to an active object that is monitoring a value in a PLC. The state corresponds to the actual value in the PLC
register. For instance, you would use a two-state shape to represent a Bit Lamp object. You can also use a different
picture of a shape for a passive object. Click the
State:
pull-down box in the Shape or Bitmap library and select a
different number. Most of the predefined shapes in the libraries have at least two states.
Using Shape Li braries
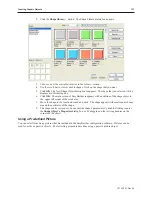
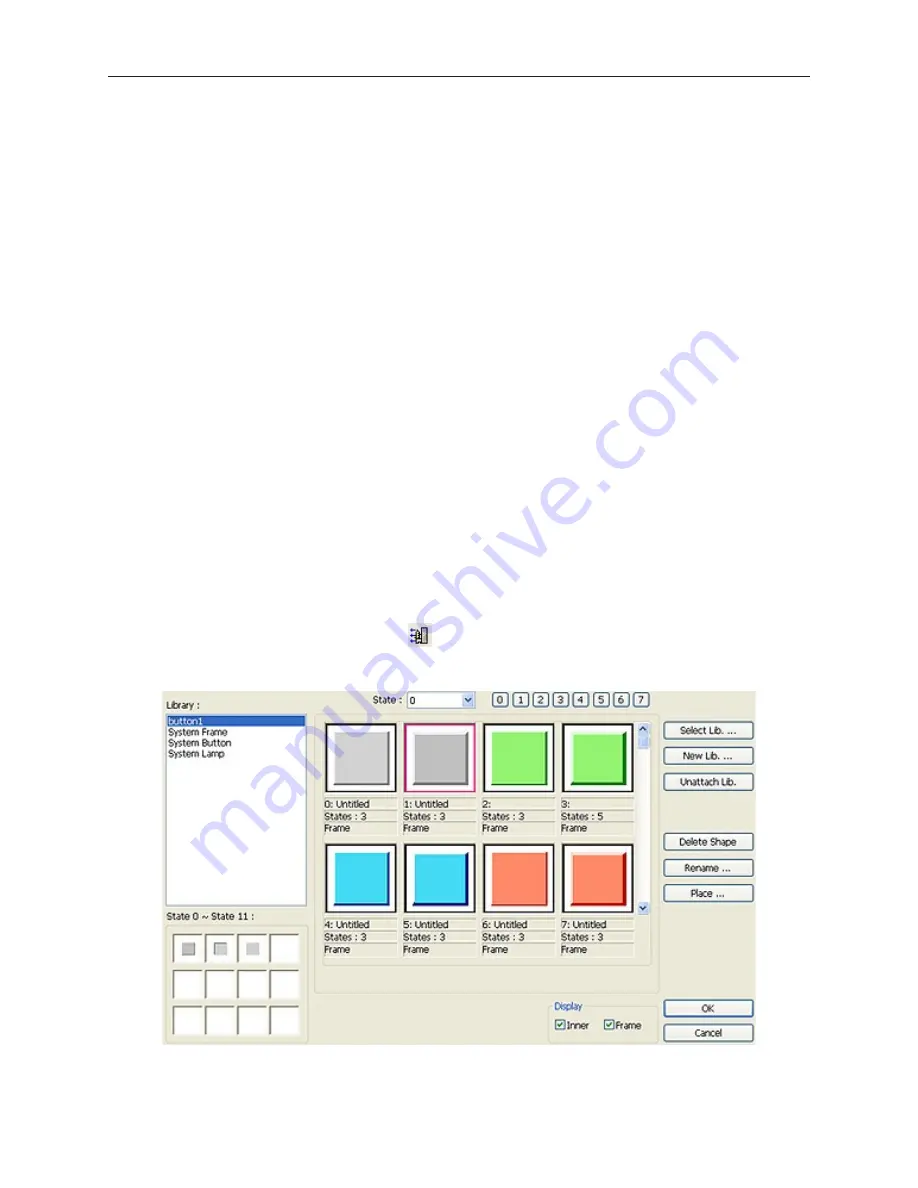
When you start a new project, two libraries (button1 and button2) are automatically open.
4
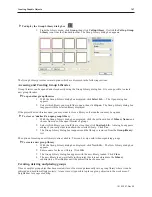
To display the Shape Library dialog box
1.
From the Library menu, click
Shape
, then click
Call up library
. Or click the
Call up Shape
Library
icon from the Standard toolbar. The Shape Library dialog box appears.
1010-1007, Rev 05
Cre ating Graphic Ob jects
139
Summary of Contents for Silver Plus Series
Page 20: ...1010 1007 Rev 05 16 Silver Plus Series Installation Operation Manual ...
Page 31: ...COM Ports for the HMI5056 5070 1010 1007 Rev 05 Connect the OIT to the PLC or Controller 27 ...
Page 38: ...1010 1007 Rev 05 34 Silver Plus Series Installation Operation Manual ...
Page 49: ...7 Click the Shape tab 1010 1007 Rev 05 Creating Your First Project 45 ...
Page 62: ...1010 1007 Rev 05 58 Silver Plus Series Installation Operation Manual ...
Page 75: ...3 Click OK The System Parameter Settings dialog appears 1010 1007 Rev 05 Using EZware 5000 71 ...
Page 132: ...1010 1007 Rev 05 128 Silver Plus Series Installation Operation Manual ...
Page 156: ...1010 1007 Rev 05 152 Silver Plus Series Installation Operation Manual ...
Page 210: ...1010 1007 Rev 05 206 Silver Plus Series Installation Operation Manual ...
Page 216: ...1010 1007 Rev 05 212 Silver Plus Series Installation Operation Manual ...
Page 246: ...1010 1007 Rev 05 242 Silver Plus Series Installation Operation Manual ...

