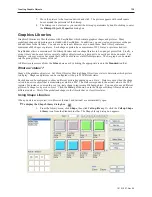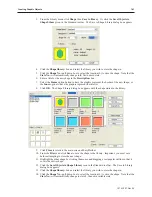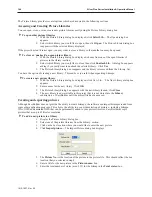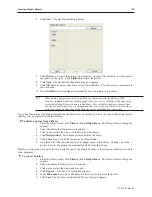
The Picture Library provides several options which are discussed in the following sections.
Ac cessing and Cre at ing Picture Li brar ies
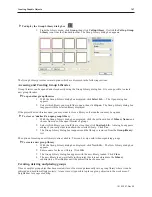
You can open, close, or even create new picture libraries easily using the Picture Library dialog box.
4
To open other picture libraries
1.
With the Picture Library dialog box displayed, click
Select Lib…
The Open dialog box
appears.
2.
Select which library you would like to open, then click
Open
. The Picture Library dialog box
reappears with the selected library displayed.
If the project has ten libraries open, you may want to close a library so that another one may be opened.
4
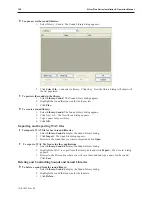
To close or ‘unattach’ an open picture library
1.
With the Picture Library dialog box displayed, choose from one of the open libraries of
pictures in the library: section.
2.
Select which library you would like to close, then click
Unattach Lib.
A dialog box appears
asking if you really want to unattach the selected library. Click
Yes
.
3.
The Picture Library dialog box reappears and the library is removed from the Library: list.
You have the option of creating a new library. This can be very useful when organizing bitmaps.
4
To create a new picture library
1.
With the Picture Library dialog box displayed, click New Lib… The New Library dialog box
appears.
2.
Enter a name for the new library. Click
OK
.
3.
The Picture Library dialog box appears with the new library loaded. Click
Close
.
4.
The new library is now available to this project but it is not stored into the
Library
subdirectory of EasyBuilder until the project file has been saved.
Cre ating and ex port ing pictures
Although EasyBuilder does not provide the ability to create bitmaps, the software can import bitmaps created from
some other application program. This allows the ability to use a wide selection of pictures - including bitmaps,
JPGs, GIFS and animated GIFS that can be permanently added to your picture libraries. EasyBuilder accepts
pictures that are up to 65K color resolution.
4
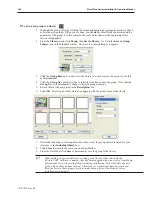
To add a new picture to a library
1.
Display the Picture Library dialog box.
2.
Select one of the picture libraries from the Library: section.
3.
Click on the box location where you would like to enter the new picture.
4.
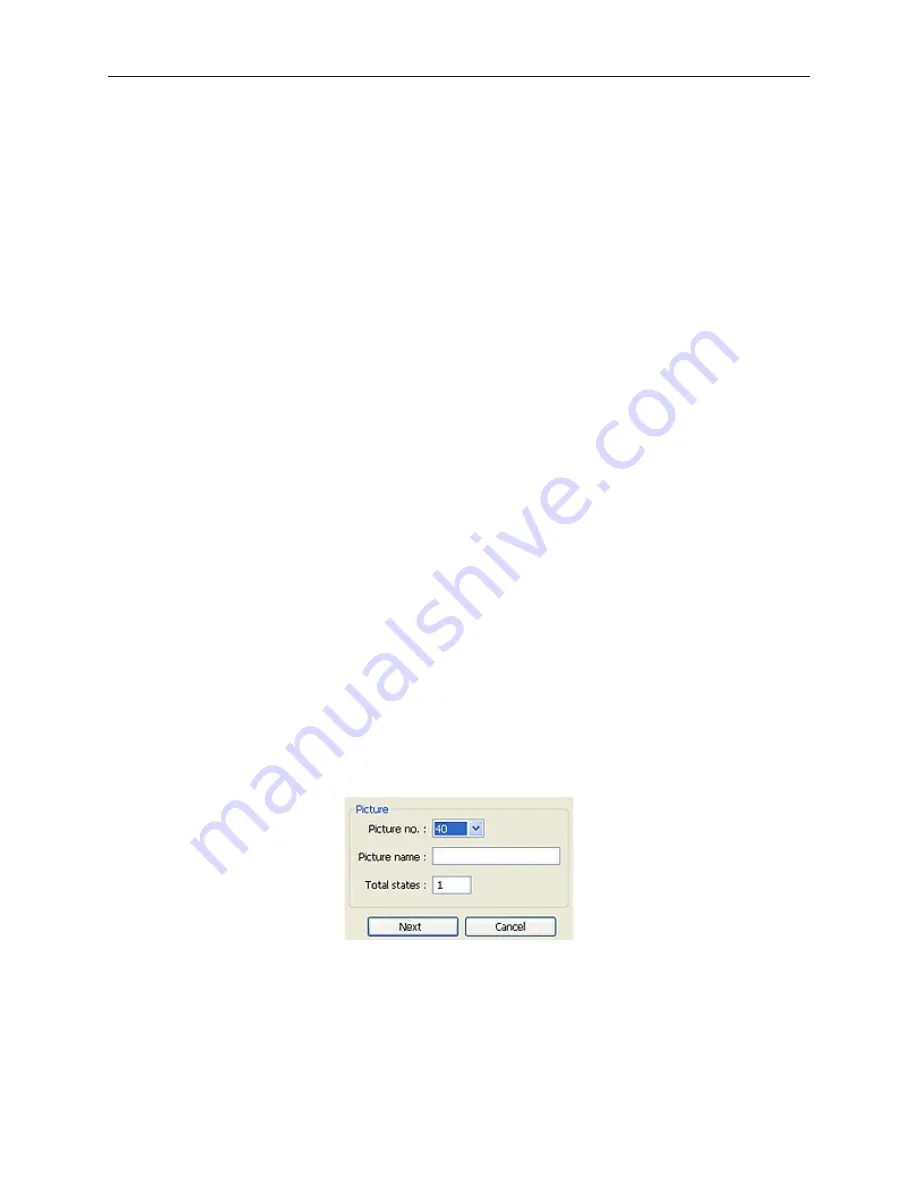
Click
Import picture…
The Import Picture dialog box displays.
5.
The
Picture No.:
is the location of the picture in the picture file. This should reflect the box
location that you selected in step 4.
6.
Enter a title for the new picture in the
Picture name:
box.
7.
Enter the total number of states (max. 255) for the bitmap in the
Total states:
box.
1010-1007, Rev 05
144
Sil ver Plus Se ries In stal la tion & Op er a tion Man ual
Summary of Contents for Silver Plus Series
Page 20: ...1010 1007 Rev 05 16 Silver Plus Series Installation Operation Manual ...
Page 31: ...COM Ports for the HMI5056 5070 1010 1007 Rev 05 Connect the OIT to the PLC or Controller 27 ...
Page 38: ...1010 1007 Rev 05 34 Silver Plus Series Installation Operation Manual ...
Page 49: ...7 Click the Shape tab 1010 1007 Rev 05 Creating Your First Project 45 ...
Page 62: ...1010 1007 Rev 05 58 Silver Plus Series Installation Operation Manual ...
Page 75: ...3 Click OK The System Parameter Settings dialog appears 1010 1007 Rev 05 Using EZware 5000 71 ...
Page 132: ...1010 1007 Rev 05 128 Silver Plus Series Installation Operation Manual ...
Page 156: ...1010 1007 Rev 05 152 Silver Plus Series Installation Operation Manual ...
Page 210: ...1010 1007 Rev 05 206 Silver Plus Series Installation Operation Manual ...
Page 216: ...1010 1007 Rev 05 212 Silver Plus Series Installation Operation Manual ...
Page 246: ...1010 1007 Rev 05 242 Silver Plus Series Installation Operation Manual ...


