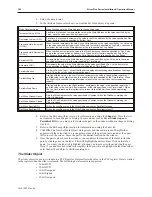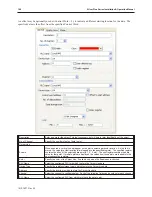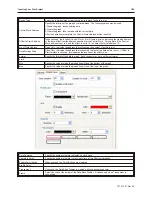
Cyclical
Option
Description
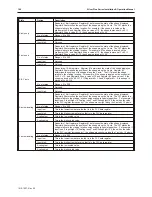
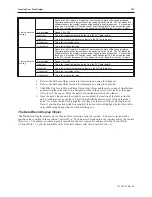
Disable
When the value in the specified register reaches its maximum, the next touch will have no
effect on the value.
Enable
When the value in the specified register reaches its maximum, the next touch will cause
the value to reset to 0.
7.
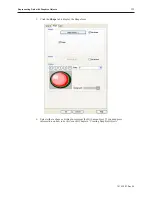
Refer to the Bit Lamp Object section for information on using the Shape tab.
8.
Refer to the Bit Lamp Object section for information on using the Label tab.
9.
Click
OK
. The New MultiState Switch Object form closes and the main screen of
EasyBuilder appears with the cursor tied to a rectangular outline of the part you just created at
the upper left corner of the screen. Move the part to the desired location on the window.
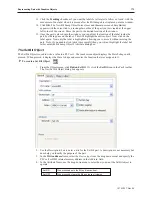
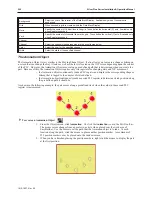
10. Once the part is placed onto the window, you can adjust the location of the label inside the
part by clicking once on the label. This will highlight the entire object. Now click on the
label again. Now only the label is highlighted, allowing you to move it without moving the
part. Note: if you double-click (click twice rapidly) then you will not highlight the label but
rather enter the MultiState Switch Object’s Properties dialog box.
The Nu meric Display Ob ject
The Numeric Display Object is used to display the numeric value of a PLC register. The object continuously reads
the PLC register and displays the corresponding numeric data in the format specified. The PLC register can be a
16-bit, 32-bit, or a 64-bit word.
4
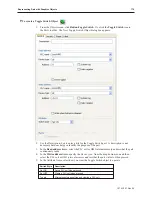
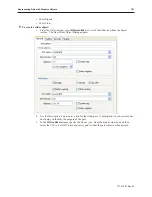
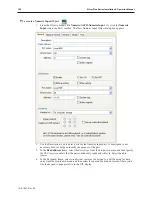
To create a Numeric Display Object
1.
From the Objects
menu, click
Numeric/ASCII-Numeric Display
. Or click the
Numeric
Display
icon in the Part1 toolbar. The New Numeric Data Object dialog box appears.
2.
Use the Description: box to enter a
title
for the
numeric display
part. A description is not
necessary but does help you identify the purpose of the part.
3.
In the Read address frame, select the
device type
from the drop down menu and then specify
the
PLC register address
that the part continuously reads.
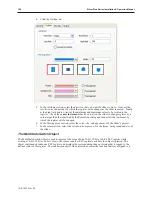
4.
Click the
Numeric Format
tab to display the Numeric format form.
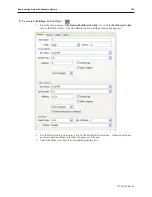
5.
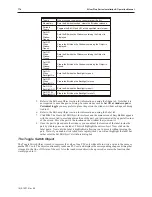
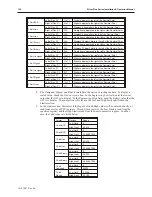
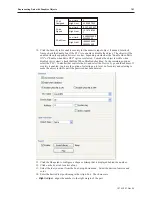
In the Display attribute box, select the format type you wish to use. The options are:
Format
Range
Description
16-bit BCD
0 to 32,767 BCD
16-bit Binary-Coded Decimal
32-bit BCD
0 to 65,536 BCD
32-bit Binary-Coded Decimal
16-bit Hex
0 to FFFF
16-bit Hexadecimal
32-bit Hex
0 to FFFFFFFF
32-bit Hexadecimal
1010-1007, Rev 05
Rep re senting Data with Graph ics Ob jects
185
Summary of Contents for Silver Plus Series
Page 20: ...1010 1007 Rev 05 16 Silver Plus Series Installation Operation Manual ...
Page 31: ...COM Ports for the HMI5056 5070 1010 1007 Rev 05 Connect the OIT to the PLC or Controller 27 ...
Page 38: ...1010 1007 Rev 05 34 Silver Plus Series Installation Operation Manual ...
Page 49: ...7 Click the Shape tab 1010 1007 Rev 05 Creating Your First Project 45 ...
Page 62: ...1010 1007 Rev 05 58 Silver Plus Series Installation Operation Manual ...
Page 75: ...3 Click OK The System Parameter Settings dialog appears 1010 1007 Rev 05 Using EZware 5000 71 ...
Page 132: ...1010 1007 Rev 05 128 Silver Plus Series Installation Operation Manual ...
Page 156: ...1010 1007 Rev 05 152 Silver Plus Series Installation Operation Manual ...
Page 210: ...1010 1007 Rev 05 206 Silver Plus Series Installation Operation Manual ...
Page 216: ...1010 1007 Rev 05 212 Silver Plus Series Installation Operation Manual ...
Page 246: ...1010 1007 Rev 05 242 Silver Plus Series Installation Operation Manual ...

