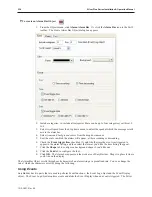
8.
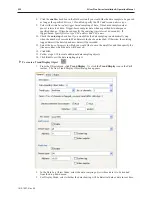
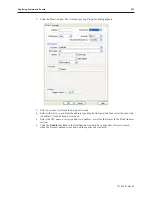
Click the
enable
check box in the Hold section if you would like the data sample to be paused
as long as the specified bit is set. If enabled, specify the
PLC address
and
device type
.
9.
Select either
time based
or
trigger based
sampling of data. Time based samples data at
pre-set intervals of time. Trigger-based samples data when a specified bit undergoes a
specified change. If time-based, specify the
sampling time interval
(in seconds). If
trigger-based, specify
Device type, PLC address
and
PLC name.
10. Check the
auto stop
check box if you would like the data sampling to automatically stop
when the number of records in Max data records has been reached. Otherwise, the existing
logged data will be deleted and new data will be recorded.
11. Select the
type of memory
to which you would like to save the data files, and then specify the
filename
under which the data will be saved.
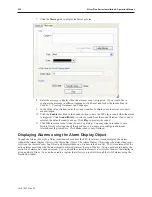
12. Click
OK.
13. Follow steps 1-12 to create additional data sampling objects.
14. Click
Exit
to exit the data sampling object.
4
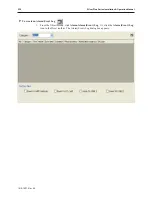
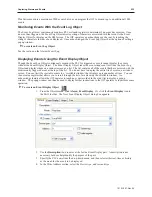
To create a Trend Display Object
1.
From the Objects menu, click
Trend Display
. Or click the
Trend Display
icon in the Part2
toolbar. The New Trend Display Object dialog box appears.
2.
In the Data Log Object Index, select the
data sampling object
whose data is to be trended
from the drop down menu.
3.
For Display Mode, select whether the data showing will be historical data or data in real time.
1010-1007, Rev 05
222
Sil ver Plus Se ries In stal la tion & Op er a tion Man ual
Summary of Contents for Silver Plus Series
Page 20: ...1010 1007 Rev 05 16 Silver Plus Series Installation Operation Manual ...
Page 31: ...COM Ports for the HMI5056 5070 1010 1007 Rev 05 Connect the OIT to the PLC or Controller 27 ...
Page 38: ...1010 1007 Rev 05 34 Silver Plus Series Installation Operation Manual ...
Page 49: ...7 Click the Shape tab 1010 1007 Rev 05 Creating Your First Project 45 ...
Page 62: ...1010 1007 Rev 05 58 Silver Plus Series Installation Operation Manual ...
Page 75: ...3 Click OK The System Parameter Settings dialog appears 1010 1007 Rev 05 Using EZware 5000 71 ...
Page 132: ...1010 1007 Rev 05 128 Silver Plus Series Installation Operation Manual ...
Page 156: ...1010 1007 Rev 05 152 Silver Plus Series Installation Operation Manual ...
Page 210: ...1010 1007 Rev 05 206 Silver Plus Series Installation Operation Manual ...
Page 216: ...1010 1007 Rev 05 212 Silver Plus Series Installation Operation Manual ...
Page 246: ...1010 1007 Rev 05 242 Silver Plus Series Installation Operation Manual ...


