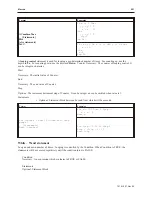
Chapter 14 - Data and Recipe Transfer Objects
EasyBuilder includes a Data Transfer object and a Recipe Transfer object, which enable data to be copied from one
or more registers located in the PLC or the OIT to other registers. The Data Transfer object is used to continuously
transfer data at a predefined rate. The Recipe Transfer object is a touchscreen object that transfers data when
activated by the OIT operator.
Us ing the Data Trans fer Ob ject
In some projects you create, you may need to transfer large blocks of data from PLC/OIT registers to other
PLC/OIT registers. The Data Transfer Object is used to copy data from one or more PLC registers or OIT internal
memory to other registers continuously on a timed interval. There is no limit to the number of Data Transfer
Objects that you can create other than the OIT’s available memory. Each Object created can transfer from 1-16
continuous registers or 1-255 coils.
There are two types of data transfer objects available, time-based and trigger based. Time-based data transfer object
periodically transfers data from one set of PLC registers to another at a predetermined interval. The interval is
adjustable from 0 (the data is transferred continuously) to 25.5 seconds, in 0.1 second steps.
The trigger-based data transfer object transfers word-based data from a specified source address to another specified
source address when triggered by the controller. This can be used to transfer recipe data, or any other data, from
one device to another.
4
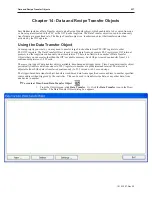
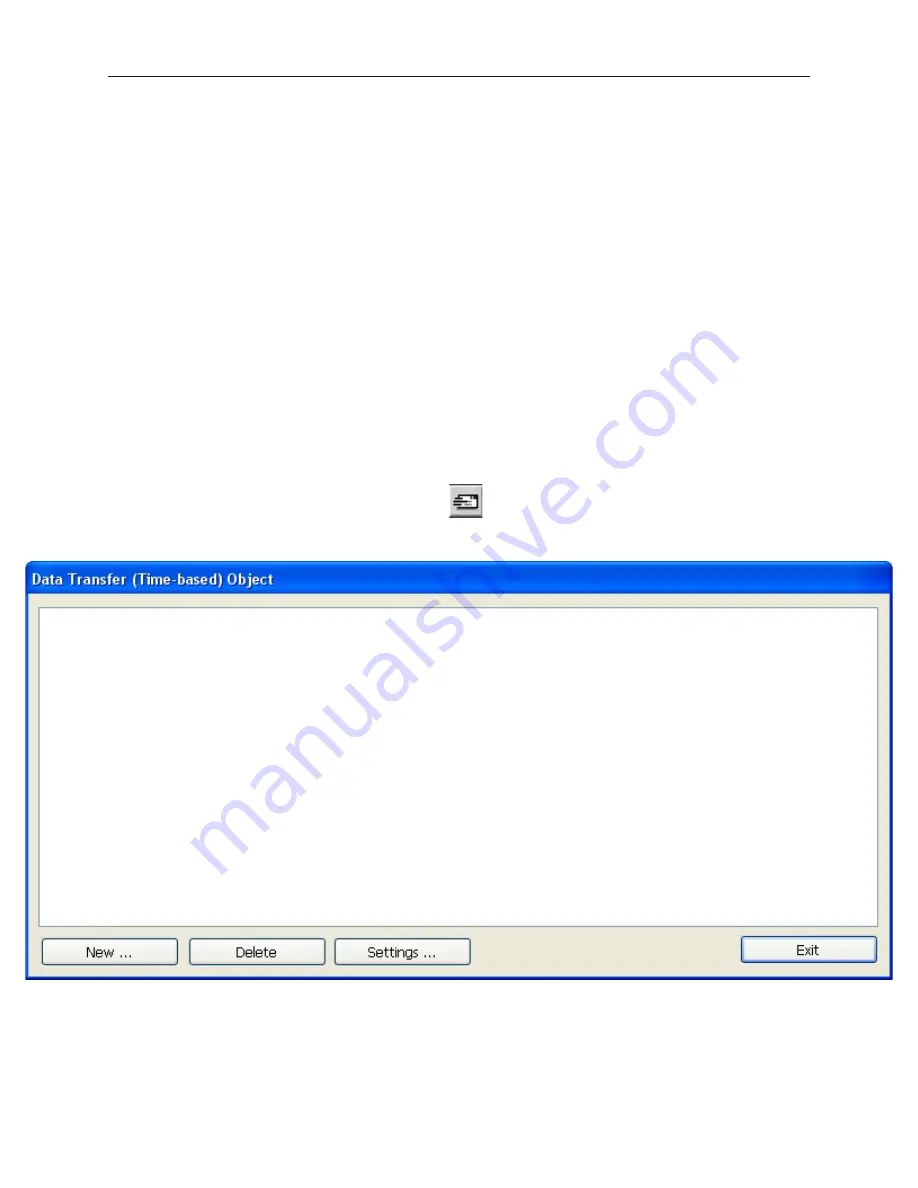
To create at Time-based Data Transfer Object
1.
From the Objects menu, click
Data Transfer
. Or click the
Data Transfer
icon in the Draw
toolbar. The Data Transfer Object dialog box appears.
1010-1007, Rev 05
Data and Rec ipe Trans fer Objects
237
Summary of Contents for Silver Plus Series
Page 20: ...1010 1007 Rev 05 16 Silver Plus Series Installation Operation Manual ...
Page 31: ...COM Ports for the HMI5056 5070 1010 1007 Rev 05 Connect the OIT to the PLC or Controller 27 ...
Page 38: ...1010 1007 Rev 05 34 Silver Plus Series Installation Operation Manual ...
Page 49: ...7 Click the Shape tab 1010 1007 Rev 05 Creating Your First Project 45 ...
Page 62: ...1010 1007 Rev 05 58 Silver Plus Series Installation Operation Manual ...
Page 75: ...3 Click OK The System Parameter Settings dialog appears 1010 1007 Rev 05 Using EZware 5000 71 ...
Page 132: ...1010 1007 Rev 05 128 Silver Plus Series Installation Operation Manual ...
Page 156: ...1010 1007 Rev 05 152 Silver Plus Series Installation Operation Manual ...
Page 210: ...1010 1007 Rev 05 206 Silver Plus Series Installation Operation Manual ...
Page 216: ...1010 1007 Rev 05 212 Silver Plus Series Installation Operation Manual ...
Page 246: ...1010 1007 Rev 05 242 Silver Plus Series Installation Operation Manual ...

