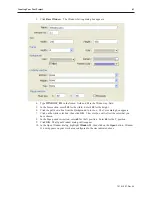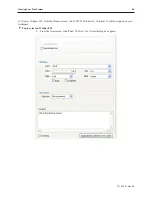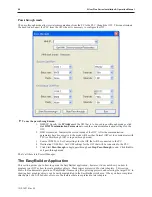
9.
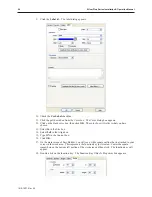
Click the
Label
tab. The label dialog appears.
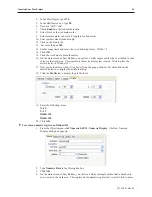
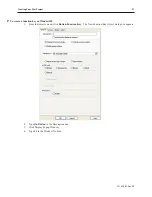
10. Check the
Use Label
checkbox.
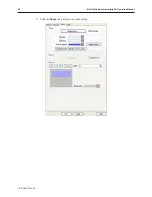
11. Click the pull down box from the Color box. The Color dialog box appears.
12. Click on the black color box, then click
OK
. The color box will reflect what you have
chosen.
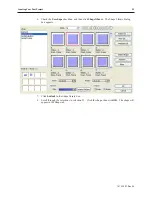
13. Select
16
in the Size box.
14. Select
Left
in the Align box.
15. Type
ON
in the Content box..
16. Click
OK
.
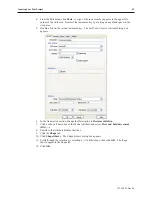
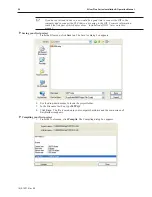
17. On the main screen of EasyBuilder, you will see a white square outline that is attached to your
cursor in the work area. This represents the function key just created. Center the square
somewhere on the bottom left portion of the work area and then click. The function key will
appear.
18. Double-click on the function key. The Function Key Object’s Properties box appears.
1010-1007, Rev 05
54
Sil ver Plus Se ries In stal la tion & Op er a tion Man ual
Summary of Contents for Silver Plus Series
Page 20: ...1010 1007 Rev 05 16 Silver Plus Series Installation Operation Manual ...
Page 31: ...COM Ports for the HMI5056 5070 1010 1007 Rev 05 Connect the OIT to the PLC or Controller 27 ...
Page 38: ...1010 1007 Rev 05 34 Silver Plus Series Installation Operation Manual ...
Page 49: ...7 Click the Shape tab 1010 1007 Rev 05 Creating Your First Project 45 ...
Page 62: ...1010 1007 Rev 05 58 Silver Plus Series Installation Operation Manual ...
Page 75: ...3 Click OK The System Parameter Settings dialog appears 1010 1007 Rev 05 Using EZware 5000 71 ...
Page 132: ...1010 1007 Rev 05 128 Silver Plus Series Installation Operation Manual ...
Page 156: ...1010 1007 Rev 05 152 Silver Plus Series Installation Operation Manual ...
Page 210: ...1010 1007 Rev 05 206 Silver Plus Series Installation Operation Manual ...
Page 216: ...1010 1007 Rev 05 212 Silver Plus Series Installation Operation Manual ...
Page 246: ...1010 1007 Rev 05 242 Silver Plus Series Installation Operation Manual ...


