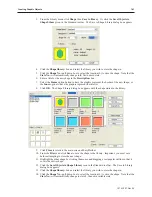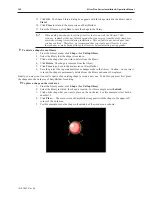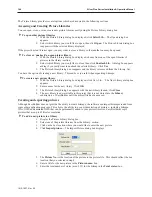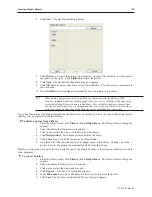
4
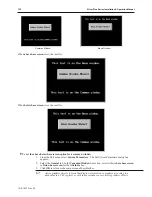
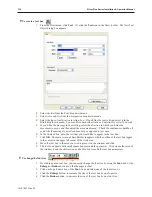
To create a text box
1.
From the Draw
menu, click
Text
. Or click the
Text
icon in the Draw toolbar. The New Text
Object dialog box appears.
2.
Select the
font
from the Font: drop down menu.
3.
Select
color
and
size
from their respective drop down menus.
4.
Select the type of
justification
in Align: box. If you'd like the text to blink, select it in the
Blink: drop-down menu. You may also check either
Italic
or
Underline
for style if you wish.
5.
If you'd like the message to be scrolling, select the
direction
in which you'd like the
movement to occur, and then adjust the movement
speed
. Check the continuous checkbox if
you'd like the message to scroll continuously, as opposed to just once.
6.
In the Content: box, enter the
text
that you would like to appear in the text box.
7.
Click
OK
. The main screen of EasyBuilder reappears with the outline of the text box tagged
to the cursor in the upper left corner of the work area.
8.
Move the text box to the area you wish to place it on the window and click.
9.
The text box appears with small square boxes around the perimeter. Click on another area of
the window to end the edit session or double-click to reedit the text box parameters.
4
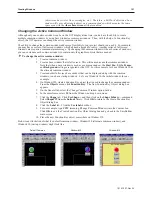
To change the font size
1.
By clicking onto a text box, you can easily change the font size by using the
Font:
box or the
Enlarge
or
Reduce
buttons on the Manager toolbar.
2.
Click on the pull-down box of the
Font:
box and select one of the font sizes; or,
3.
Click the
Enlarge
button to increase the size of the text box by one font size.
4.
Click the
Reduce
button to decrease the size of the text box by one font size.
1010-1007, Rev 05
134
Sil ver Plus Se ries In stal la tion & Op er a tion Man ual
Summary of Contents for Silver Plus Series
Page 20: ...1010 1007 Rev 05 16 Silver Plus Series Installation Operation Manual ...
Page 31: ...COM Ports for the HMI5056 5070 1010 1007 Rev 05 Connect the OIT to the PLC or Controller 27 ...
Page 38: ...1010 1007 Rev 05 34 Silver Plus Series Installation Operation Manual ...
Page 49: ...7 Click the Shape tab 1010 1007 Rev 05 Creating Your First Project 45 ...
Page 62: ...1010 1007 Rev 05 58 Silver Plus Series Installation Operation Manual ...
Page 75: ...3 Click OK The System Parameter Settings dialog appears 1010 1007 Rev 05 Using EZware 5000 71 ...
Page 132: ...1010 1007 Rev 05 128 Silver Plus Series Installation Operation Manual ...
Page 156: ...1010 1007 Rev 05 152 Silver Plus Series Installation Operation Manual ...
Page 210: ...1010 1007 Rev 05 206 Silver Plus Series Installation Operation Manual ...
Page 216: ...1010 1007 Rev 05 212 Silver Plus Series Installation Operation Manual ...
Page 246: ...1010 1007 Rev 05 242 Silver Plus Series Installation Operation Manual ...

