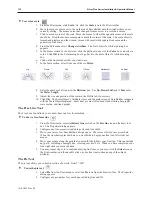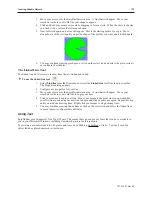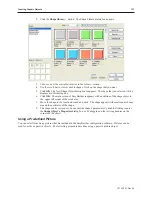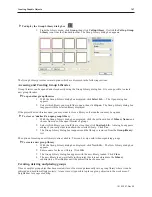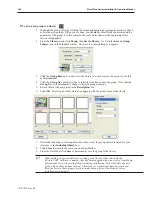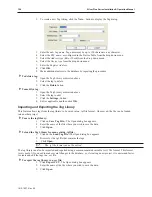
8.
Click
Next
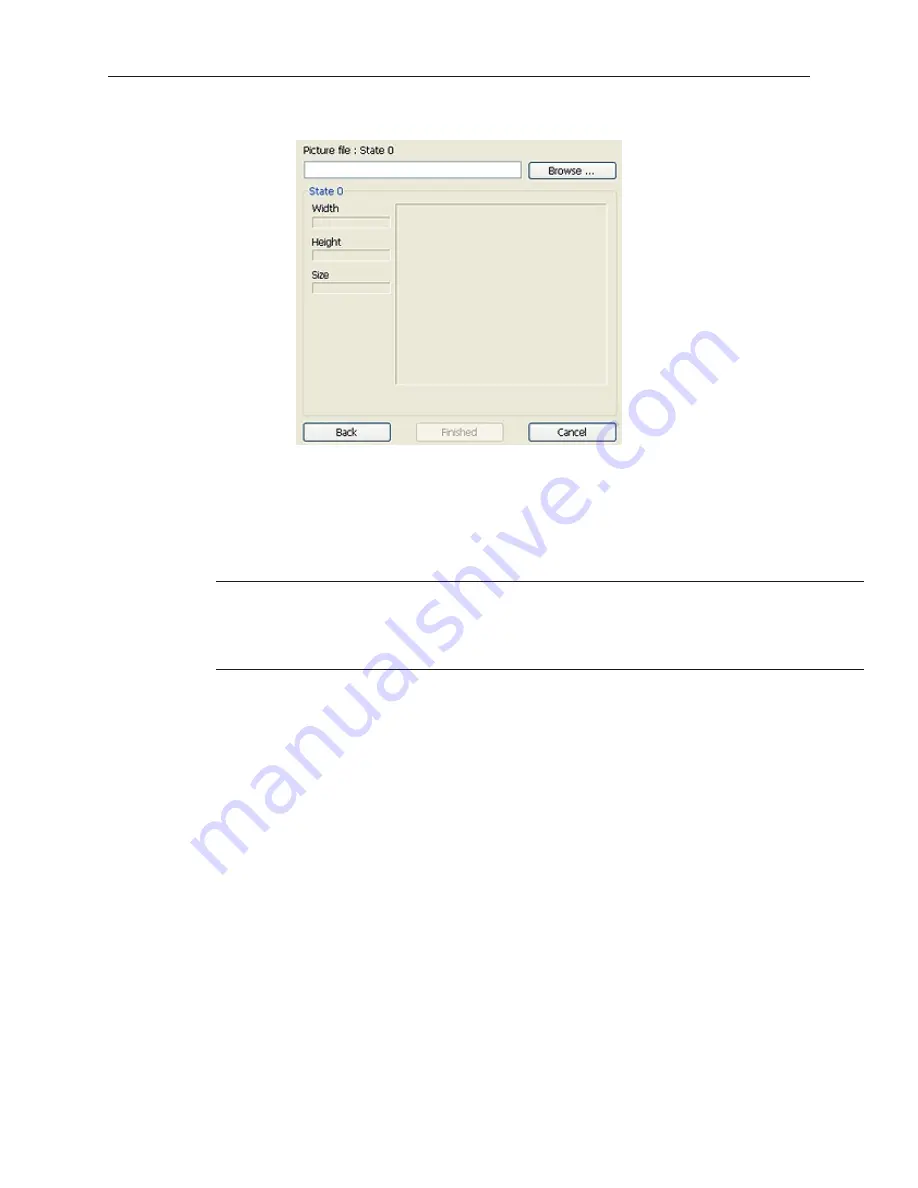
. The Get Picture dialog displays.
9.
Click
Browse...
to locate the picture to be imported. Once the file is located, it will appear in
the square on the right. Click
Finished
to import the picture.
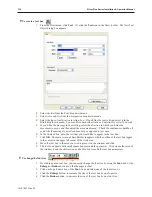
8.
Click
Next
. The Get Bitmap Graphics dialog box appears..
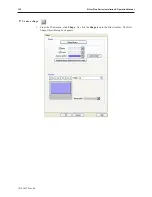
9.
Click
OK
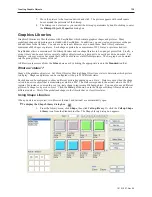
again to return to the main screen of EasyBuilder. Place the picture somewhere in
the work area.
10. From the
File
menu, click
Save
to permanently save the picture to the library.
When adding new pictures to existing libraries that come with the EZware-5000
software, remember that any future upgrade that you receive from Maple Systems may
overwrite existing libraries during installation. This will delete any new bitmaps that
you have entered; therefore, we recommend that you create new libraries to store these
pictures or make backup files of the libraries before installing new upgrades.
If you find that some of the pictures included in the libraries are not useful, you have the option of deleting them so
that they may be replaced by another bitmap.
4
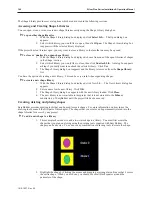
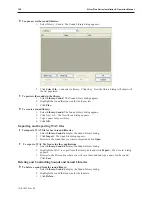
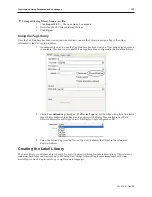
To delete a picture from a library
1.
From the Library menu, click
Picture
, then
Call up library
. The Picture Library dialog box
appears.
2.
Select the library that the picture is located in.
3.
Click on the picture that you wish to delete from the library.
4.
Click
Delete picture
. The bitmap is removed from the library.
5.
Click
Close
to go back to the main screen of EasyBuilder.
6.
Save the project file to permanently save changes made to the library. Caution – once the
project is saved, the picture is permanently deleted from the library.
Finally, you may want to export a picture located in one of the picture libraries so that it can be modified or used in
other programs.
4
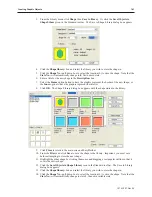
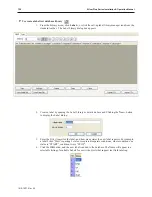
To export a picture
1.
From the Library menu, click
Picture
, then
Call up library
. The Picture Library dialog box
appears.
2.
Select the library that the picture is located in.
3.
Click on the picture that you want to export.
4.
Click
Export…
The Save As dialog box appears.
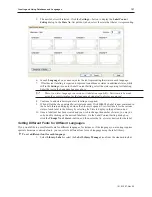
5.
In the
File name:
box, enter a file name to which you wish to store the picture.
6.
Click
Save
. The picture is saved and the Picture Library reappears.
1010-1007, Rev 05
Cre ating Graphic Ob jects
145
Summary of Contents for Silver Plus Series
Page 20: ...1010 1007 Rev 05 16 Silver Plus Series Installation Operation Manual ...
Page 31: ...COM Ports for the HMI5056 5070 1010 1007 Rev 05 Connect the OIT to the PLC or Controller 27 ...
Page 38: ...1010 1007 Rev 05 34 Silver Plus Series Installation Operation Manual ...
Page 49: ...7 Click the Shape tab 1010 1007 Rev 05 Creating Your First Project 45 ...
Page 62: ...1010 1007 Rev 05 58 Silver Plus Series Installation Operation Manual ...
Page 75: ...3 Click OK The System Parameter Settings dialog appears 1010 1007 Rev 05 Using EZware 5000 71 ...
Page 132: ...1010 1007 Rev 05 128 Silver Plus Series Installation Operation Manual ...
Page 156: ...1010 1007 Rev 05 152 Silver Plus Series Installation Operation Manual ...
Page 210: ...1010 1007 Rev 05 206 Silver Plus Series Installation Operation Manual ...
Page 216: ...1010 1007 Rev 05 212 Silver Plus Series Installation Operation Manual ...
Page 246: ...1010 1007 Rev 05 242 Silver Plus Series Installation Operation Manual ...


