2.
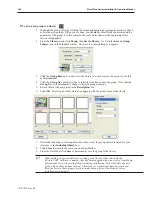
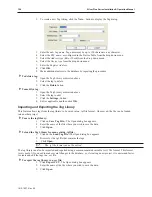
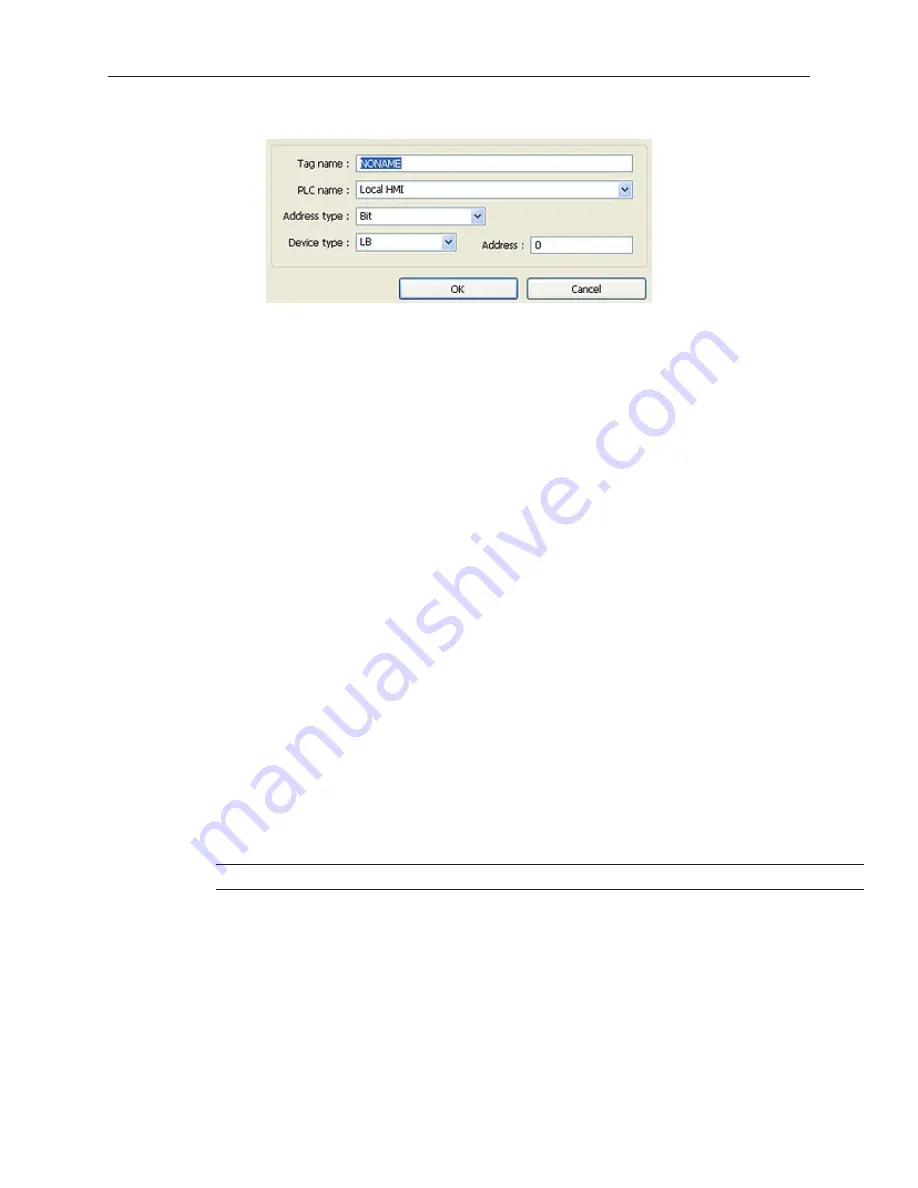
To create a new Tag listing, click the
New…
button to display the Tag dialog.
3.
Enter the new
Tag name
. Tag names may be up to 100 characters, any character.
4.
Select the
PLC name:
as configured in the Device Table from the drop down menu.
5.
Select the
Address typ
e (Bit or Word) from the drop down menu..
6.
Select the
Device type
from the drop down menu.
7.
Enter the
Register Address
.
8.
Click
OK
.
9.
Make additional entries to the database by repeating the procedure.
4
To delete a tag:
1.
Open the Tag Library as directed above.
2.
Select the tag to delete.
3.
Click the
Delete
button.
4
To modify a tag:
1.
Open the Tag Library as directed above.
2.
Select the tag to edit.
3.
Click the
Settings..
button.
4.
Edit as applicable and then click
OK
.
Im port ing and Ex port ing the Tag Li brary
This feature allows tags from the tag library to be saved into a .tgl file format. Once saved, the file can be loaded
into another project.
4
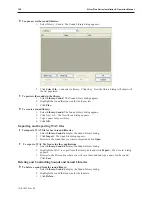
To save the tag library:
1.
Click on
Save Tag File...
The Open dialog box appears.
2.
Enter the
name
of the file where you wish to save the data.
3.
Click
Open
.
4
To load the Tag Library from an existing .tgl file:
1.
Click on the
Load Tag File...
The Open dialog box appears.
2.
Browse for the .tgl file that contains the tags.
3.
Click
Open
.
The .tgl file format can not be edited.
The tag library can also be imported and exported using a comma-separated variable (.csv) file format. This format
is very useful if you need to make several changes to the database; or, if creating a new project, it is easier and faster
to create and edit the tags in a .csv file.
4
To export the tag library to a .csv file:
1.
Click
Export CSV
. The Open dialog box appears.
2.
Enter the
name of the file
where you wish to save the data.
3.
Click
Open
.
1010-1007, Rev 05
154
Sil ver Plus Se ries In stal la tion & Op er a tion Man ual
Summary of Contents for Silver Plus Series
Page 20: ...1010 1007 Rev 05 16 Silver Plus Series Installation Operation Manual ...
Page 31: ...COM Ports for the HMI5056 5070 1010 1007 Rev 05 Connect the OIT to the PLC or Controller 27 ...
Page 38: ...1010 1007 Rev 05 34 Silver Plus Series Installation Operation Manual ...
Page 49: ...7 Click the Shape tab 1010 1007 Rev 05 Creating Your First Project 45 ...
Page 62: ...1010 1007 Rev 05 58 Silver Plus Series Installation Operation Manual ...
Page 75: ...3 Click OK The System Parameter Settings dialog appears 1010 1007 Rev 05 Using EZware 5000 71 ...
Page 132: ...1010 1007 Rev 05 128 Silver Plus Series Installation Operation Manual ...
Page 156: ...1010 1007 Rev 05 152 Silver Plus Series Installation Operation Manual ...
Page 210: ...1010 1007 Rev 05 206 Silver Plus Series Installation Operation Manual ...
Page 216: ...1010 1007 Rev 05 212 Silver Plus Series Installation Operation Manual ...
Page 246: ...1010 1007 Rev 05 242 Silver Plus Series Installation Operation Manual ...

