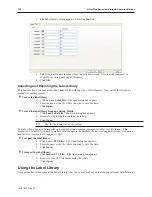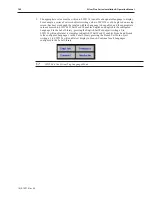
5.
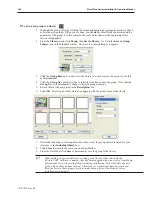
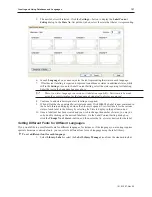
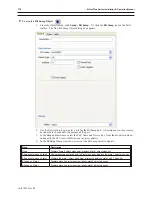
The new label is still selected. Click the
Settings…
button to display the
Label Content
Setting
dialog. In the
State No
.
list pull-down box, select the state that the text is representing.
6.
In each
Language
box, as needed, enter the text representing that state in each language.
7.
If further text labeling is required to represent conditions or status in additional states, while
still in the
Settings...
mode for Label Content Setting, select the state requiring text labeling.
Enter the text in the Language boxes as above.
There is no inter-language conversion or translation capability. Entries must be made
using the correct wording for the language designated, to display as entered.
8.
Continue to add state descriptive text labeling as required.
9.
When all text has been entered for all states desired, Click
OK.
The Label is now contained in
the Label Library and displayed when the Library is opened. View text labels for the various
states of each label in the Library by selecting the State to display in the pull down box.
10. Once a label text has been created and you wish to change the number of states, you may do
so by double clicking on the desired label text. On the Label Content Setting dialog box,
click the
Change No of States...
button, and then enter the
No. of states
desired for the label.
Setting Different Fonts for Different Languages
If you would like to use different fonts for different languages, for instances, if the language you are using requires
special characters or unicode fonts, you can select a different font for each language using the label library.
4
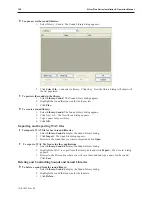
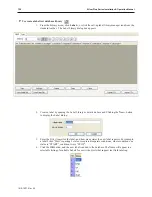
To set a different font for each language
1.
Select
Library-Label
or select the
Label Library Manager
icon from the standard toolbar.
1010-1007, Rev 05
Cre ating and Using Da ta bases and Lan guages
157
Summary of Contents for Silver Plus Series
Page 20: ...1010 1007 Rev 05 16 Silver Plus Series Installation Operation Manual ...
Page 31: ...COM Ports for the HMI5056 5070 1010 1007 Rev 05 Connect the OIT to the PLC or Controller 27 ...
Page 38: ...1010 1007 Rev 05 34 Silver Plus Series Installation Operation Manual ...
Page 49: ...7 Click the Shape tab 1010 1007 Rev 05 Creating Your First Project 45 ...
Page 62: ...1010 1007 Rev 05 58 Silver Plus Series Installation Operation Manual ...
Page 75: ...3 Click OK The System Parameter Settings dialog appears 1010 1007 Rev 05 Using EZware 5000 71 ...
Page 132: ...1010 1007 Rev 05 128 Silver Plus Series Installation Operation Manual ...
Page 156: ...1010 1007 Rev 05 152 Silver Plus Series Installation Operation Manual ...
Page 210: ...1010 1007 Rev 05 206 Silver Plus Series Installation Operation Manual ...
Page 216: ...1010 1007 Rev 05 212 Silver Plus Series Installation Operation Manual ...
Page 246: ...1010 1007 Rev 05 242 Silver Plus Series Installation Operation Manual ...


