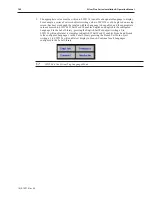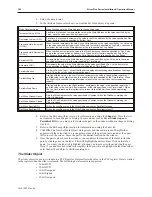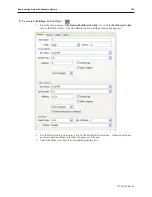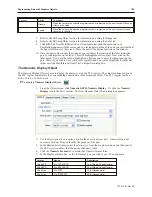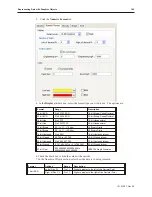
Toggle
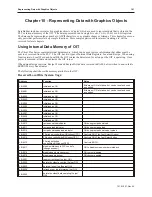
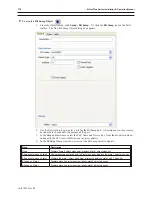
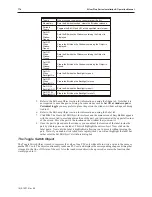
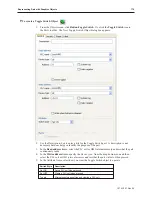
When touched, toggles the current state of the Bit.
Momentary
Sets the Bit when touched, clears the Bit when released.
Periodic
Toggle
Toggles the Bit ON and OFF at the specified time interval.
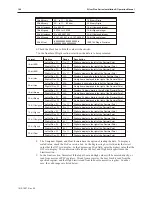
Set ON
When
Window
Opens
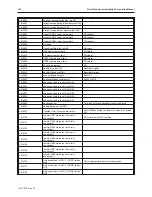
Sets the Bit when the Window containing the Object is
displayed.
Set OFF
When
Window
Opens
Clears the Bit when the Window containing the Object is
displayed.
Set ON
When
Window
Closes
Sets the Bit when the Window containing the Object is
closed.
Set OFF
When
Window
Closes
Clears the Bit when the Window containing the Object is
closed.
Set ON
When
Backlight On
Sets the Bit when the Backlight turns on.
Set OFF
When
Backlight On
Clears the Bit when the Backlight turns on.
Set ON At
Backlight Off
Sets the Bit when the Backlight turns off.
Set OFF At
Backlight Off
Clears the Bit when the Backlight turns off.
5.
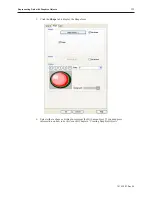
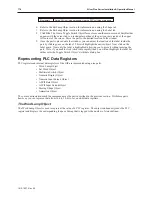
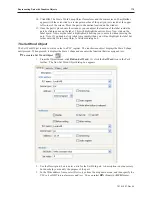
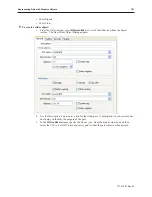
Refer to the Bit Lamp Object section for information on using the Shape tab. Note that it is
not required to use a shape or a bitmap. In some modes such as
Set ON at window open
or
Periodical toggle
you may prefer to place the part on the window without a shape or bitmap
tied to it.
6.
Refer to the Bit Lamp Object section for information on using the Label tab.
7.
Click
OK
. The Create Set Bit Object form closes and the main screen of EasyBuilder appears
with the cursor tied to a rectangular outline of the part you just created at the upper left corner
of the screen. Move the part to the location on the window that you want it.
8.
Once the part is placed onto the window, you can adjust the location of the label inside the
part by clicking once on the label. This will highlight the entire object. Now click on the
label again. Now only the label is highlighted, allowing you to move it without moving the
part. Note: if you double-click (click twice rapidly) then you will not highlight the label but
rather enter the Set Bit Object’s Attribute dialog box.
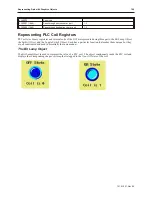
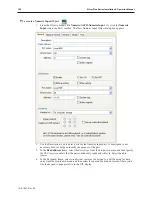
The Tog gle Switch Ob ject
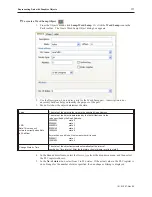
The Toggle Switch Object is used to represent the value of one PLC coil while able to write a value to the same or
another PLC coil. The object continuously reads one PLC coil and displays the corresponding shape or bitmap that
is tagged to the On or Off state of the coil. Also the touchscreen object when pressed, executes the function that
was assigned to it.
1010-1007, Rev 05
174
Sil ver Plus Se ries In stal la tion & Op er a tion Man ual
Summary of Contents for Silver Plus Series
Page 20: ...1010 1007 Rev 05 16 Silver Plus Series Installation Operation Manual ...
Page 31: ...COM Ports for the HMI5056 5070 1010 1007 Rev 05 Connect the OIT to the PLC or Controller 27 ...
Page 38: ...1010 1007 Rev 05 34 Silver Plus Series Installation Operation Manual ...
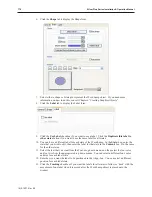
Page 49: ...7 Click the Shape tab 1010 1007 Rev 05 Creating Your First Project 45 ...
Page 62: ...1010 1007 Rev 05 58 Silver Plus Series Installation Operation Manual ...
Page 75: ...3 Click OK The System Parameter Settings dialog appears 1010 1007 Rev 05 Using EZware 5000 71 ...
Page 132: ...1010 1007 Rev 05 128 Silver Plus Series Installation Operation Manual ...
Page 156: ...1010 1007 Rev 05 152 Silver Plus Series Installation Operation Manual ...
Page 210: ...1010 1007 Rev 05 206 Silver Plus Series Installation Operation Manual ...
Page 216: ...1010 1007 Rev 05 212 Silver Plus Series Installation Operation Manual ...
Page 246: ...1010 1007 Rev 05 242 Silver Plus Series Installation Operation Manual ...

