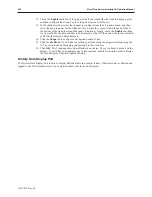
4.
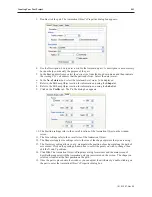
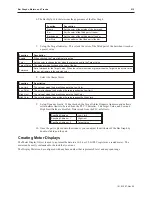
Using the keypad, enter digits 1, 2, 3, 4, and 5. As you enter the digits, each one should
appear in the Numeric Input Object box.
5.
Press the
Backspace
key to delete digit
5
.
6.
Try pressing any of the alpha characters (A-Z). Notice that alpha characters are not accepted
into a Numeric Input Object register.
7.
Press the
Clear
key. Notice that the entire register is cleared to
0
.
8.
Enter digits 5, 4, 3, 2, 1, and then press the
Enter
key. The keypad closes but the value was
not accepted. This indicates that the value entered is out-of-range. Touch the numeric input
object again. Press the
Clear
key and enter 32767. Press the
Enter
key. Notice that this
value is accepted and blinking stops.
9.
Touch the Numeric Input Object register again to activate editing mode. Enter five more
digits then press the
Esc
key. Notice that the entry is cancelled and the previous number
32767 is restored.
10.
Change the value of the ASCII Input register.
Touch the ASCII Input Object to activate
the edit mode.
11. Using the keypad, enter the character string “HELLO WORLD”. As you enter the characters,
each one should appear in the ASCII Input Object box. Press the
Enter
key to send the
characters to the OIT internal data register.
1010-1007, Rev 05
Cre ating Your First Project
211
Summary of Contents for Silver Plus Series
Page 20: ...1010 1007 Rev 05 16 Silver Plus Series Installation Operation Manual ...
Page 31: ...COM Ports for the HMI5056 5070 1010 1007 Rev 05 Connect the OIT to the PLC or Controller 27 ...
Page 38: ...1010 1007 Rev 05 34 Silver Plus Series Installation Operation Manual ...
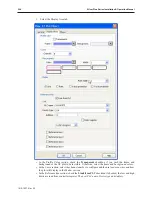
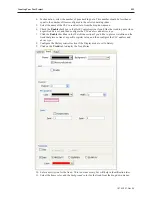
Page 49: ...7 Click the Shape tab 1010 1007 Rev 05 Creating Your First Project 45 ...
Page 62: ...1010 1007 Rev 05 58 Silver Plus Series Installation Operation Manual ...
Page 75: ...3 Click OK The System Parameter Settings dialog appears 1010 1007 Rev 05 Using EZware 5000 71 ...
Page 132: ...1010 1007 Rev 05 128 Silver Plus Series Installation Operation Manual ...
Page 156: ...1010 1007 Rev 05 152 Silver Plus Series Installation Operation Manual ...
Page 210: ...1010 1007 Rev 05 206 Silver Plus Series Installation Operation Manual ...
Page 216: ...1010 1007 Rev 05 212 Silver Plus Series Installation Operation Manual ...
Page 246: ...1010 1007 Rev 05 242 Silver Plus Series Installation Operation Manual ...

