4.
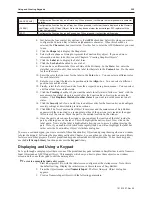
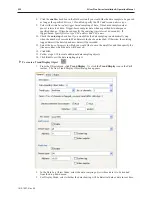
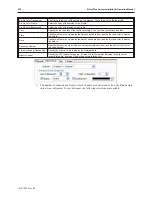
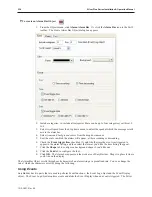
In channel no., select the number of pens tracking data. This number should be less than or
equal to the number of items configured in the selected data log index.
5.
Select the name of the
PLC
to read/write to from the drop down menu.
6.
Check the
Enable
checkbox in the Hold Control section if you'd like the trend to pause when
a specified bit is set, and then configure the
PLC address
and
device type
.
7.
Click the
Enable
checkbox in the Watch line section if you'd like to place a watchline on the
trend that places a line at a specific register value, and then configure the
PLC address
and
device type.
8.
Configure the History control section if the Display mode is set to history.
9.
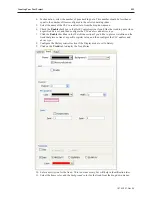
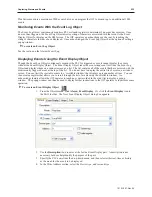
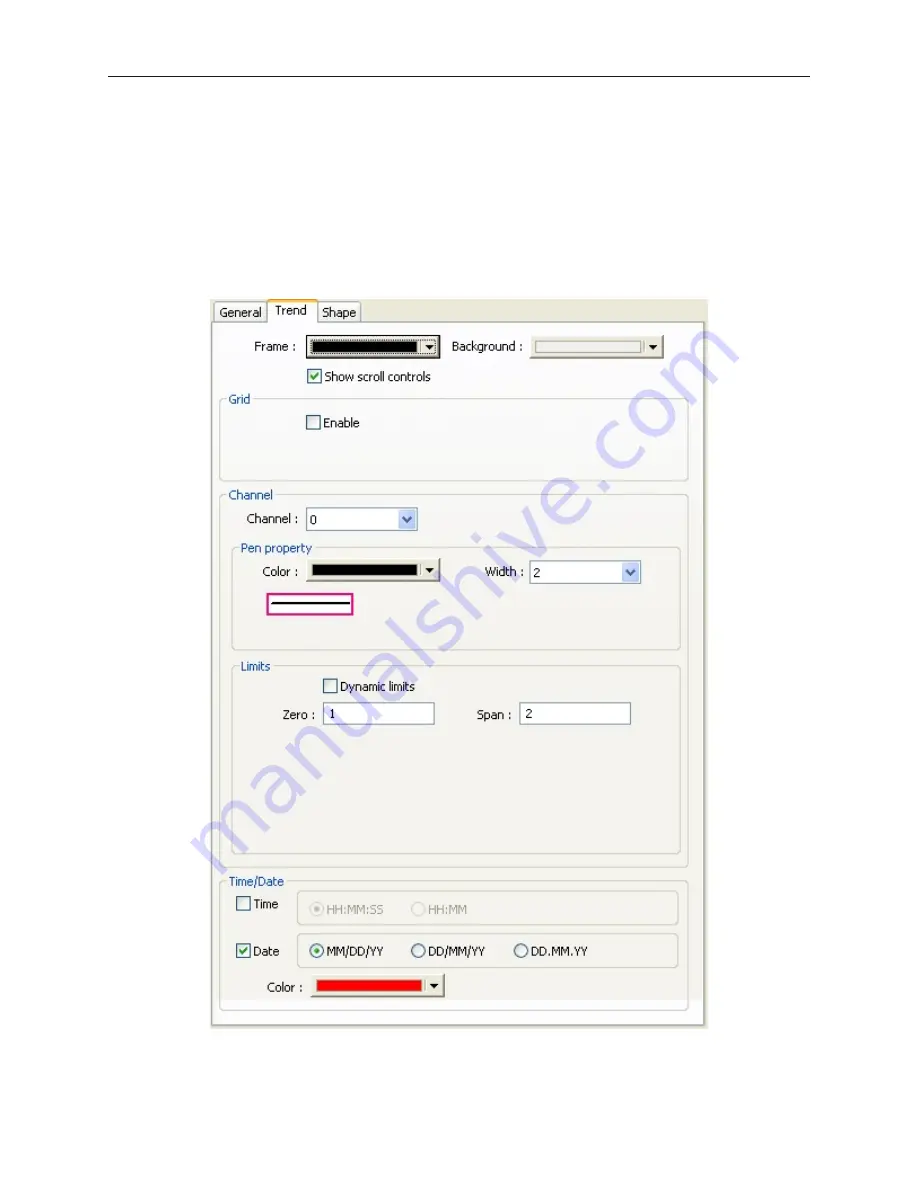
Click on the
Trend
tab to display the Trend form.
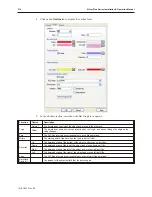
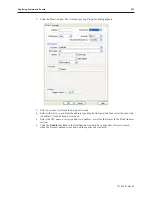
10. Enter a
description
for the trend. This is not necessary, but will help in identification later.
11. Select the
frame color
and the
background color
for the trend from the drop down menus.
1010-1007, Rev 05
Cre ating Your First Project
223
Summary of Contents for Silver Plus Series
Page 20: ...1010 1007 Rev 05 16 Silver Plus Series Installation Operation Manual ...
Page 31: ...COM Ports for the HMI5056 5070 1010 1007 Rev 05 Connect the OIT to the PLC or Controller 27 ...
Page 38: ...1010 1007 Rev 05 34 Silver Plus Series Installation Operation Manual ...
Page 49: ...7 Click the Shape tab 1010 1007 Rev 05 Creating Your First Project 45 ...
Page 62: ...1010 1007 Rev 05 58 Silver Plus Series Installation Operation Manual ...
Page 75: ...3 Click OK The System Parameter Settings dialog appears 1010 1007 Rev 05 Using EZware 5000 71 ...
Page 132: ...1010 1007 Rev 05 128 Silver Plus Series Installation Operation Manual ...
Page 156: ...1010 1007 Rev 05 152 Silver Plus Series Installation Operation Manual ...
Page 210: ...1010 1007 Rev 05 206 Silver Plus Series Installation Operation Manual ...
Page 216: ...1010 1007 Rev 05 212 Silver Plus Series Installation Operation Manual ...
Page 246: ...1010 1007 Rev 05 242 Silver Plus Series Installation Operation Manual ...

