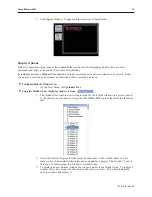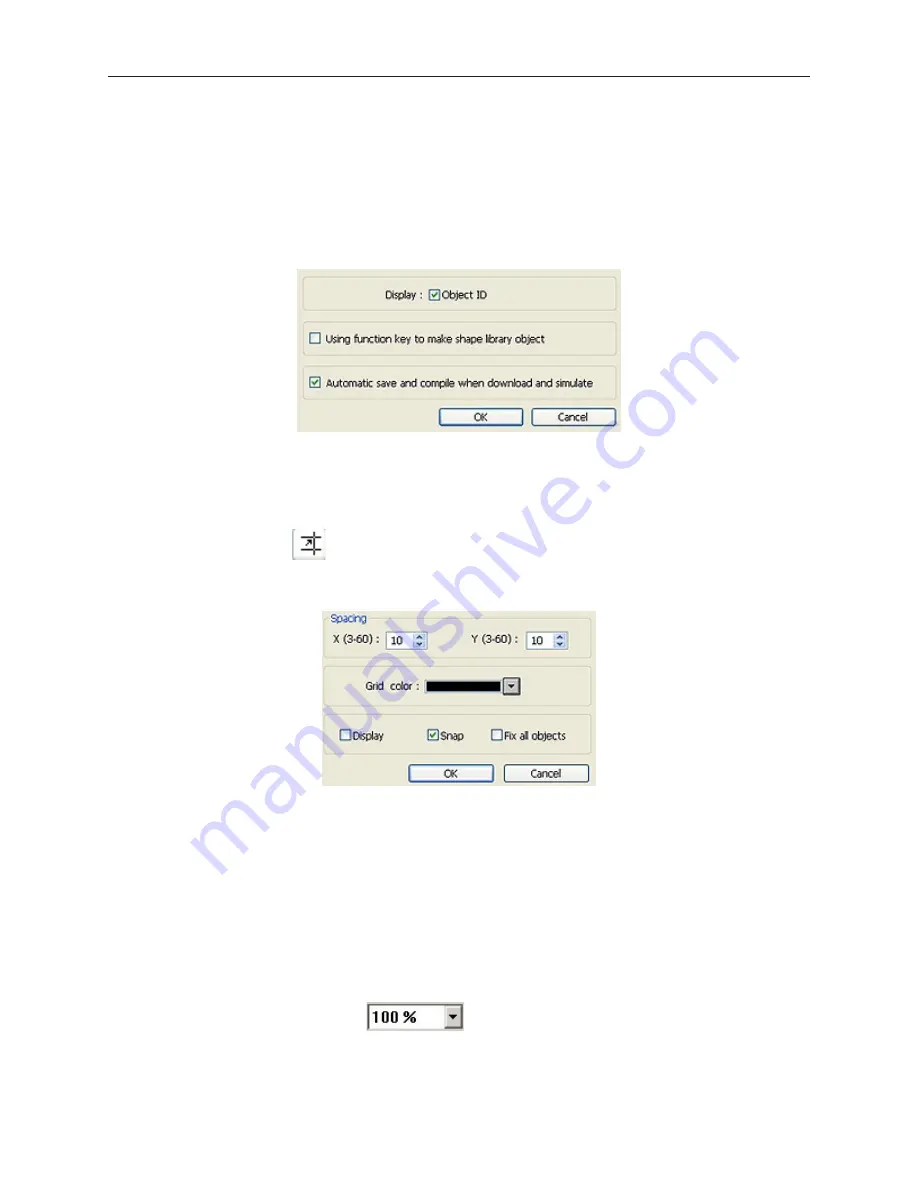
Another option is to display what are known as Object ID tags. Every time you create a new object in EasyBuilder,
an Object ID tag is assigned to the new object. This is done for several reasons:
• Object ID tags are required by EasyBuilder to differentiate each object created.
• If an error occurs during the compile process, EasyBuilder can refer to the window and object ID to
indicate the object that is causing problems.
4
To enable/disable Object ID tags
1.
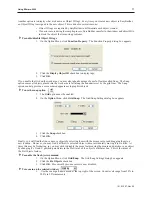
On the Option Menu, click
Function Property
. The Function Property dialog box appears.
2.
Click the
Display Object ID
checkbox to display tags.
3.
Click
OK
.
If you enable the Grid on the work area, you may also take advantage of a useful feature called Snap. The Snap
option causes all objects placed into the work area to fall along the boundaries set by the grid lines. The Snap
option can help provide a more ordered appearance to graphics objects.
4
To use the snap option
1.
The
Grid
option must be enabled.
2.
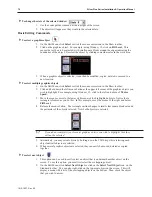
On the
Option
Menu, click
Grid/Snap
. The Grid/Snap Settings dialog box appears.
3.
Click the
Snap
checkbox.
4.
Click
OK
.
Finally, you will find that you can move objects by selecting them with the mouse cursor and dragging them to a
new location. However, you may find it difficult to select an object
without
accidentally moving it just a little. At
times this may be frustrating, so you may wish to disable the move feature using the mouse and only move an object
by changing it’s X and Y position parameters in the Profile tab of the object’s attributes box. This is the intent of
the Fix Objects feature.
4
To enable the fix objects command
1.
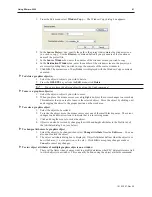
On the Option Menu, click
Grid/Snap
. The Grid/Snap Settings dialog box appears.
2.
Click the
Fix Objects
checkbox.
3.
Click
OK
. Movement by mouse cursor is now disabled.
4
To zoom in on the selected window
1.
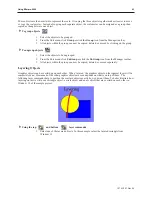
Use the zoom pull-down menu at the top right of the screen. Zoom levels range from 50% to
200% in 25% increments.
1010-1007, Rev 05
Using EZware-5000
77
Summary of Contents for Silver Plus Series
Page 20: ...1010 1007 Rev 05 16 Silver Plus Series Installation Operation Manual ...
Page 31: ...COM Ports for the HMI5056 5070 1010 1007 Rev 05 Connect the OIT to the PLC or Controller 27 ...
Page 38: ...1010 1007 Rev 05 34 Silver Plus Series Installation Operation Manual ...
Page 49: ...7 Click the Shape tab 1010 1007 Rev 05 Creating Your First Project 45 ...
Page 62: ...1010 1007 Rev 05 58 Silver Plus Series Installation Operation Manual ...
Page 75: ...3 Click OK The System Parameter Settings dialog appears 1010 1007 Rev 05 Using EZware 5000 71 ...
Page 132: ...1010 1007 Rev 05 128 Silver Plus Series Installation Operation Manual ...
Page 156: ...1010 1007 Rev 05 152 Silver Plus Series Installation Operation Manual ...
Page 210: ...1010 1007 Rev 05 206 Silver Plus Series Installation Operation Manual ...
Page 216: ...1010 1007 Rev 05 212 Silver Plus Series Installation Operation Manual ...
Page 246: ...1010 1007 Rev 05 242 Silver Plus Series Installation Operation Manual ...


