3.
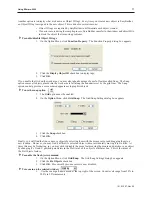
Once the object you are trying to access is selected, you can proceed to modify its attributes
or delete it.
4
To select all objects
1.
On the Edit Menu, click
Select All Objects
.
2.
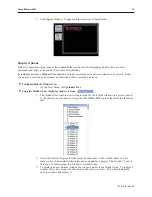
Small, clear, square blocks appear around the perimeter of all the objects on the window.
3.
You can now easily move, delete or copy the entire window screen to a new window.
4
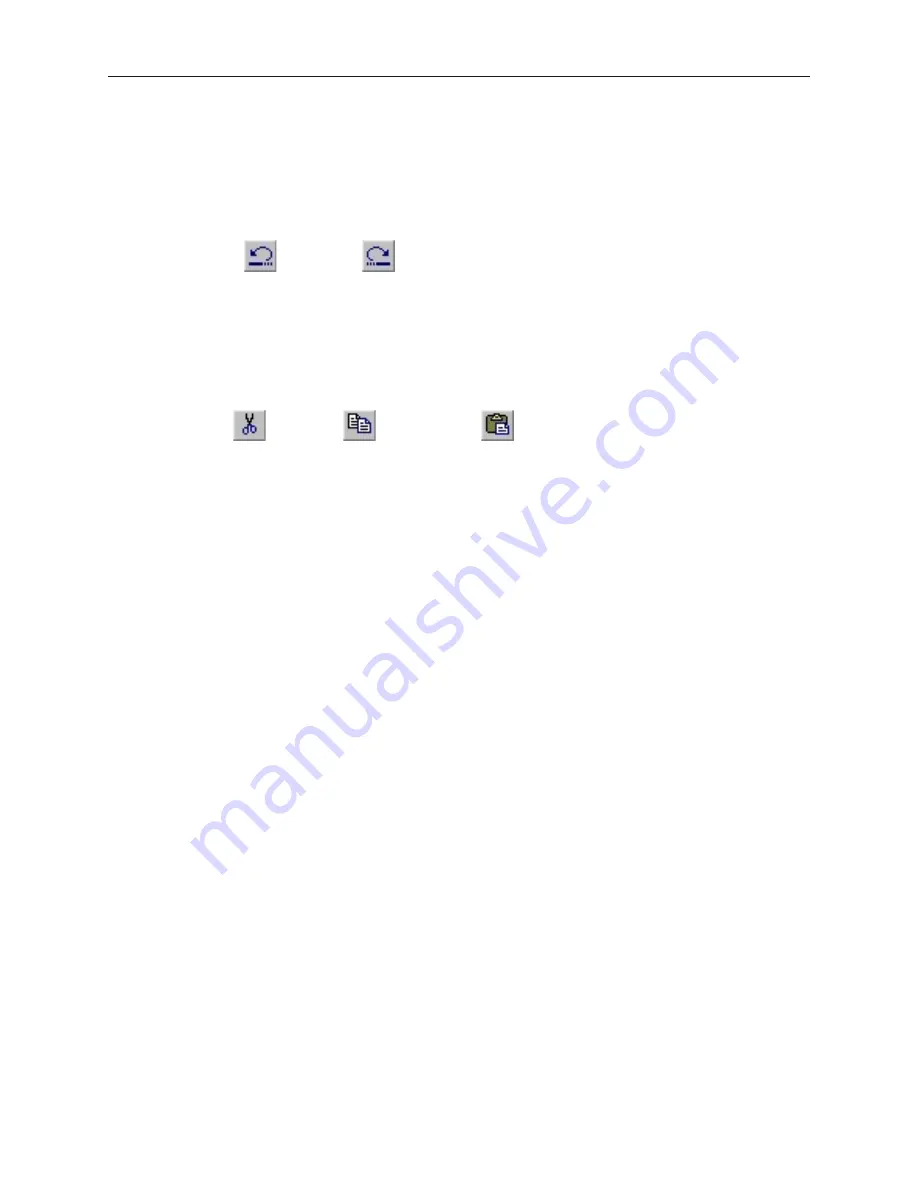
Using the Undo
and Redo
commands
1.
The Undo command is used to cancel the last command or action that you made. For
example, select the
Motor Speed
text box in Window_12.
2.
Press the
DELETE
key on your keyboard to delete the text box.
3.
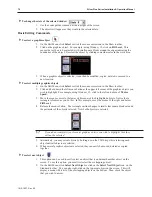
From the Edit menu, click
Undo
or click the Undo icon from the Standard toolbar. You can
also press CTRL+Z. The deleted text box reappears.
4.
The Redo command is used to cancel the Undo command. For example, if you decided that
you really did want the
Motor Speed
text box deleted, click the
Redo
command.
4
Using the Cut
, Copy
, and Paste
commands
1.
These commands are all selected from the
Edit
menu or by clicking the appropriate icon in
the Standard toolbar.
2.
Select the graphics object or objects you wish to cut or copy.
3.
Click
Cut
to copy and remove the graphics object(s) from the work area or click
Copy
to
copy the graphics object(s). Using Window_12, select the
Motor Speed
text box and then
press CTRL+X to cut the object from the work area.
4.
Objects cut or copied from one window can be pasted into other windows. Once the object
has been selected and cut or copied, open another window, then paste the object into that
window.
5.
In this example, paste the Motor Speed text box back into Window_12 by pressing CTRL+V.
The pasted object appears highlighted in the upper leftmost corner of the work area.
6.
Move the text box by clicking on the highlighted object and dragging it back to the original
position.
4
Using the Multi-Copy command
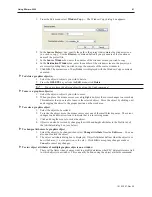
The Multi-Copy command is used to make multiple copies of a single object on a screen. This is most useful when
creating new keyboards or data tables. In addition to copying the object, this command will automatically assign
new PLC memory addresses to each object, (applies only to Bit-type objects).
1.
Select the
object
you wish to copy.
1010-1007, Rev 05
Using EZware-5000
79
Summary of Contents for Silver Plus Series
Page 20: ...1010 1007 Rev 05 16 Silver Plus Series Installation Operation Manual ...
Page 31: ...COM Ports for the HMI5056 5070 1010 1007 Rev 05 Connect the OIT to the PLC or Controller 27 ...
Page 38: ...1010 1007 Rev 05 34 Silver Plus Series Installation Operation Manual ...
Page 49: ...7 Click the Shape tab 1010 1007 Rev 05 Creating Your First Project 45 ...
Page 62: ...1010 1007 Rev 05 58 Silver Plus Series Installation Operation Manual ...
Page 75: ...3 Click OK The System Parameter Settings dialog appears 1010 1007 Rev 05 Using EZware 5000 71 ...
Page 132: ...1010 1007 Rev 05 128 Silver Plus Series Installation Operation Manual ...
Page 156: ...1010 1007 Rev 05 152 Silver Plus Series Installation Operation Manual ...
Page 210: ...1010 1007 Rev 05 206 Silver Plus Series Installation Operation Manual ...
Page 216: ...1010 1007 Rev 05 212 Silver Plus Series Installation Operation Manual ...
Page 246: ...1010 1007 Rev 05 242 Silver Plus Series Installation Operation Manual ...


