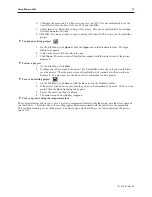
1.
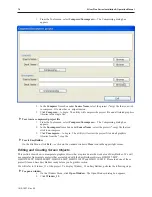
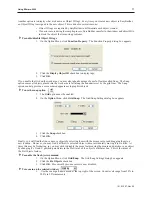
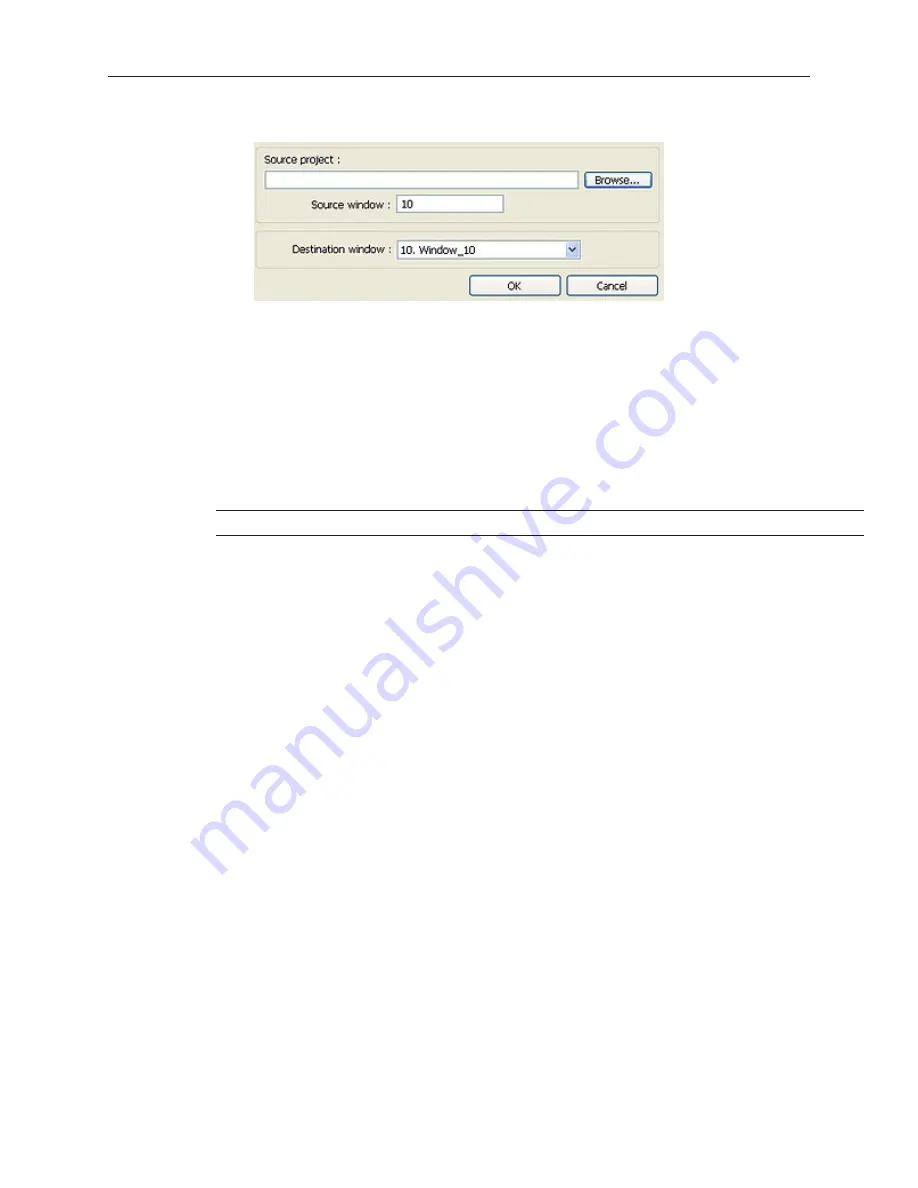
From the Edit menu, select
Window Copy...
. The Window Copy dialog box appears.
2.
In the
Source Project:
box, specify the path to the project that contains the window screen
you wish to copy. Use the
Browse...
command button if you are unsure of the location or
name of the project file.
3.
In the
Source Window
box, enter the number of the window screen you wish to copy.
4.
In the
Destination Window
box, enter the number of the window screen in the project you
are currently editing that you wish to copy the contents of the source window to.
5.
Click
OK
. The main screen of EasyBuilder is redisplayed with the Window Copy command
executed.
4
To delete
a graphics object(s)
1.
Select the object or objects you wish to delete.
2.
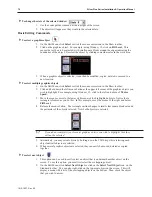
Press the
DELETE
key or from the
Edit
menu, click
Delete
.
You can restore the deleted object by using the Undo command.
4
To move a graphics object(s)
1.
Select the object or objects you wish to move.
2.
When you place the mouse cursor over a highlighted object, the cursor changes to a crosshair.
This indicates that you are able to move the selected object. Move the object by clicking on it
and dragging the object to the proper position on the work area.
4
To resize a graphics object
1.
Select the object to be resized.
2.
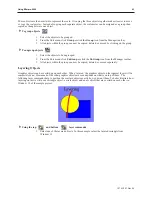
To resize the object, move the mouse cursor over one of the small black squares. The cursor
changes to a double-arrow icon to indicate that it is in resizing mode.
3.
Click and drag the mouse to resize the object.
4.
Objects can also be resized by changing the width and height attributes in the Profile tab of
the Attributes dialog box, (see below).
4
To change attributes of a graphics object
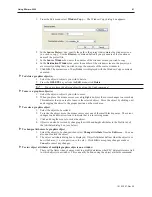
1.
Select the object to be changed, then select
Change Attribute
from the
Edit
menu. You can
also double-click the object.
2.
The object’s attribute dialog box is displayed. Object Attributes defines what the object is or
how it behaves, (i.e. size, position, color, etc.). Click
OK
to accept any changes made or
Cancel
to cancel any changes.
4
To view object attributes of multiple graphics objects on a window
1.
There will be times when you may want to quickly determine what PLC data registers are tied
to which objects in a window. This can easily be done using the object attributes command.
1010-1007, Rev 05
Using EZware-5000
81
Summary of Contents for Silver Plus Series
Page 20: ...1010 1007 Rev 05 16 Silver Plus Series Installation Operation Manual ...
Page 31: ...COM Ports for the HMI5056 5070 1010 1007 Rev 05 Connect the OIT to the PLC or Controller 27 ...
Page 38: ...1010 1007 Rev 05 34 Silver Plus Series Installation Operation Manual ...
Page 49: ...7 Click the Shape tab 1010 1007 Rev 05 Creating Your First Project 45 ...
Page 62: ...1010 1007 Rev 05 58 Silver Plus Series Installation Operation Manual ...
Page 75: ...3 Click OK The System Parameter Settings dialog appears 1010 1007 Rev 05 Using EZware 5000 71 ...
Page 132: ...1010 1007 Rev 05 128 Silver Plus Series Installation Operation Manual ...
Page 156: ...1010 1007 Rev 05 152 Silver Plus Series Installation Operation Manual ...
Page 210: ...1010 1007 Rev 05 206 Silver Plus Series Installation Operation Manual ...
Page 216: ...1010 1007 Rev 05 212 Silver Plus Series Installation Operation Manual ...
Page 246: ...1010 1007 Rev 05 242 Silver Plus Series Installation Operation Manual ...


