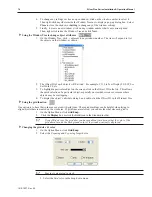
2.
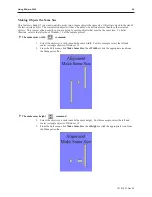
From the Edit menu, click
Align
, then
Left
or click the appropriate icon from the Manager
toolbar.
3.
From the Edit menu, click
Undo
to put the objects back in their original position.
4
Using the align right
command
1.
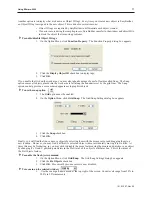
Select the objects you wish to align. For this example, select the three rectangle objects of
Window_12
2.
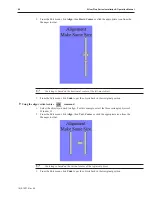
From the Edit menu, click
Align
, then
Right
or click the appropriate icon from the Manager
toolbar.
3. From the Edit menu, click
Undo
to put the objects back in their original position.
4
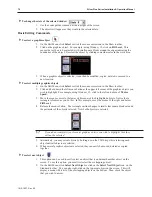
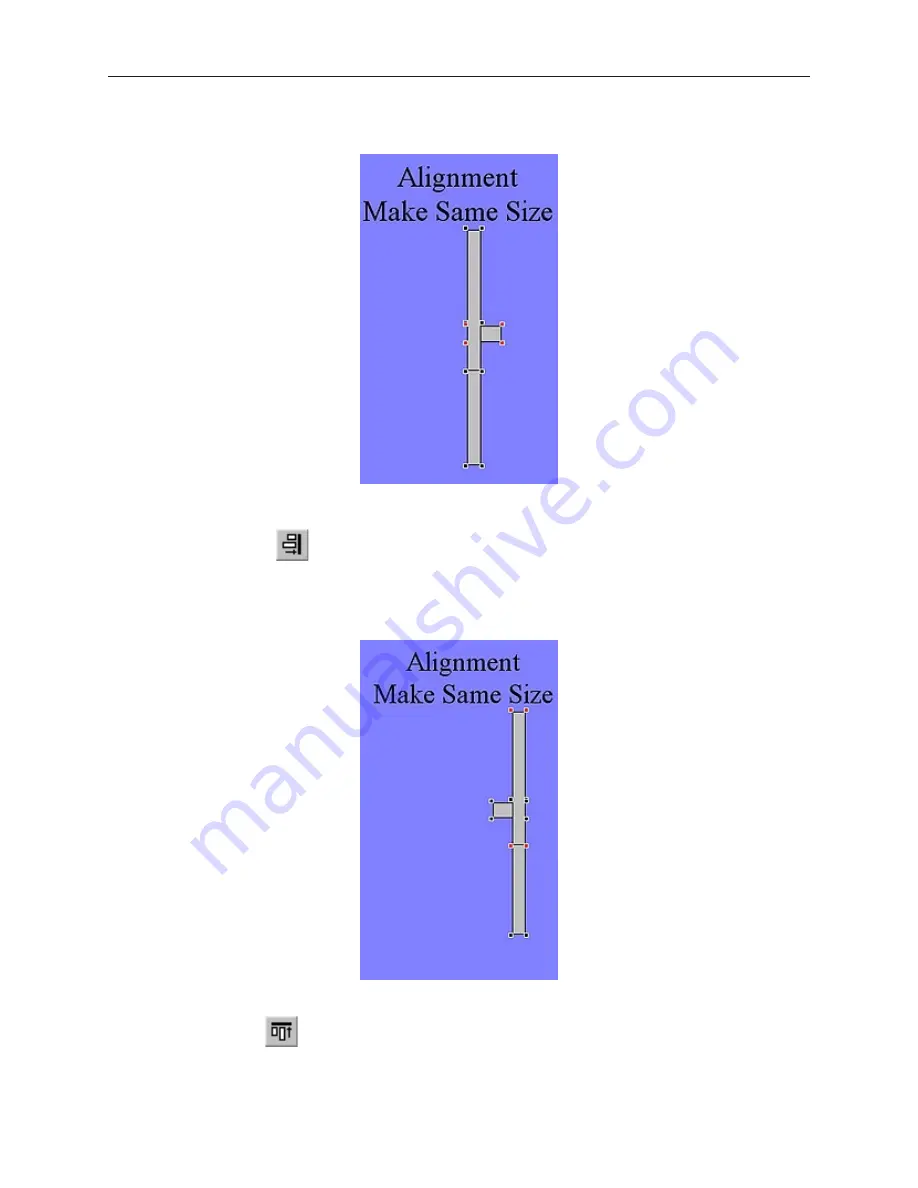
Using the align top
command
1.
Select the objects you wish to align. For this example, select the three rectangle objects of
Window_12.
1010-1007, Rev 05
86
Sil ver Plus Se ries In stal la tion & Op er a tion Man ual
Summary of Contents for Silver Plus Series
Page 20: ...1010 1007 Rev 05 16 Silver Plus Series Installation Operation Manual ...
Page 31: ...COM Ports for the HMI5056 5070 1010 1007 Rev 05 Connect the OIT to the PLC or Controller 27 ...
Page 38: ...1010 1007 Rev 05 34 Silver Plus Series Installation Operation Manual ...
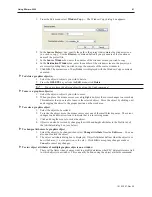
Page 49: ...7 Click the Shape tab 1010 1007 Rev 05 Creating Your First Project 45 ...
Page 62: ...1010 1007 Rev 05 58 Silver Plus Series Installation Operation Manual ...
Page 75: ...3 Click OK The System Parameter Settings dialog appears 1010 1007 Rev 05 Using EZware 5000 71 ...
Page 132: ...1010 1007 Rev 05 128 Silver Plus Series Installation Operation Manual ...
Page 156: ...1010 1007 Rev 05 152 Silver Plus Series Installation Operation Manual ...
Page 210: ...1010 1007 Rev 05 206 Silver Plus Series Installation Operation Manual ...
Page 216: ...1010 1007 Rev 05 212 Silver Plus Series Installation Operation Manual ...
Page 246: ...1010 1007 Rev 05 242 Silver Plus Series Installation Operation Manual ...

