4
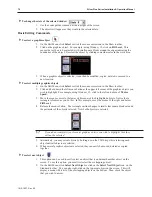
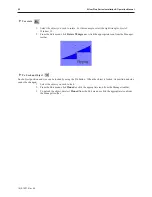
To rotate
1.
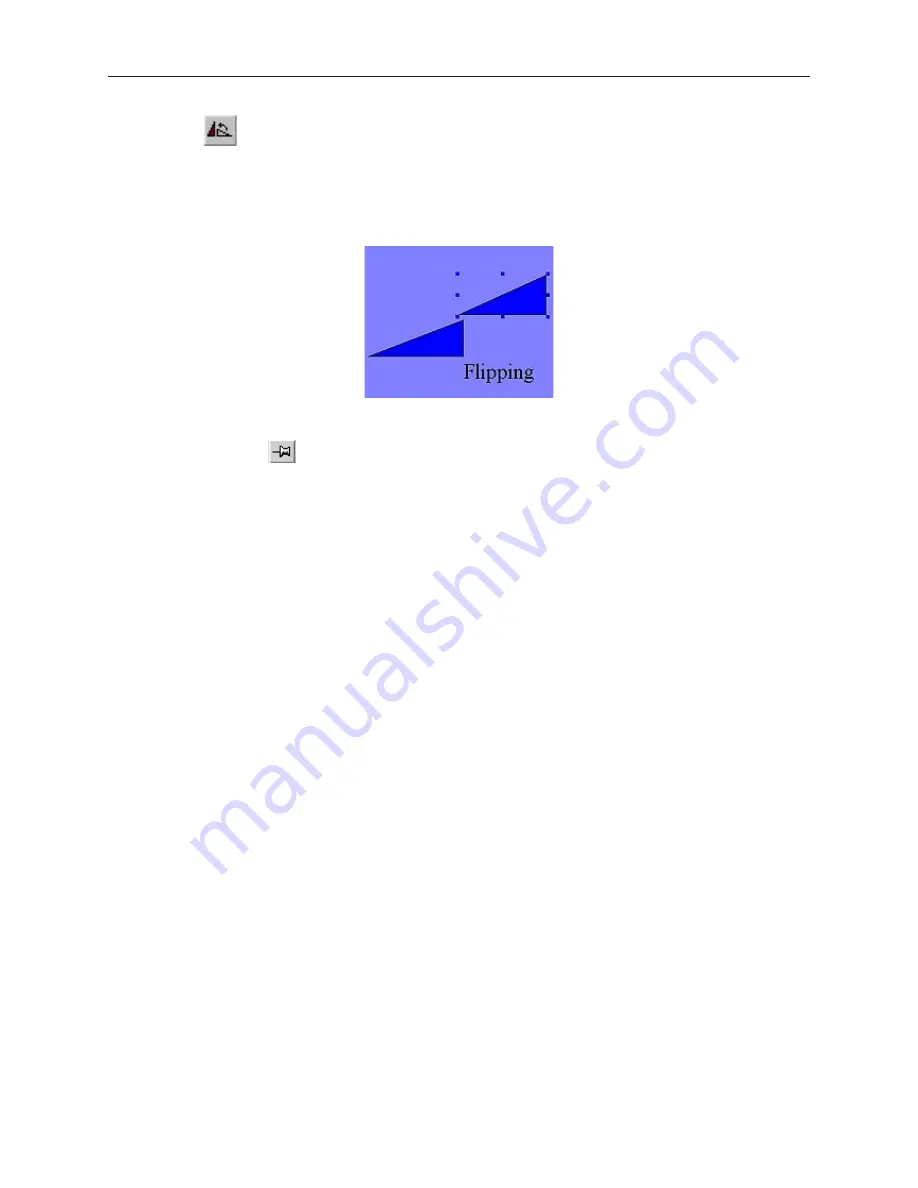
Select the object you wish to rotate. For this example, select the right triangle object of
Window_12.
2.
From the Edit menu, click
Rotate 90 degrees
or click the appropriate icon from the Manager
toolbar.
4
To Lock an Object
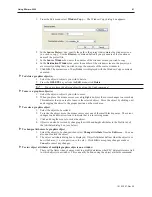
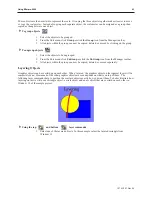
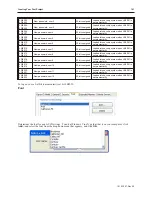
Each object position and size can be locked by using the Pin button. When the object is locked, its position and size
cannot be changed.
1. Select the object you wish to lock.
2.
From the Edit menu, click
Pinned
or click the appropriate icon from the Manager toolbar.
3.
To unlock the object, deselect
Pinned
from the Edit menu or click the appropriate icon from
the Manager toolbar.
1010-1007, Rev 05
92
Sil ver Plus Se ries In stal la tion & Op er a tion Man ual
Summary of Contents for Silver Plus Series
Page 20: ...1010 1007 Rev 05 16 Silver Plus Series Installation Operation Manual ...
Page 31: ...COM Ports for the HMI5056 5070 1010 1007 Rev 05 Connect the OIT to the PLC or Controller 27 ...
Page 38: ...1010 1007 Rev 05 34 Silver Plus Series Installation Operation Manual ...
Page 49: ...7 Click the Shape tab 1010 1007 Rev 05 Creating Your First Project 45 ...
Page 62: ...1010 1007 Rev 05 58 Silver Plus Series Installation Operation Manual ...
Page 75: ...3 Click OK The System Parameter Settings dialog appears 1010 1007 Rev 05 Using EZware 5000 71 ...
Page 132: ...1010 1007 Rev 05 128 Silver Plus Series Installation Operation Manual ...
Page 156: ...1010 1007 Rev 05 152 Silver Plus Series Installation Operation Manual ...
Page 210: ...1010 1007 Rev 05 206 Silver Plus Series Installation Operation Manual ...
Page 216: ...1010 1007 Rev 05 212 Silver Plus Series Installation Operation Manual ...
Page 246: ...1010 1007 Rev 05 242 Silver Plus Series Installation Operation Manual ...

