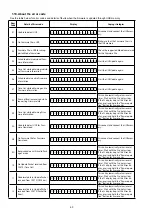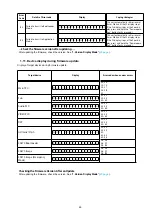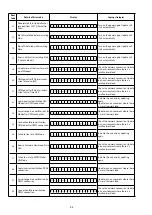
1.5. Start the update.
Hold down buttons "
DIMMER
" and "
SOUND MODE
" at the same time and press the power button to turn on the power.
1.6. Display during USB update
The following message appears on the display after around 30 seconds
Display
FLD
U S B
U p d a t e
S t a r t
1.7. Press the "ENTER" key on the remote control unit or this unit.
Then start Firmware Update.
Display
FLD
U p d a t e F i l e C h e c k
1.8. The firmware update finishes.
The following message appears on the display:
Display
FLD
U p d a t e
C o m p l e t e
--- Precautions for Updates ---
• Never remove the USB memory before the update is finished.
• Never turn off the power before an update is completed.
• It takes around 1 hour to complete the update.
Once an update is started, normal operations cannot be performed until it is completed.
The GUI menu settings and image adjustment settings of this unit may be initialized.
Take note of your settings beforehand and reconfigure them after the update.
1.9 Forced USB All Device Write Mode
1.9.1. Actions
Mode used when this unit cannot be recovered.
Forcibly switches this unit to USB update mode.
1.9.2. Operations
Press the "
DIMMER
" and "
SOUND MODE
" buttons simultaneously while inserting the AC plug to turn the power on.
1.9.2. The firmware update finishes.
The update after the restart, all devices will be updated.
59
Summary of Contents for NR1605/FB
Page 8: ...Personal notes 8 ...
Page 26: ...Personal notes 26 ...
Page 103: ...CX870 7P 8P 5P PLATE PLATE 2P 7P 4P 7P 11P 5P 8P PLATE S30SC6MT WIRING DIAGRAM 103 ...
Page 140: ...Personal notes Personal notes 140 ...
Page 161: ...2 FL DISPLAY FLD 018BT021GINK FRONT U4400 PIN CONNECTION GRID ASSIGNMENT q T7 161 ...
Page 162: ...ANODE CONNECTION 162 ...


