INSTALLING The MiniVent 1000 IN A HATCH OR THROUGH THE DECK
STEP ONE: MARKING THE HOLE
When mounting on a deck, make sure to check the camber of the deck. See Precautions.
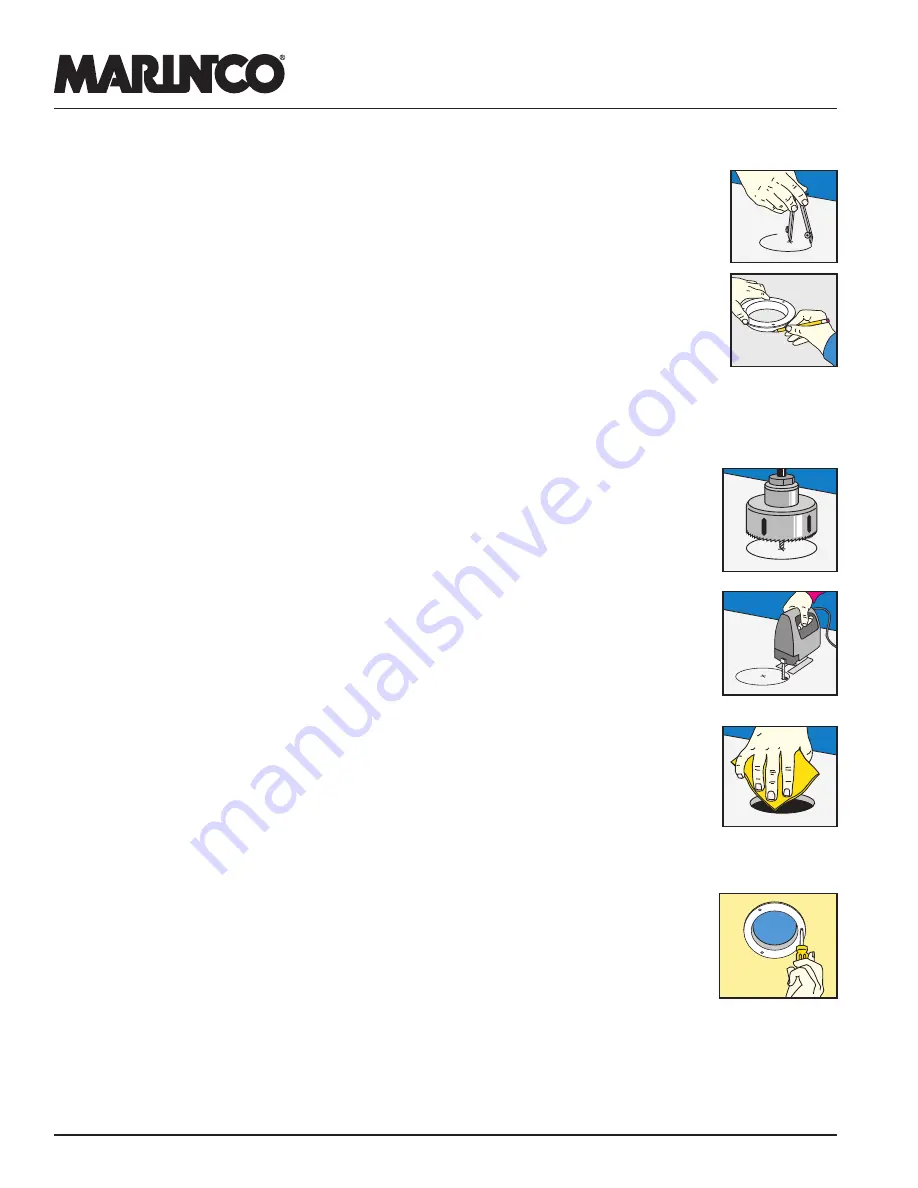
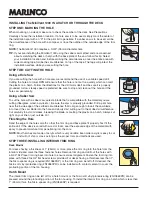
Carefully choose the installation location. If a hole saw is to be used, simply mark the center of
the installation spot with an “X” for the pilot bit to penetrate. If a saber saw is to be used, scribe
the circumference of the hole with a compass or trace the outline of the outside edge of the trim
ring.
NOTE: The MiniVent 1000 requires a 3-3/4" (95mm) diameter hole.
TIP: If your are installing the MiniVent 1000 using the saber saw method and are concerned
about scratching the deck or hatch with the base plate of the saw follow this tip: Select
your installation location and, before scribing the circumference, cover the entire area with
wide masking tape. Scribe the circumference on top of the tape. The tape will protect the
installation surface while you are cutting the hole.
STEP TWO: CUTTING THE HOLE
Using a Hole Saw
If you are cutting the hole with a hole saw, we recommend the use of a variable speed drill.
Cutting the hole at a lower RPM will ensure that the hole is not cut too quickly, which can melt
the plastic on a hatch. Follow the directions for the drill motor itself and be sure it is properly
grounded. A slow, steady speed is preferred. Be sure to stop and clean out the hole and the
hole saw periodically.
Using a Saber Saw
To cut the hole with a saber saw, select a blade that is compatible with the material you are
cutting (fiberglass, wood, acrylic etc.). Be sure the saw is properly grounded. Drill a pilot hole
near the inside edge of the scribed circumference that is big enough to insert the saw blade
into. Insert the saw blade into the hole and slowly start cutting out to the scribed circumference.
Cut carefully to avoid mistakes, breaking the blade, or melting the plastic on a hatch. Always cut
right on your line or just outside of it.
Finishing the Hole
Sand the edge of the hole smooth so that the trim ring and base plate fit property. Test fit the
entire unit. If the deck is cored with wood or foam, seal the exposed edge of the material with
epoxy to prevent moisture from penetrating into the core.
NOTE: Most hatches are made of acrylic which is very durable. Even older acrylic is easy to cut
and will not chip or crack as long as the proper tools and methods are used.
STEP THREE: INSTALLING INTERIOR TRIM RING
Deck Mount
For decks having a thickness of 1" (25mm) or more, place the trim ring into the hole from the
interior side and mark the three fastener holes. Remove trim ring and drill out the holes with
a 5/32" bit. Place trim ring back into hole to ensure correct alignment. Fasten the trim ring into
place with three #10x3/4" flat head screws provided. For decks having a thickness less than 1",
the Nicro spacer ring is required (#N10863SP), or the trim ring can be left off. If desired, the
Nicro soft vinyl protective ring (#N10863PR) can be installed with contact cement to cover the
protruding portion of the fan housing.
Hatch Mount
The interior trim ring can be left off for a hatch mount, or the Nicro soft vinyl protective ring (#N10863PR) can be
pressed around the protruding portion of the fan housing. To install the interior trim ring on a hatch which is less than
1" (25mm) thick, the Nicro spacer ring (#N10863SP) is required.
PROCESS
BLUE
RUBINE
RED
109
YELLOW
BLACK
INSTALLATION GUIDE INKS
06a-Sanding.ilp
PROCESS
BLUE
RUBINE
RED
109
YELLOW
BLACK
INSTALLATION GUIDE INKS
07-Trim Ring.ilp
PROCESS
BLUE
RUBINE
RED
109
YELLOW
BLACK
INSTALLATION GUIDE INKS
06-Saw.ilp


