installation instructions
MiniVent 1000
CAUTION: Do not use the #10 flat head sheet metal screws to install the trim ring in an acrylic hatch as this may
cause the hatch to crack.
STEP FOUR: INSTALLING THE VENT UNIT
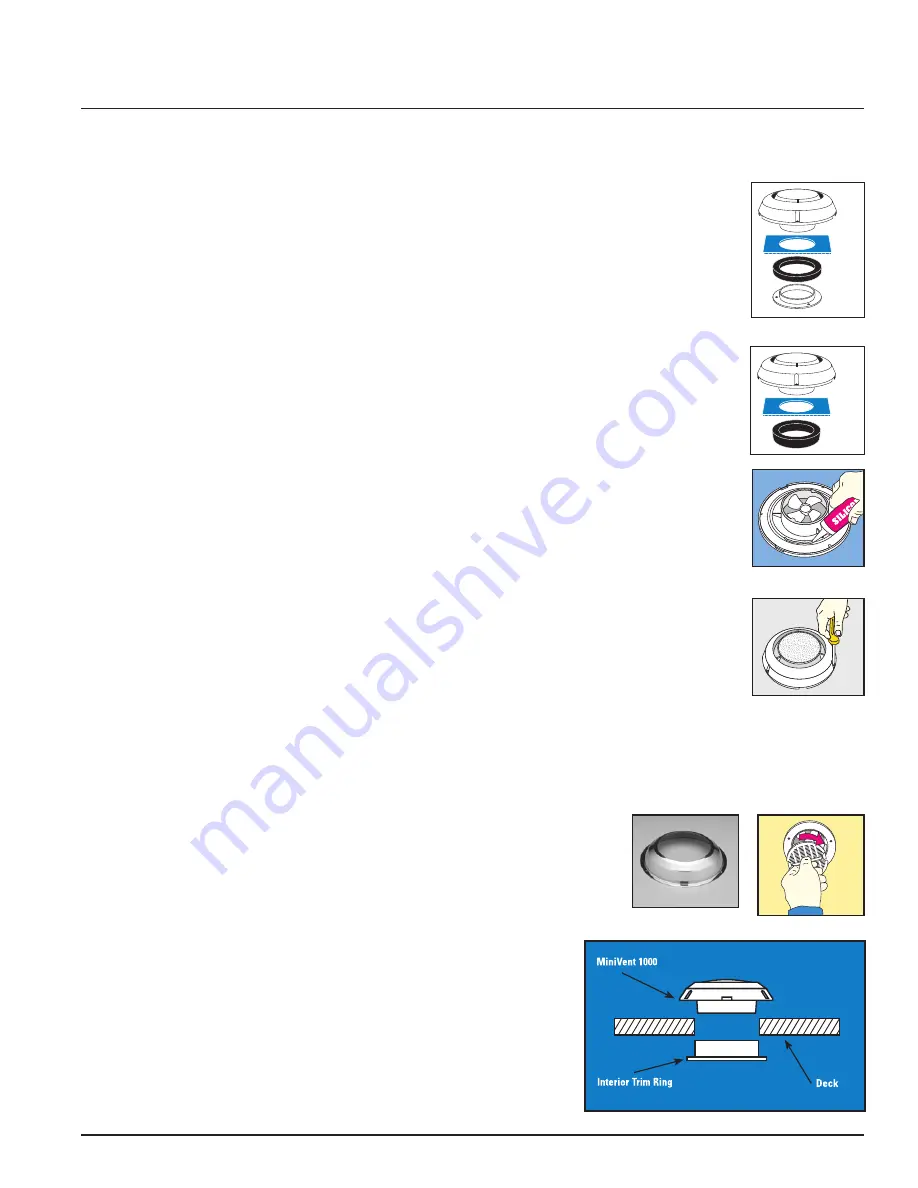
It is important to rough up the bonding surfaces between the base of the unit and hatch or deck to
get a good water-tight seal. Use 100 grit sandpaper around the edge of the installation hole and
around the bottom of the unit.
Deck Installation
There are three drain holes on the vent base; one is larger than the other two and should be
installed facing aft or towards the downward angle. It is labeled “AFT.” Bed the base of the unit
and the #6 pan head self-tapping screws provided with silicone or polyurethane sealant (regular
silicone seal is recommended for flat surfaces and polyurethane for a cambered deck). Place
the vent into the hole from the outside and attach it to the deck with the three #6 pan head self-
tapping screws provided. CAUTION: Use shorter length screws if your deck is less than 5/8"
(16mm) thick. DO NOT over-tighten the screws. Install the trim ring first, then the vent, using only
a HAND-HELD screwdriver.
Hatch Installation
Fastener holes are not required for hatch installations if the vent is to be glued to the hatch with
polyurethane. If fastener holes are to be used, drill 5/32" clearance holes completely through
the material.
To glue the vent to a hatch, apply a generous bead of polyurethane bedding compound around
the bottom of the vent. Rotate the vent into the hole as you are pressing it into place. This will
insure a proper seal. Polyurethane needs to cure thoroughly for maximum strength; depending
on the brand, this can take up to a few days. If you choose to use fasteners to install the vent,
use #6 machine screws with a Nylock nut and washer (not provided). Drill three holes all the
way through the acrylic hatch OVERSIZED to 5/32". Insert the machine screws all the way
through the 5/32" holes. When silicone sealer is applied to the machine screws, the use of an
oversized hole will create a shock absorber so the screws will not damage the hatch. Be sure
to apply silicone sealer to the base of the unit and also to the machine screws so that the
threads do not “weep” water below during wash down, rain or heavy spray.
Tighten the screws by hand (not a power-driver), and make them snug but not tight enough to crack the unit. Allow
silicone to cure thoroughly to insure a watertight seal. CAUTION: Do not use the #6 pan head screws provided with
this unit on a hatch installation as they may crack the hatch. Machine screws with clearance holes are required.
Install the trim ring (and optional spacer) first, then the vent, using only a HAND-HELD screwdriver.
FEATURES
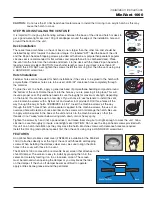
An optional Nicro stainless steel cover (#N28830) is available for the MiniVent
1000. It attaches directly over the top of the vent with three #6 self-tapping
screws. When installing the stainless steel cover, be sure to align the drain
holes in the cover with those in the vent.
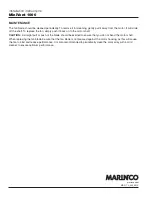
The MiniVent 1000 comes with a removable insect screen that attaches to the
shut-off damper. The screen is easy to install by grasping the fin in the
center and carefully twisting it on in a clock-wise motion. The screen
must be removed when opening the damper or you may break the tabs
on the damper. If the shut- off damper becomes difficult to operate,
apply a little silicone grease around the perimeter.
PROCESS
BLUE
RUBINE
RED
109
YELLOW
BLACK
INSTALLATION GUIDE INKS
22-Caulk Mini.ilp
PROCESS
BLUE
RUBINE
RED
109
YELLOW
BLACK
INSTALLATION GUIDE INKS
26-Screw Mini.ilp
ACRYLIC
HATCH
HATCH
SPACER
RING
PLASTIC
INTERIOR
TRIM RING
MINI-
VENT
MINI-
VENT
ACRYLIC
HATCH
HATCH
PROTECTIVE
RING


