27
DESKTOP PRINTER SERVICE MANUAL
REPLACING THE MOTHERBOARD
Qualified service personnel only. See
Service Notes
(p.4).
Note: Take care not to discard any hardware you remove during this procedure, as you will need it
during the reinstallation.
Tools
●
#1 Phillips screwdriver
●
2.5mm hex driver
●
USB drive from accessory kit
●
Painter’s tape (or similar tape that will not leave residue on the printer)
Note on terminology
The motherboard is referred to elsewhere in Markforged documentation as the
Victoria Board
.
MOTHERBOARD REMOVAL
1.
Unload and remove all print material from the printer. For more information, see
Unloading Plastic
and
Unloading Fiber
, if applicable, in the
User Guide
.
2.
Remove and set aside the print bed and any fiber spools.
3.
Power off your printer and unplug the power cord from the back panel.
4.
Remove and set aside the Wi-Fi antenna / Ethernet cable.
5.
Disconnect the feed tube from the plastic extruder. Remove it from the printer and set it aside.
6.
Tape the lid and visor of the printer closed to prevent them from accidentally opening.
7.
Place the printer upside down on a flat, stable surface.
8.
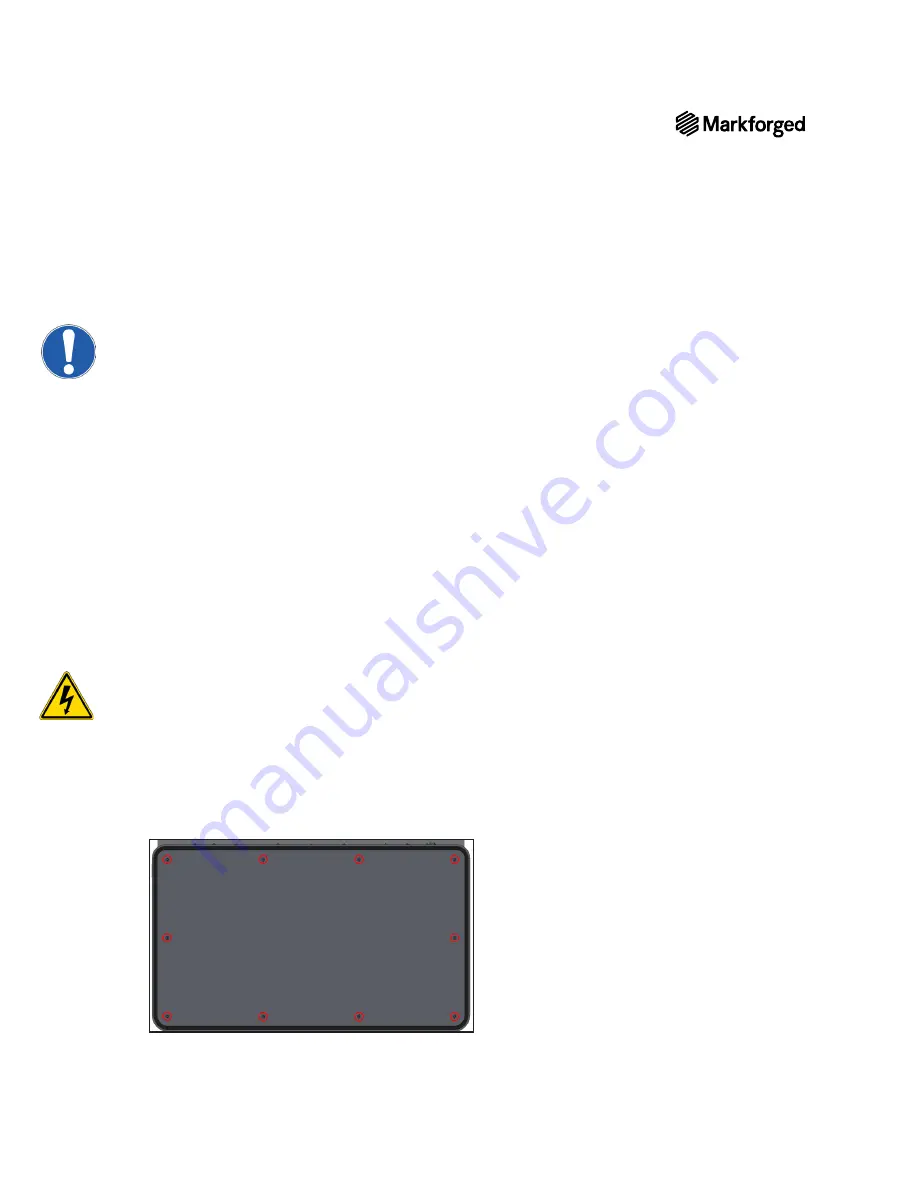
Using the #1 Phillips screwdriver, remove the 10 screws that attach the bottom plate to the printer and set
them aside.
9.
Remove the bottom plate from the printer and set it aside.


