DESKTOP PRINTER SERVICE MANUAL
40
5.
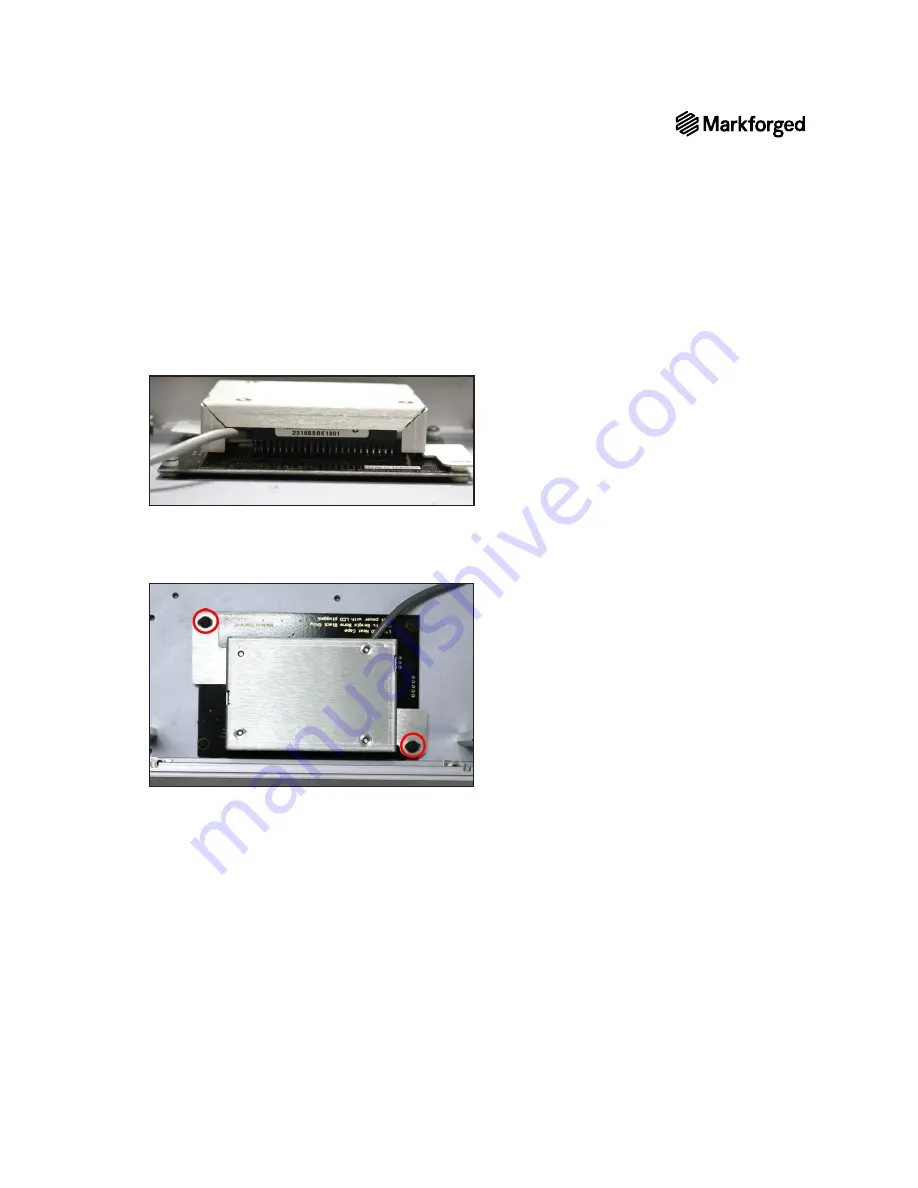
Use the 2mm hex key to install two screws into the holes in the corners of the touchscreen that are
not
covered by the tabs of the metal BeagleBone cover. Ensure that the screws pass through the spacers.
Note: To avoid damaging the touchscreen, do not over-tighten the screws. Hand-tighten only
until the screws are snug against the touchscreen board.
6.
Use the 2mm hex key to install the two black screws that connect the BeagleBone cover to the
touchscreen assembly. Ensure that the screws pass through the spacers.
Note: To avoid damaging the touchscreen, do not over-tighten the screws. Hand-tighten only
until the screws are snug against the metal tabs.
7.
Re-attach all five cables.
8.
Replace the bottom panel and securely fasten it using the ten Phillips screws you removed earlier.
9.
Carefully turn the printer upright.
10.
Remove and discard the tape holding the lid and visor shut.
11.
Reinstall the print bed.
12.
Reinstall the Wi-Fi antenna / Ethernet cable.
13.
Reconnect the plastic feed tube to the plastic extruder.
14.
Plug in and power on the printer. Confirm that the BeagleBone / touchscreen assembly is working
properly.
15.
Reload material before attempting to print.


