METAL X PRINTER USER GUIDE
20
7.
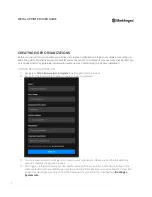
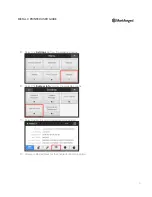
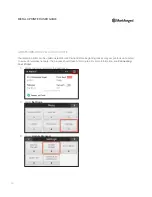
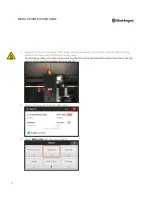
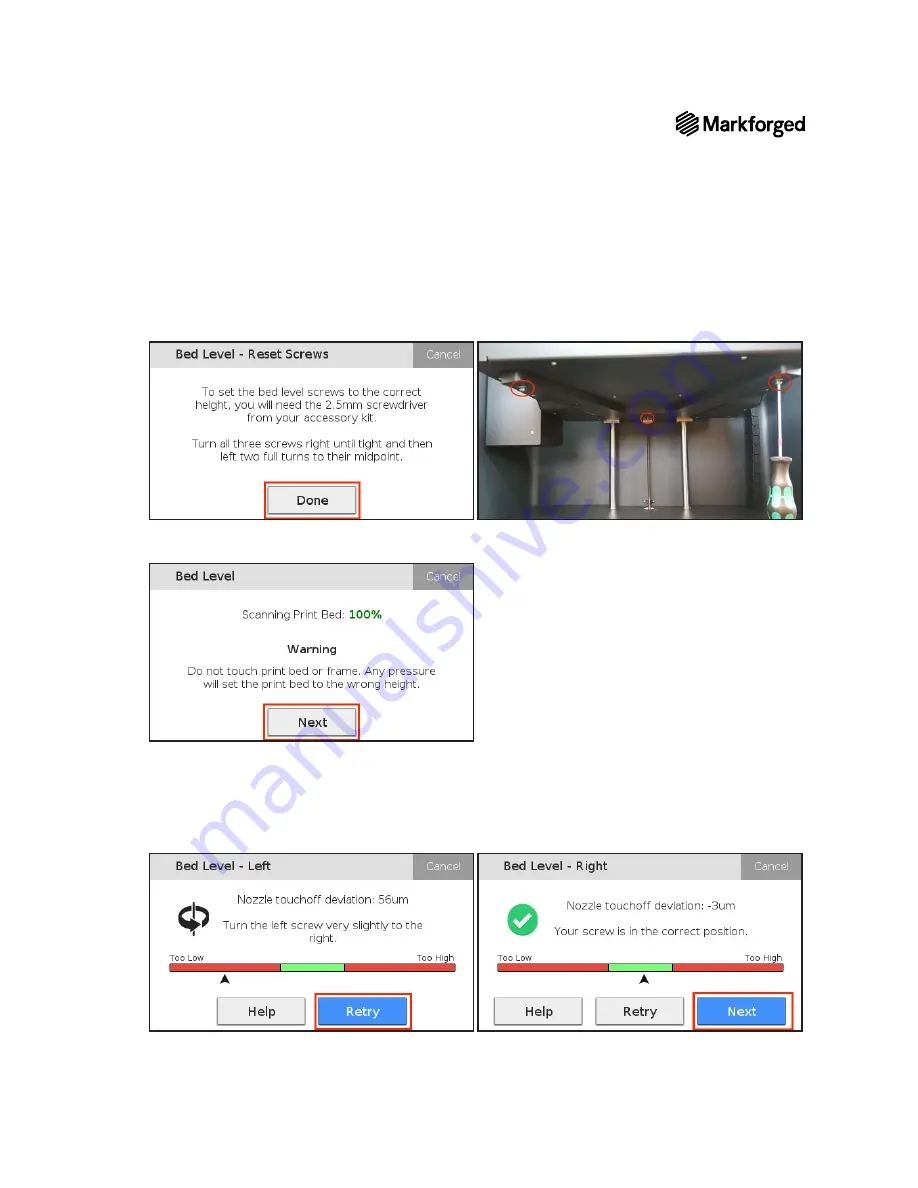
Using the 2.5mm hex key, turn all three bed leveling screws clockwise until tight, and then
counterclockwise (loosen) two full turns to their midpoint height. To continue, press
Done
.
8.
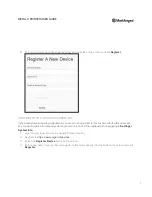
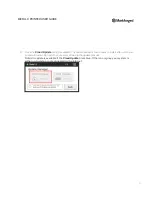
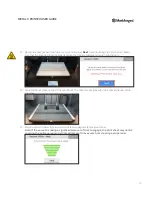
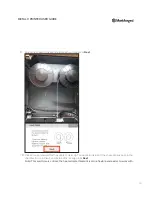
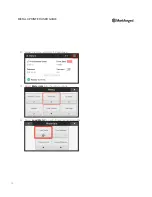
The printer will now scan its bed at 16 different points.
Do not touch the print bed or frame.
When the
progress bar reaches 100%, press
Next
.
9.
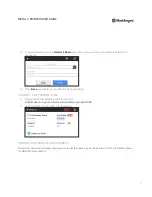
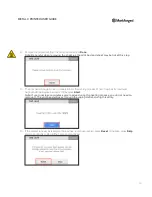
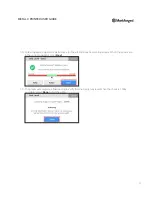
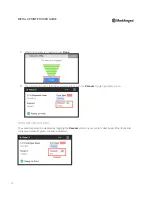
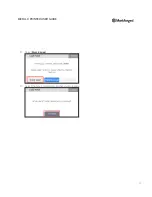
The print head will touch off on the rightmost end of the bed and state the current leveling of the right-
hand bed leveling screw. If you are not /- 20µm (20 micrometers) of deviation (i.e. not in the green
area of the leveling bar), use your hex key to adjust the height of the bed at that corner. The touchscreen
will specify which direction to rotate the hex key. After making a slight adjustment, select
Retry
to have
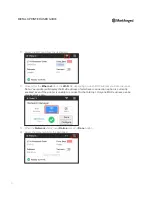
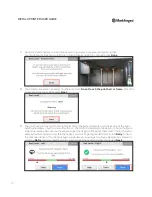
the print head touch off on the point again and update your readings. Continue adjusting the screw and
selecting
Retry
until your reading is in the green area of the bed leveling bar, then select
Next
.

